The information in this article applies to:

QUESTION
My door labels are too small when I print. How can I increase the size of the text and change the font to suit my needs?
ANSWER
In Chief Architect, a Text Style is a saved set of attributes that can be assigned to any object that displays text, such as text objects, callouts, markers, dimensions, schedules, CAD objects, and labels.
In this article, we will locate the Text Style that is assigned to our door labels, and create a new, custom Text Style to be used. Although this example focuses specifically on door labels, the same steps can be applied to other object labels in your designs, such as window or cabinet labels.
To modify the text style of labels
- From the menu, select Tools> Layer Settings> Display Options
 .
.
- In the Layer Display Options dialog that opens:
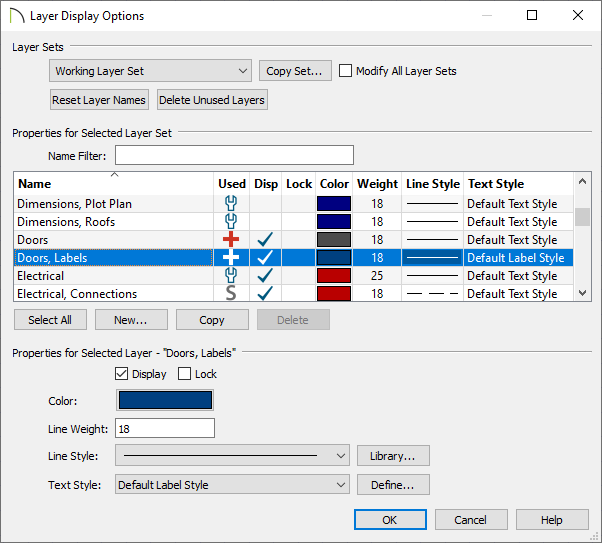
- Locate and select the "Doors, Labels" layer, then take note of the Text Style that is specified at the bottom.
In X13, the ability to control the layer that labels display on was introduced. If you have changed the layer that door labels display on, select the layer you have specified instead.
- You can use the Text Style drop-down to change the Text Style to another option in the list; or you can click Define to make Text Style modifications.
- When you click Define, the Saved Text Styles dialog will display, which will list each of the saved Text Styles in the plan.
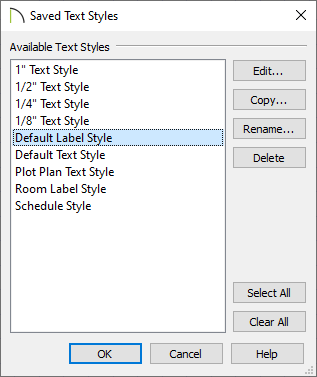
You can also access the Saved Text Styles dialog from the Default Settings. To do so, navigate to Edit> Default Settings, expand Text, Callouts, and Markers, select the Text Styles category, then click Edit.
- You can Edit, Copy, Rename, and Delete Text Styles. If you choose to make modifications to an existing Text Style, be aware that other objects or layers in the plan that are also utilizing that Text Style will be affected.
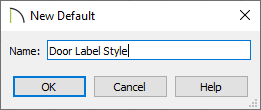
In this example, we are going to click Copy to make a copy of the Default Label Style. Give the new Text Style an appropriate name, then click OK.
- A Text Style Defaults dialog will display when a new Text Style is created, where settings specific to the new Text Style can be specified. Choose your desired Font, Character Height, and other desired options, then click OK.
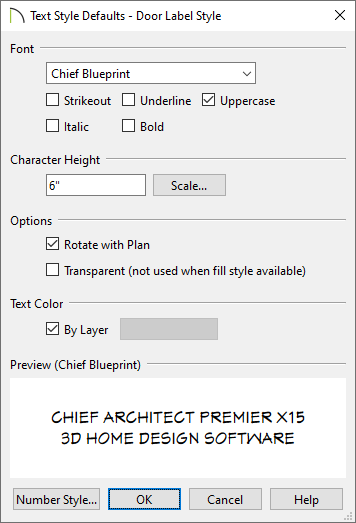
- The new Text Style will now be added to the list of Available Text Styles. Click OK again and notice that the newly created Text Style is now specified for the "Doors, Labels" layer.
- Click OK one last time to close out of the Layer Display Options dialog, and notice that your door labels now take on the attributes that you've specified.
Several additional label properties, such as justification, plan view position, and the layer which the label generates on, can all be adjusted on the Label panel of the objects Specification dialog. For example, open a door up to specification and select the Label panel to adjust the properties mentioned.