The information in this article applies to:

QUESTION
How can I create a coffered ceiling?

ANSWER
A coffered ceiling consists of sunken or recessed panels that are sub-divided by a structural component such as a soffit or beam. This type of ceiling or surface can best be created in Chief Architect by using the Soffit tool, adding moldings if desired, and then replicating the soffit across a room or area.
To create a soffit with molding
- Select Build> Cabinet> Soffit
 from the menu, then left click near a wall to place it.
- Once a soffit is placed, click on it to select it and use the edit handles to specify the width, depth, and position.
In this example, a 10' x 20' room is present and a soffit is placed spanning a distance of 9'.
- With the soffit still selected, click on the Open Object
 edit button, and make additional modifications in the specification dialog that opens.
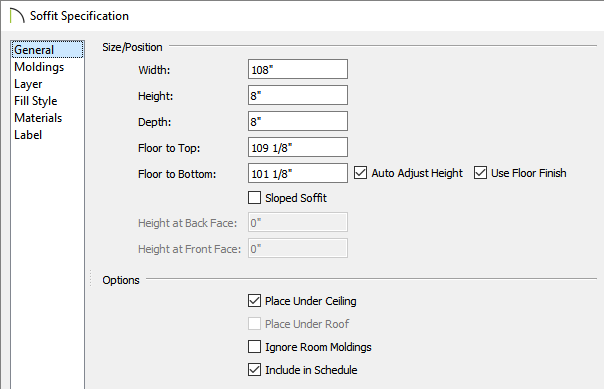
- On the General panel, specify the Width, Height, Depth, and Floor to Top/Bottom values to be precisely what you'd like them to be.
In this example, the Width spans the distance between the top and bottom walls which is 108" (9'), the Height and Depth are set to 8", and the Place Under Ceiling box is checked. When this box is checked, the top of the soffit will bump up against the ceilings surface.
- On the Moldings panel, click the Add New button and browse the Select Library Object dialog to select a molding profile if desired.
- Also on the Moldings panel, specify the Width and Height of the molding, and be sure that the Extrude Inside Polyline box is checked so that the molding profile is on the inside of the polyline.
In this example, the Width is set to 3 1/2" and the Height is set to 3".
- Click on the Materials panel and specify the material or color to be used for the molding as well as the soffit.
- Once all desired changes are made, click OK to close out of the dialog.
- Take a Camera
 view to see the results so far.
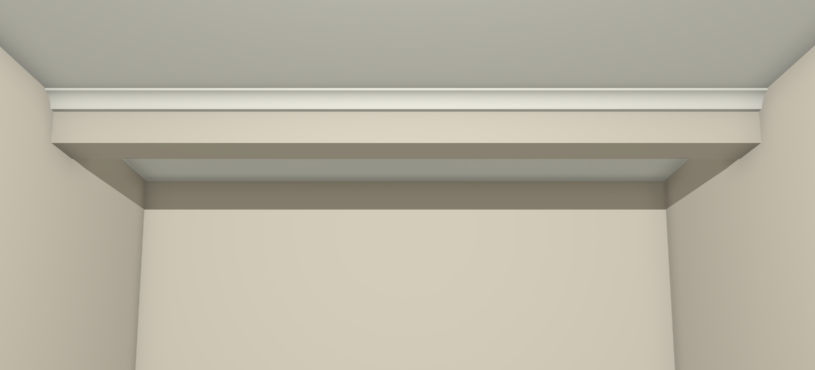
We now want to replicate the soffit and create several copies that span both vertically and horizontally along the rooms ceiling.
Replicating soffits across a rooms ceiling
- In a 2D floor plan view, select the soffit and click on the Transform / Replicate Object
 edit button.
You can also use the Multiple Copy edit tool to make several copies of an object, all separated a specific distance from one another.
- In the Transform / Replicate Object specification dialog that appears:
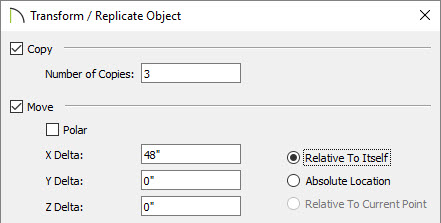
- Place a check in the Copy checkbox and specify the number of copies you'd like that will run parallel to the existing soffit.
- Place a check in the Move checkbox and specify an appropriate distance between each soffit.
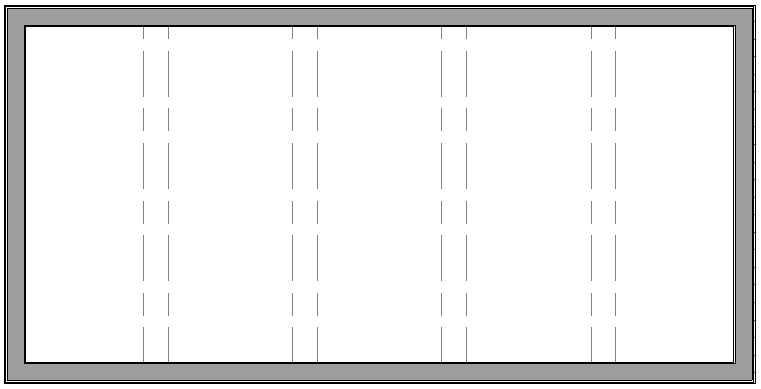
In this example, we specified a total of 3 copies and set each copy to be 48" apart from one another along the X Delta. Negative and positive numerical values can be used.
- Hit OK to confirm the changes and close out of the dialog.
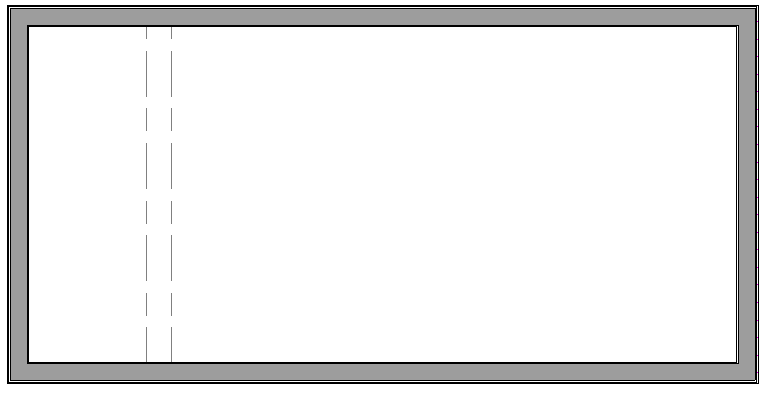
- Your 2D view should now look similar to the image below.
- Follow this same procedure for any soffits that you want running the opposite direction. When making copies using the Transform / Replicate Object edit button, you will want to instead move each copy along the Y Delta.
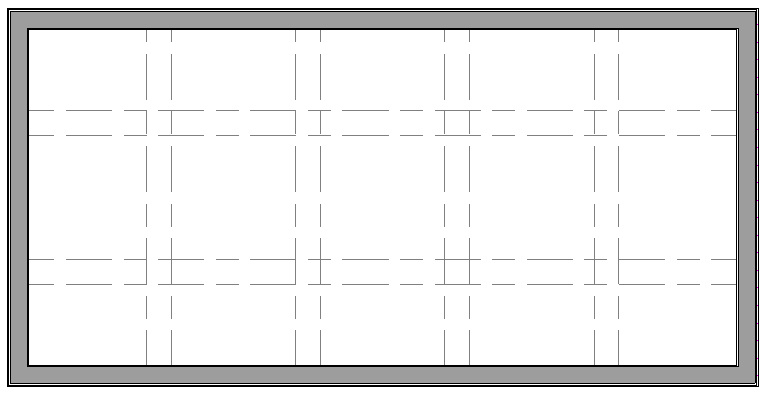
In this example, we placed the top horizontal soffit manually, specified 1 copy to be created, and set the the Y Delta to be -48".
- Take a Camera view to see the results.
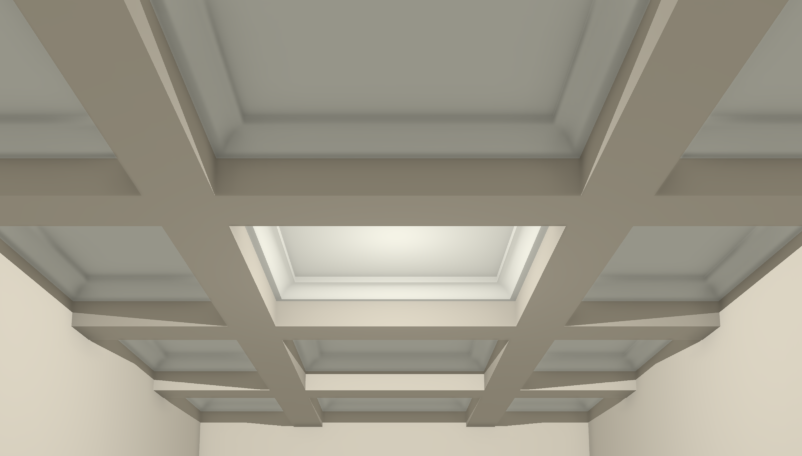
You can also create a coffered ceiling using a variety of other tools and objects such as Beams, Polyline Solids, Shapes, and Trim.