Creating Custom Muntins


Reference Number: KB-00930
Last Modified: September 17, 2021

The information in this article applies to:

Chief Architect Premier or Chief Architect Interiors


QUESTION

I would like to design my own custom muntins for a window or door. How can I do this? 
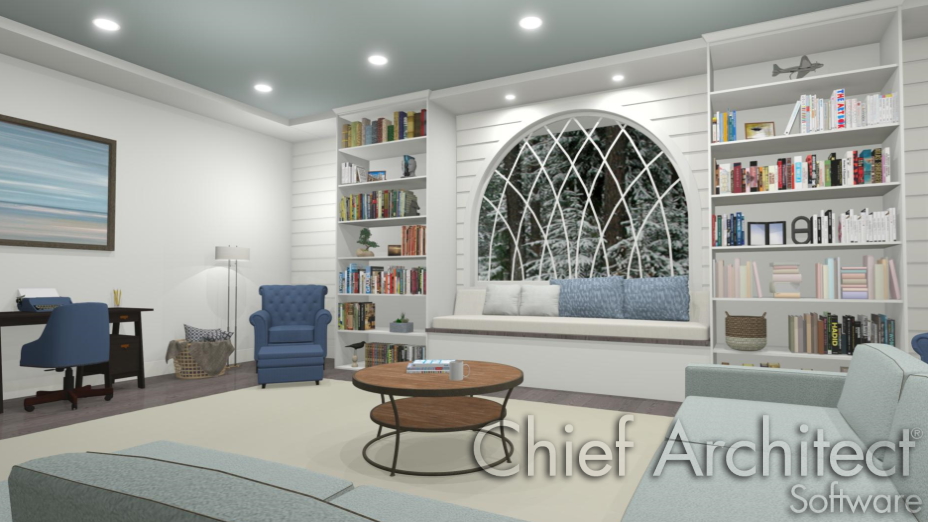
sample picture of a muntin window


ANSWER

Custom muntins are created by drawing their pattern using the CAD tools in a cross section/elevation view, blocking the pattern to create a CAD block, and then selecting the window or glass door and clicking on the Load Muntins edit button. The CAD block should cover at least half the glass horizontally and one quarter of the area vertically, but should not overlap the sash, frame, or casing by more than five percent in any direction.


To create custom muntins

  1. Launch Chief Architect and Open the plan in which you would like to create custom muntins within.


  2. Select 3D> Create Orthographic View> Cross Section/Elevation , then create a view of the wall the window or glass door is in.
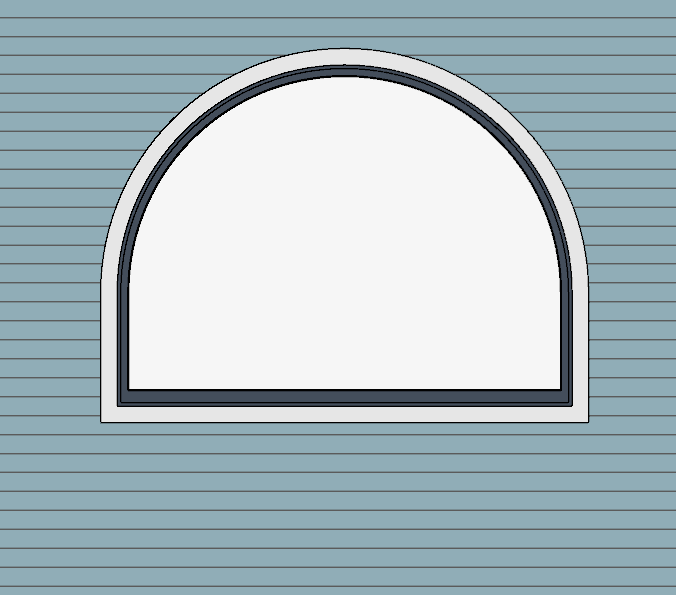
    If needed, use the Zoom  tool to focus in on the window or glass door.

    creating an orthographic view of your window


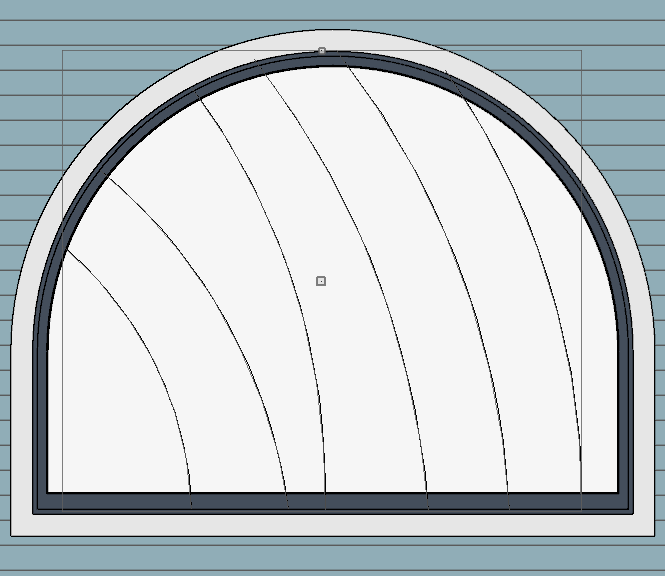
  3. Use the Draw Line and Draw Arc tools to design the desired muntins.

    Try to make them start and end as close to the edge of the glass as possible. Keep in mind that you will want to use two arcs to create a full circle. 


  4. When the muntin design is complete, group-select all of the lines and arcs using the Select Objects tool, then click the Make CAD Block edit button.

    using cad lines to draw your muntin design


  5. (Optional) With the CAD block created and selected, click the Copy/Paste  edit button, select the Reflect About  secondary edit button, then hover your cursor over the window. When the gray dashed line meets up with the center of the window vertically, click once to create a reflected copy of the CAD block.

    Grouping together your cad lines into a block


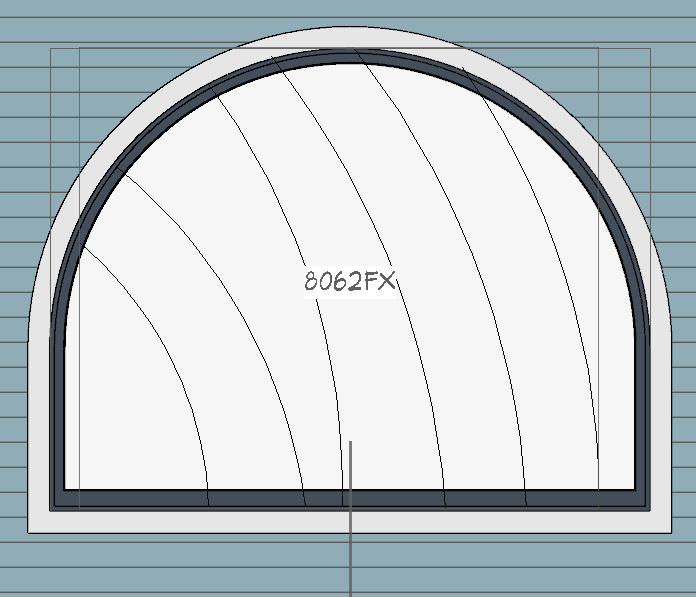
  6. Using the Select Objects  tool, click on the window or glass door to select it, then click the Load Muntins edit button to convert the CAD block(s) into custom muntins.
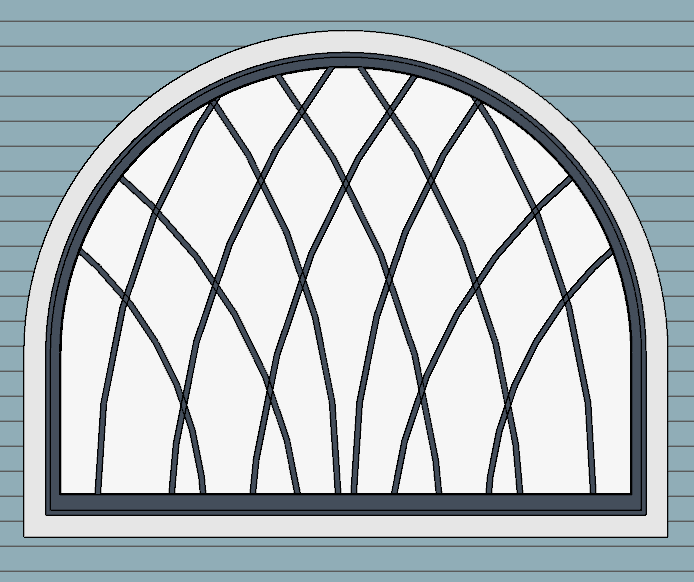
    cad block turned into muntins

    Note: If your window has more than one sash (a double-hung window, for example, has two), you must create a separate CAD block for each pane of glass. When the Load Muntins tool is used, all CAD blocks created for the window will be loaded. 


MORE INFORMATION

  • There are also CAD blocks created for the purpose of muntins. Navigate to Chief Architect Core Catalogs> Architectural> Windows> Custom Muntins in the Library Browser to see the options available.

  • Custom muntins move with the opening and copy with their opening. They also stretch or compress when the glass area is resized. This stretching may not be perfect for non-rectangular glass areas that are resized by a large amount.

  • Once blocked and loaded, custom muntins cannot be edited. If you wish to make changes to them, you must first remove them.

  • Remove custom muntins from a door or window by selecting the opening in a cross section/elevation view and clicking the Unload Muntins  edit button. The muntins disappear and the original CAD block takes their place.

  • Custom muntins can be created for the components of Bay Windows , Box Windows , and mulled units. To create custom muntins for a Bow Window , you must draw them on the one component that is selectable. When the muntins are loaded, they will be applied to all of the components