The information in this article applies to:

QUESTION
I often design Victorian style homes with a lot of moldings and millwork - including finials, cupolas, and other details on the roof. How can I get an object to sit on the roof automatically?

ANSWER
You can easily specify within the object's specification that it sit on the top of the roof in your plan using the Elevation Reference options.
In this example, we will take an existing library item, modify the Elevation Reference, and copy it across the roof.
To create a rooftop object
- Create a New Plan
 and select View> Library Browser
  from the menu if the Library Browser is not already open.
- In the Library Browser, browse to an object that you would like to use as a roof object and click on it to select it.
- In this example, we used a section of ironwork fencing, found at Chief Architect Core Catalogs> Architectural> Fences and Railings> Ironwork> Twisted Spires.
- Other good candidates for roof objects can be found in Chief Architect Core Catalogs> Architectural> Millwork.
- Move your mouse pointer into the drawing area and click once to place the selected object at that location.

- With Select Objects
 , click on the object to select it and click on Open Object
  .
.
- On the General panel of the Millwork Specification dialog:
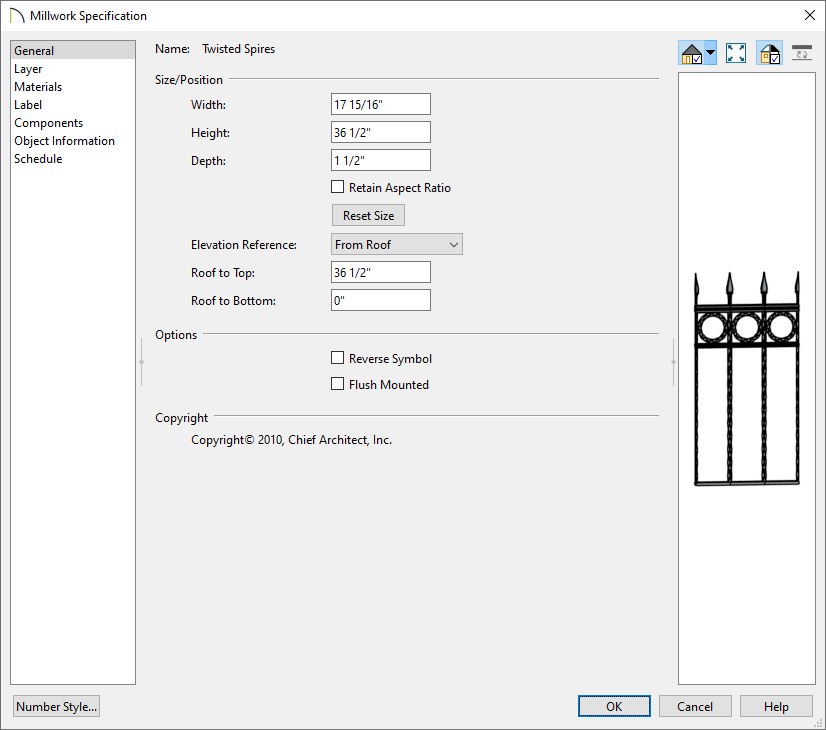
- Specify the Width, Height, and Depth of the object.
- Change Elevation Reference to From Roof
- Set the Roof to Bottom value to 0".
- Click OK to close the dialog and apply your change.
- To repeat this object across the roof plane, select the object and then click on Multiple Copy
 on the Edit toolbar.
- Choose the Multiple Copy Interval
 tool, set the General Object values to the width of the object, and click OK.
In this example we used 17 15/16".
- Click and drag from the initial object across the screen until you have enough copies.

The above fixture can be placed on a horizontal ridge line. f placing items on a sloping roof plane, place a check in the Flush Mounted checkbox so that the object follows the pitch of the roof.
This object can now be added to the library if you want to use it on other plan files. When positioned within a roof plane, it will automatically seek the height of the roof at that location.