Controlling the Number of Decimals Used in a Text Macro


Reference Number: KB-01897
Last Modified: February 12, 2022

The information in this article applies to:

Chief Architect Premier or Chief Architect Interiors


QUESTION

I would like to use the RoomVolume text macro in my room labels, but it displays several decimal points. How can I make it display fewer decimal places?  


ANSWER

By default, many text macros are setup to simply display the raw, unrounded results of the calculation they perform, but you can easily modify the macro to round down to the nearest value of your choosing. 


To create a custom macro that is rounded to a specified number of decimal places

  1. In this example, create a New Plan and draw a basic square structure.
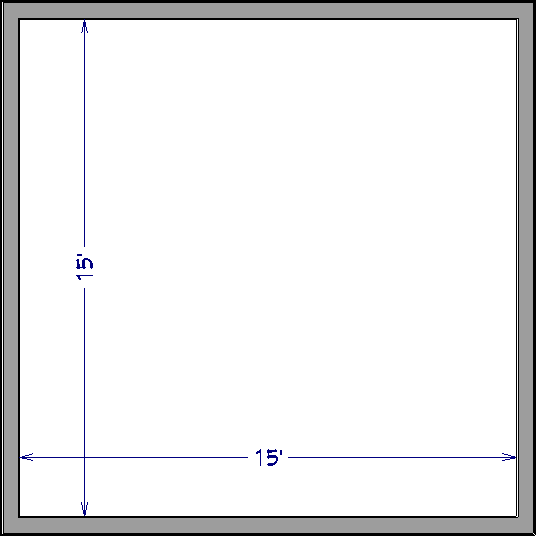
    In this example, we have drawn a structure that measures 15' x 15' on the interior.

    Basic structure measuring 15' x 15' on its interior


  2. Select CAD> Text> Text Macro Management from the menu.


  3. Select the RoomVolume macro in the list on the left and click the Copy button


  4. In the Edit Text Macro dialog which displays next, rename the macro to roomVolumeRounded and modify the Value field to:

    vol = internal_area * (ceiling_elevation - floor_elevation)
    vol.round("cu ft",2)

    Edit Text Macro dialog

    • To break this down, you are creating an object named 
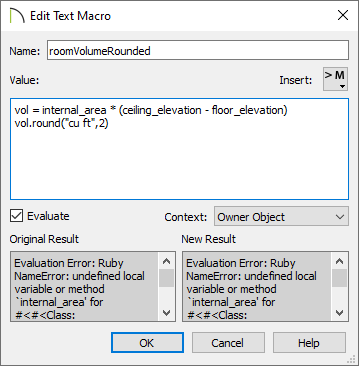
vol and setting it equal to the volume of the room.

    • On the next line, you are calling the round function with an argument of 2 using cu ft. This tells the program to round the volume down to two decimal places using cubic feet.

    • Click OK and OK again to confirm the changes.


  5.  Navigate to Edit> Default Settings , expand the Floors and Rooms category, select Room Label from the list, then click Edit.

    Room Label is selected in the Default Settings dialog


  6. On the Text panel of the Room Label Defaults dialog that opens:

    %roomVolumeRounded% macro defined in the Room Label Defaults dialog

    • Press Enter on the keyboard to drop to the second line in the text box.

    • Type 
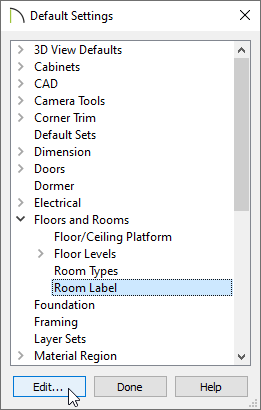
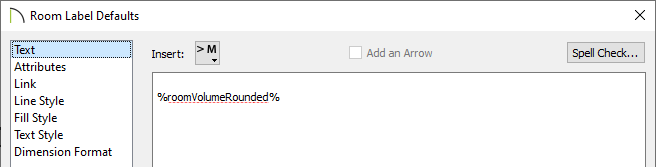
%roomVolumeRounded%, which is the name of the macro we just created

    • Click OK and Done to close the dialogs and confirm the change.


  7. Next, click inside of the room using the Select Objects tool, then select the Open Object edit tool.


  8. On the General panel of the Room Specification dialog that displays, change the Room Type to Living or something else from list of room types, then click OK.

    Specify a Room Type on the General panel of the Room Specification dialog

    Note: If automatic room labels have already been populated prior to creating and inserting a Macro, the labels may need to be refreshed. This can be done by opening one or more rooms up to specification, making a change to the Room Type or Room Name, then clicking OK. Once the room labels have been refreshed, you can revert the change made to the Room Type or Room Name.

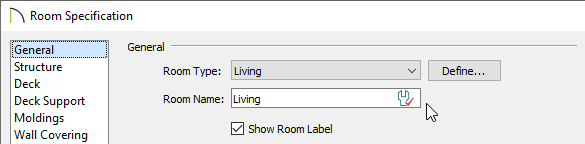
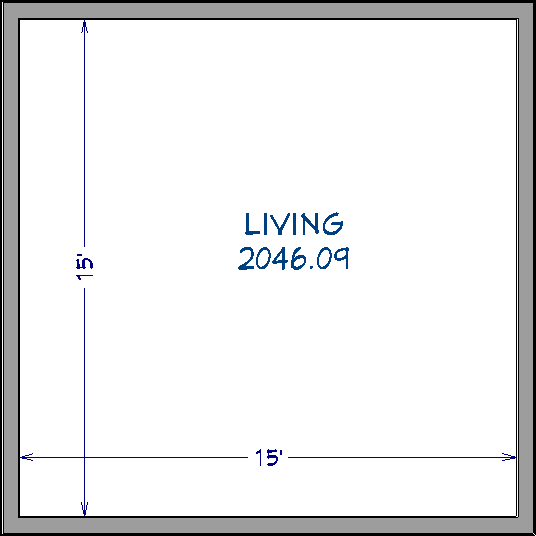
The room's label will now display, along with the volume rounded to two decimal places.

Room volume rounded to two decimal places


You can apply these same concepts to other macros that result in a long string of numbers.