The information in this article applies to:

QUESTION
I need to export my plan to REScheck. How can this be done in Chief Architect?
ANSWER
REScheck™ is a residential energy code compliance program offered by the U.S. Department of Energy that evaluates the thermal envelope of a structure and determines how well it meets various energy codes. For more information, visit: http://www.energycodes.gov/rescheck
Chief Architect can export the following REScheck Project data:
-
Front Faces - The side of the house that faces down on-screen is considered the front, and North is considered up on-screen unless a North Pointer is used.
- The Conditioned Floor Area is calculated and exported by Chief Architect.
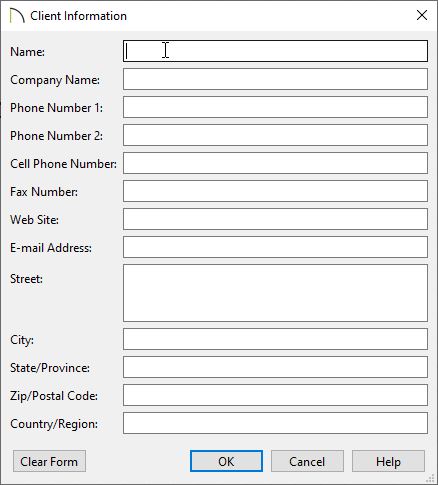
- The Owner/Agent information is drawn from the plan file’s Client Information.
- The Designer Contractor information is drawn from the plan file’s Designer Information.
In a REScheck report exported from Chief Architect, the Project Type is set as “New Construction” and “1-and-2 Family, Detached” is selected under Building Characteristics. Location and Title/Site/Permit are not exportable
Exported Envelope Data
Nearly all REScheck Envelope data can be exported from a Chief Architect plan:
-
Floors - The Assembly type, Gross Area, and Cavity and Continuous R-Values are exported.
-
Slabs on Grade - The Slab Perimeter and Continuous R-Value are exported. Slab Depth of Insulation is not included and must be entered manually.
-
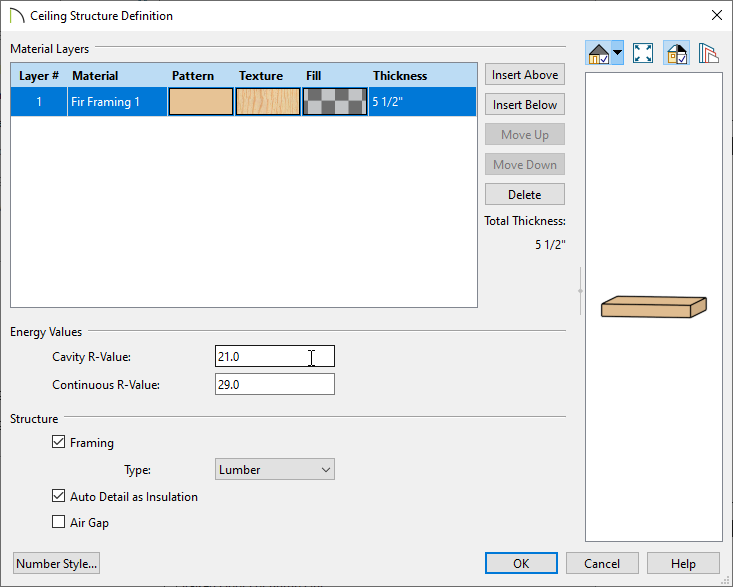
Ceilings - The Assembly type, Gross Area, and Cavity and Continuous R-Values are exported.
-
Walls - The Assembly type, Orientation, Gross Area, and Cavity and Continuous R-Values are exported. All are exported as Walls rather than Basement or Crawl Walls.
Like walls on the same floor are grouped by orientation.
The On Center Spacing of Framed walls is derived from the framing material assigned to the wall type’s Main Layer.
-
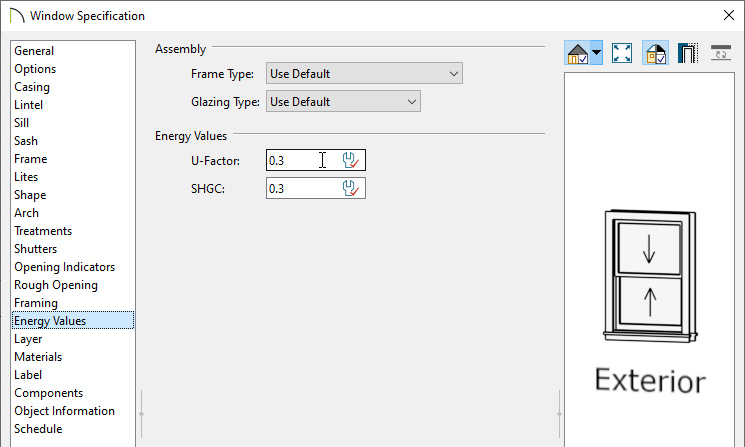
Doors and Windows - The Assembly type, Orientation, Gross Area, U-Factor, and Solar Heat Gain Coefficient (SHGC) are exported. See Energy Values Panel.
Information about skylights and mulled units is not exported.
To set the project information
- Open a plan and select Tools> Designer/Client Information> Designer Information from the menu, fill in your information and click OK.
- Repeat this process for the Client Information.
You can set the energy values for your default doors and windows in the Default Settings. Once you have placed them in the plan, you can edit the settings for any items you need to modify.
To set energy values for doors and windows
- Select a door or window and click Open Object
 .
.
- Under the Energy Values panel, set your energy values.
To set energy values for rooms
You can set the energy values for the entire floor in your Floor Defaults. If you need to change individual rooms, you can modify them individually.
- Select a room and click Open Object .
- Under the Structure panel, click Edit next to Ceiling Structure.
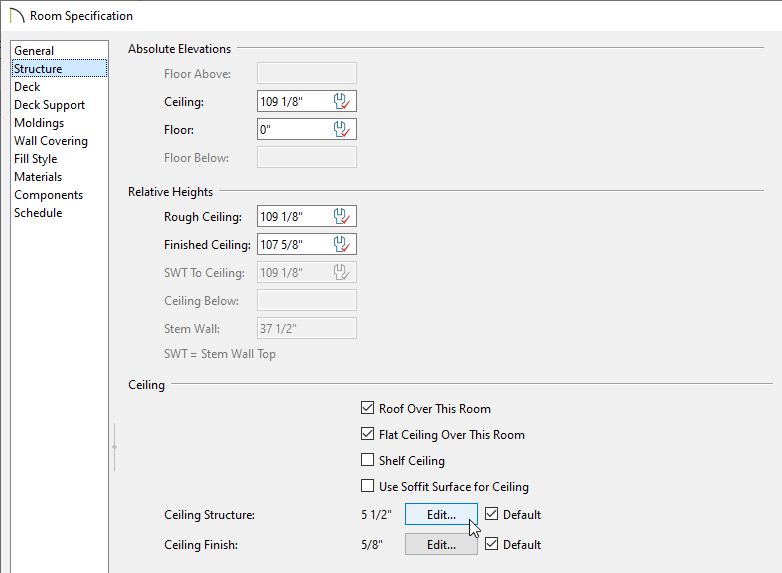
- Set the R-Values and click OK.
- Repeat this process for the Floor Structure.
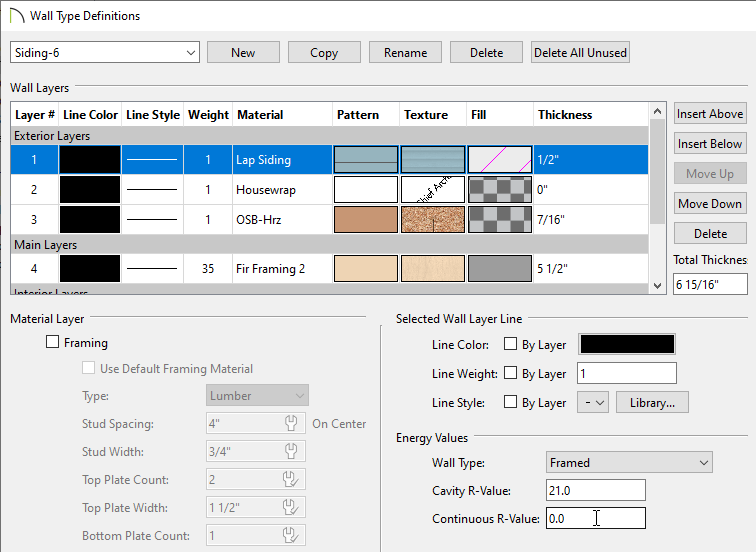
To set energy values for walls
- From the menu, select Build> Wall> Define Wall Types
 .
.
- In the Wall Type Definitions dialog, select the wall type from the drop down menu at the top of the dialog and change the R-Values as needed.
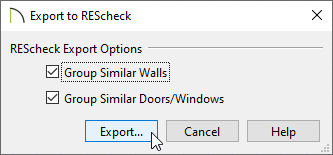
To export to REScheck
- From the menu select File> Export> Export to REScheck
 .
.
- Select your preferred grouping options and click Export.
- Choose a location to save the .RXL file and give it a name.
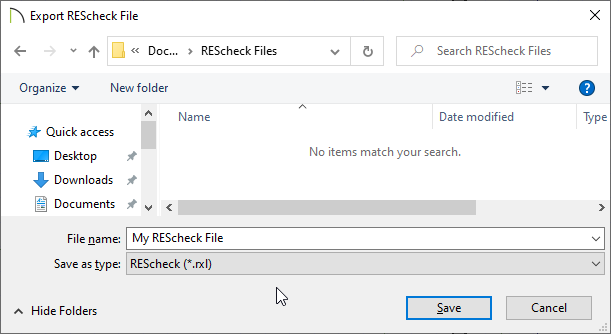
The resulting file can then be opened in the REScheck software.
A link to the REScheck website and more resources can be found on our Green Building page here: https://www.chiefarchitect.com/green/