QUESTION
I want to import photographs of plants that are in different developmental stages than those already in the program. How do I do that?

ANSWER
The following steps make use of image files that are not included with the program. You can use image files that are already on your computer, or you can create new ones. These same basic steps can be used to import other images into your plans such as people, pets, cars, etc.
In Chief Architect, image objects are more than just 2D pictures. Images have size and height attributes, and can contain transparency information. In floor plan view, they display only as 2D symbols; but in 3D views, the visual information that they contain is displayed.
To create a new plant image and save it to the library
- First, launch your Chief Architect software, and Open
 the plan in which you want to place your custom plant image.
- Next, select View> Library Browser
 to open the Library Browser if it's not already open.
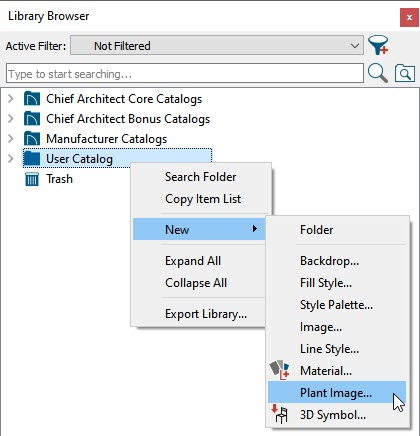
- Right-click on the User Catalog and select New> Plant Image.
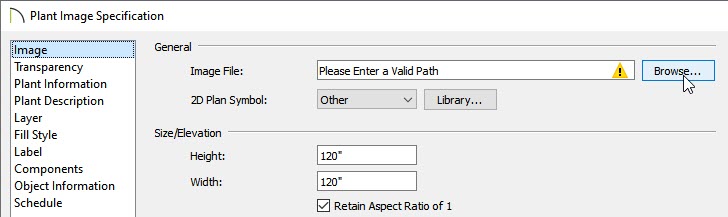
- On the Image panel of the Plant Image Specification dialog that displays, click the Browse button.
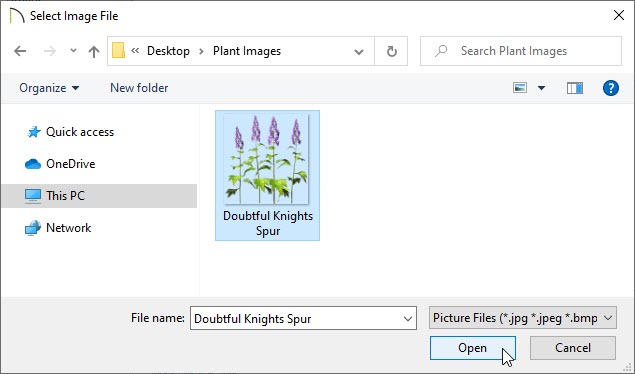
- Locate the plant image you would like to use on your computer, select it, then click Open.
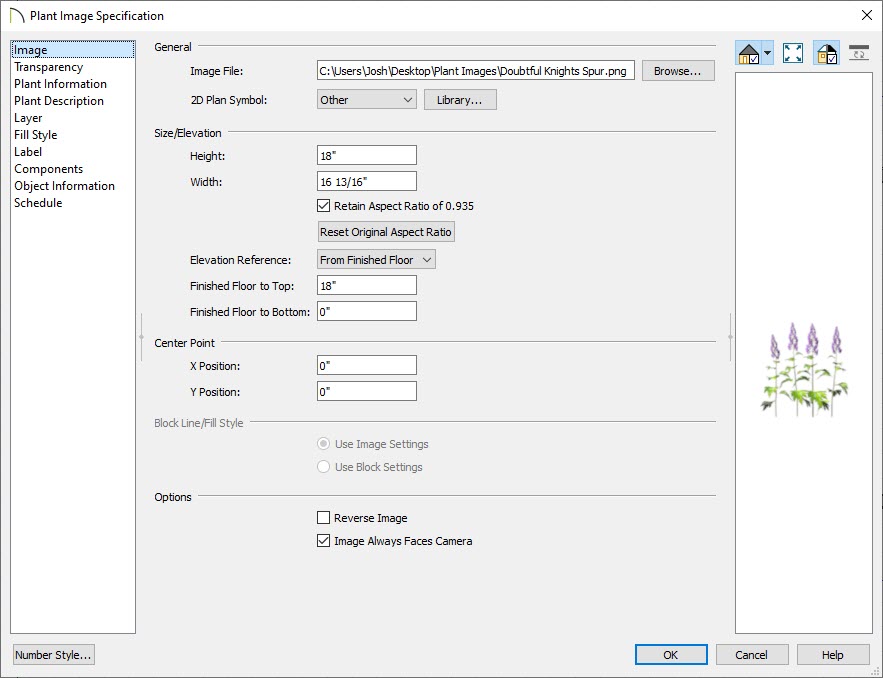
- Back in the Plant Image Specification dialog:
-
On the Image panel, enter the Height or Width. Adjusting one will adjust the other, maintaining the correct proportion, so long as you leave the Retain Aspect Ratio box checked.
-
Enter a Finished Floor to Bottom/Top value to specify the elevation at which the image displays. A value of 0 inches for the Finished Floor to Bottom works well in this case, but if we knew we would be placing this plant into a window flower box, for example, we may want to enter the height of this instead.
-
The Transparency panel allows you to either use transparency from the image file, or use a custom transparency color. If you choose to use a custom transparency color, for example, a tree image that has mostly a blue sky background, then you will want to use the Tolerance slider to apply the level of tolerance that you want applied to colors that are almost the same.
-
Select the Plant Information panel to enter information about the plant such as its common and scientific names, flower and leaf colors, bloom time, etc. Setting this information can be helpful if you are importing a variety of custom plant images that you would like to be able to search for using the Plant Chooser
 .
.
-
Enter any additional information for the plant, such as a description, or lighting or hardiness zone comments on the Plant Description panel.
-
Click OK to close the dialog and the new plant image will automatically be added to your User Catalog located in the Library Browser. You can now select the plant image form the library, and click in your plan to place it.
- Take a Camera
 view to see the results.