QUESTION
I would like to change the color or material of the ceiling in my model. How is this accomplished?

ANSWER
There are several methods for adjusting the material applied to your ceiling, which will depend on how the ceiling in your room has been constructed, including:
Adjusting the ceiling finish defaults
- Navigate to Edit> Default Settings
 from the menu.
- Expand the Floors and Rooms category, select the Floor/Ceiling Platform option, then click Edit.
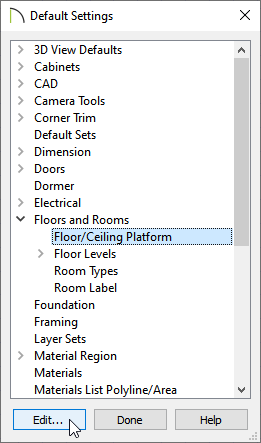
The ceiling finish can also be changed for each individual floor level or for each specific room type. To do so,access the Floor Levels or Room Types categories instead of Floor/Ceiling Platform.
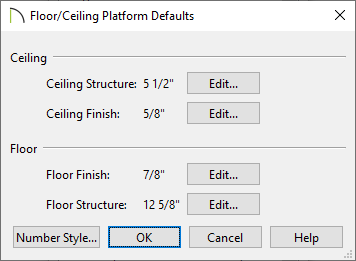
- In the Floor/Ceiling Platform Defaults dialog that opens, click on the Edit button next to Ceiling Finish.
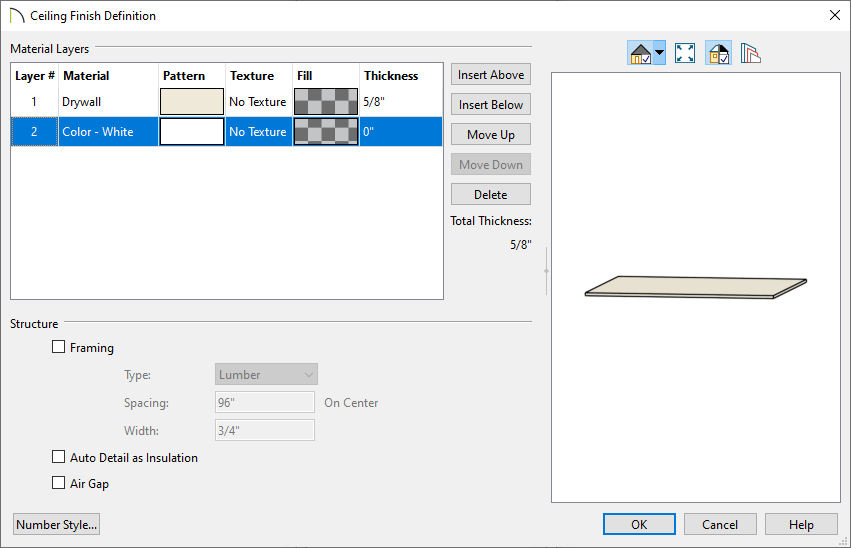
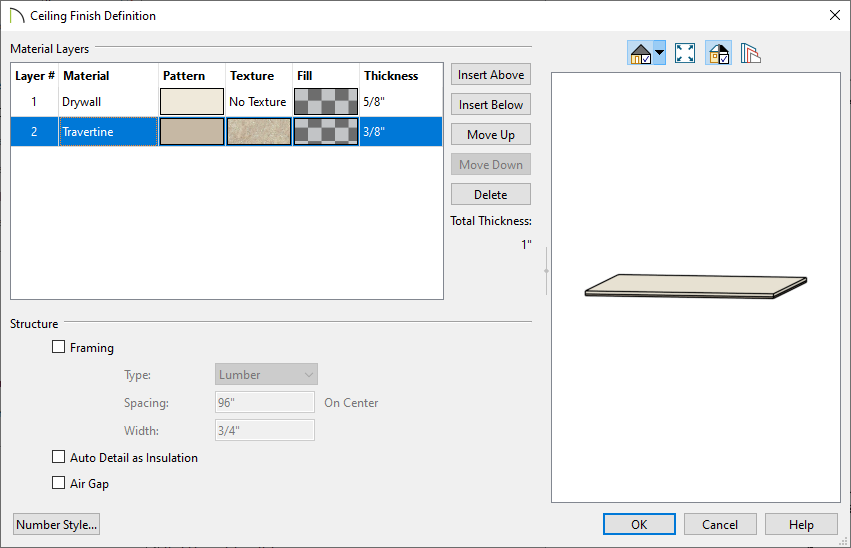
- In the Ceiling Finish Definition dialog that displays, change Layer 2 to a material of your choosing by clicking on the Material, Pattern, or Texture cell..
-
Set its Thickness, make any other adjustments, then click OK.
- Click OK and Done to close the dialogs and confirm the changes.
Adjusting the ceiling finish for a single room
- Using the Select Objects
 tool, click inside of the room you want to change the ceiling's material, and click on the Open Object
  edit tool to display the Room Specification dialog.
- On the Structure panel, click on the Edit button next to Ceiling Finish.
- In the Ceiling Finish Definition dialog that displays, change Layer 2 from the default material to the one of your choosing by clicking on the Material, Pattern, or Texture cell.
-
Set its Thickness, make any other adjustments, then click OK.
- Click OK once more to close the dialog, and take a Camera
 view to see the results.
Using the Material Painter
- Select 3D> Create Perspective View> Full Camera
 from the menu, then click and drag a camera arrow inside the room in which you would like to change the ceiling material.
- In the 3D view of the room, use the Up arrow key on your keyboard or the Orbit
 , Tilt
  , or Move Camera
  tools to adjust the camera position so that you can see the ceiling planes.
- Select 3D> Material Painter> Material Painter
 from the menu.
- In the Select Material dialog that appears:
- Browse the Materials library category to find a material that you would like to apply to the ceiling.
-
- Click on a material to select it, then click OK to close the dialog.
- When you move your cursor into the 3D view, it will display the Material Painter
 cursor.
- Click on a ceiling plane to apply the selected material to that plane.
- Continue clicking on additional ceiling planes or other objects to apply the material to these objects as well.
- When you are satisfied with the appearance of your ceilings, click the Select Objects tool or press the Spacebar on your keyboard to deactivate the Material Painter.
- You may need to adjust the position of your camera or even create more than one camera view to make the needed changes to any ceiling planes that you wish.
If you have created ceiling planes manually using the Ceiling Plane tool, you can select them in floor plan view and change the material that they display.
Using the Ceiling Plane Specification dialog
- Using the Select Objects tool, click on a ceiling plane to select it, then click the Open Object edit button.
- On the Structure panel of the Ceiling Plane Specification dialog, uncheck Use Room Ceiling Finish.
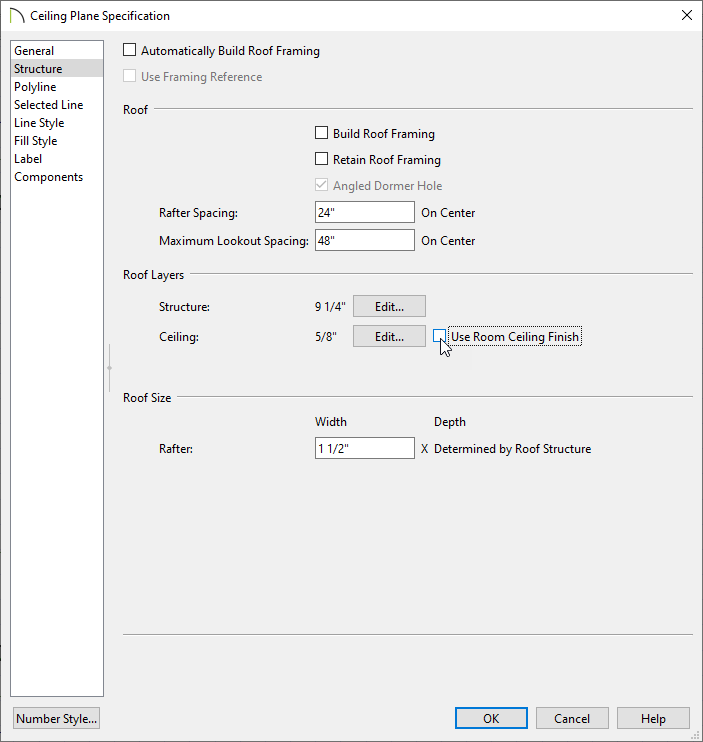
- Click on Edit next to Ceiling to modify the ceiling layers and the associated materials.
- Once all desired changes have been made, click OK.