How do I create a room or closet space under a staircase?

Many plans use the space beneath staircases for storage or utility closets. When walls are drawn under a staircase in Chief Architect, the walls will be cut off automatically by the stairs making it easy to create a room in this area.
 , then draw interior walls beneath the stair making sure that the surface of the walls align with the outer edge of the staircase. It's also important to form an enclosed space, or room, during this process.
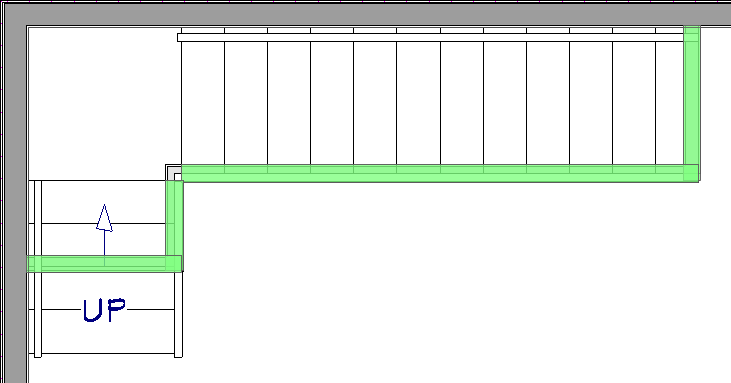
 tool, select the staircase and click the Open Object
  edit button.
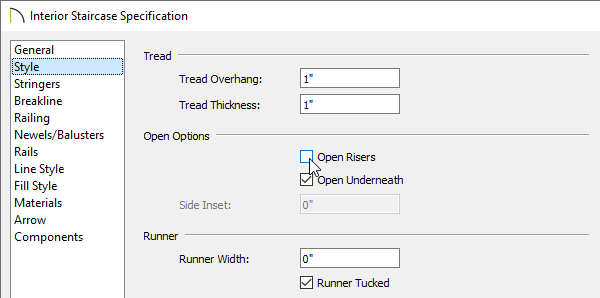
You can also set the Pattern Type to "No Pattern" on the Fill Style panel if you would like to see under the staircase in floor plan view. Please see the Related Articles section to learn more.
 from the menu, then click on one of the interior walls you just drew to place a door to the room.