QUESTION
How can I place an apron sink into a cabinet?

ANSWER
An apron sink, which has a finished front surface that extends past the counter, can be placed on top of a base cabinet by following the steps below.
To create a cabinet with an apron sink
-
Open
 the plan in which you would like to create an apron sink, select Build> Cabinet> Base Cabinet
  from the menu, then click once in your plan to create a base cabinet.
- Select the Base Cabinet, click the Open Object
 edit button to open the Base Cabinet Specification dialog, and on the General panel:

- Increase the Width so the cabinet is the same as the width of the desired kitchen sink.
In this example, the Width is set to 30".
- Reduce the Height of the cabinet by the thickness/height of the sink being placed.
In this example, the Height is set to 28".
- Deselect the checkbox next to Countertop to remove the countertop.
- On the Front/Sides/Back panel, click on the drawer in the cabinet preview diagram on the right to select it:
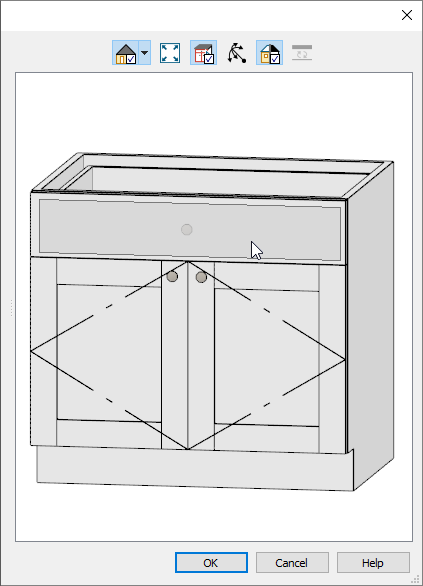
- Click the Delete button to remove the drawer, leaving only the double doors.
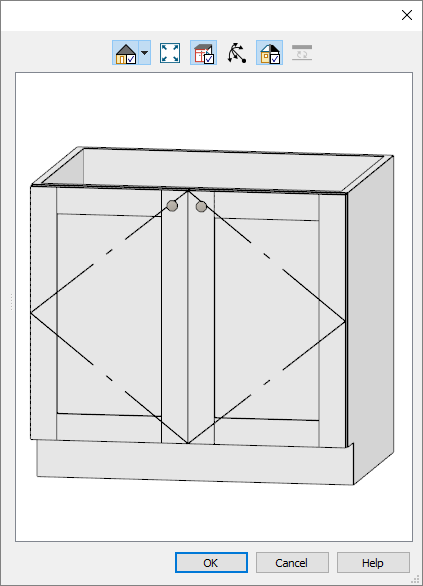
- Click OK once you are done editing your cabinet to close out of the dialog.
- In the Library Browser
 , browse to Chief Architect Core Catalogs> Architectural> Plumbing Fixtures> Sinks> Kitchen Sinks> Apron Front, select an appropriate apron front sink fixture, then click once on the base cabinet to place the sink on top of it.
In this example, we have chosen the Apron Front Sink.
- If the sink is not placed correctly, you can select the sink and use square Move
 edit handle located in the middle of the sink to move it into your desired position.
Additionally, you can select the sink and adjust properties such as the width, height, and depth at this time.
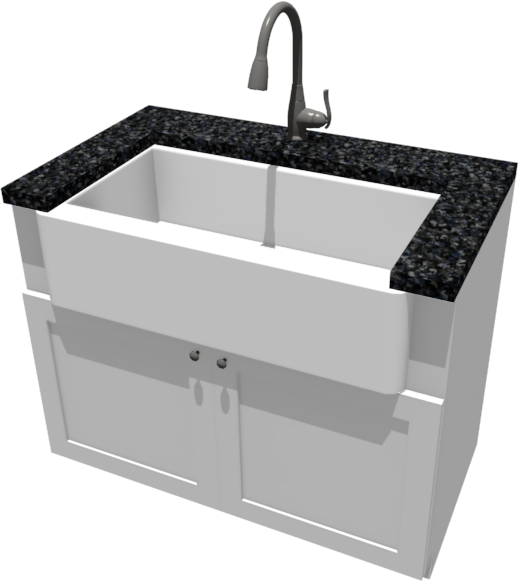
- Finally, take a Camera
 view to see the results.
To create an apron sink that is smaller than the cabinet it sits on
- Select Build> Cabinet> Base Cabinet then click in your plan to place the base cabinet.
- Select the Base Cabinet, click the Open Object edit button to open the Base Cabinet Specification dialog, and on the General panel:
- Set the cabinet's Width.
In this example, the Width is set to 42".
- Lower the Height of the cabinet by the thickness of the countertop.
In this example, the Height is set to 34 1/2".
- Deselect the checkbox next to Countertop to remove the countertop.
- On the Front/Sides/Back panel, select the drawer in the preview image:
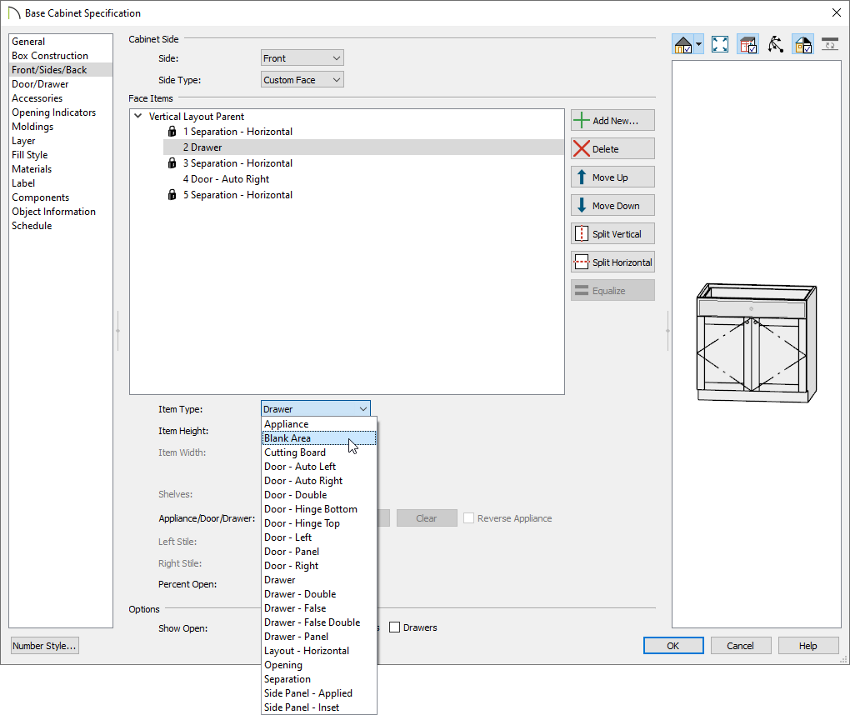
- Select the Item Type drop-down menu and choose Blank Area.
- Set the Item Height to the height of the basin for the desired sink.
In this example, the Item Height is set to 9".
- Click OK to confirm your changes and close the dialog.
- In the Library Browser , browse to Chief Architect Core Catalogs> Architectural> Plumbing Fixtures> Sinks> Kitchen Sinks> Without Fixtures> Apron Front, select an appropriate apron front sink fixture, then click once on the base cabinet to place the sink on top of it.
In this example, we have chosen the Apron Front Sink.
- Using the Select Objects
 tool, select the sink, click on the Open Object edit button to open the Fixture Specification dialog, and on the General panel:
- Set the Width, Height, and Depth values to your liking.
In this example, the Width and Height are unchanged, but the Depth is set to 21."
- Set the desired Finished Floor to Top/Bottom so that the sink will insert down into the Blank Area setup in Step 3.
In this example, the Finished Floor to Top value is set to 34 1/2".
- Make any further modifications to the sink, then click OK to close the dialog.
- Using the Select Objects tool, click on the sink and use the Move edit handle to position it to your liking.
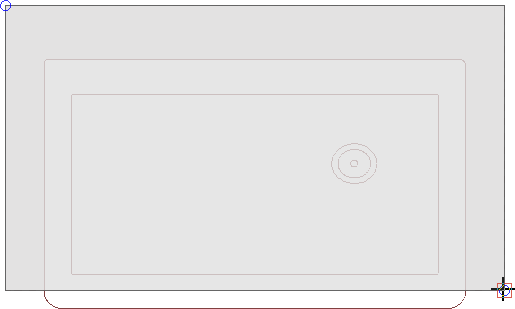
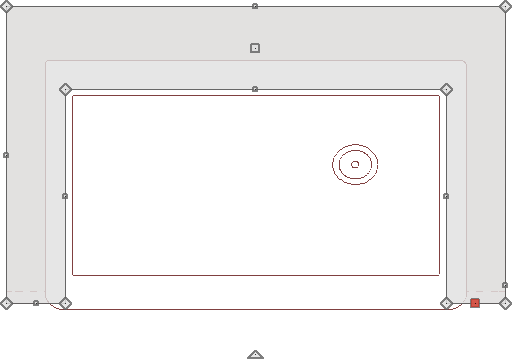
- Next, select Build> Cabinet> Custom Countertop
 then click and drag a rectangle shape over your cabinet to create a custom countertop.
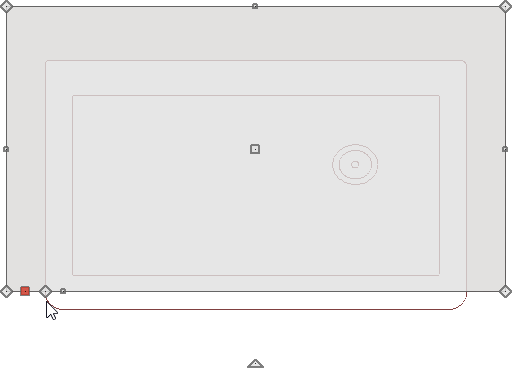
- Click to select the custom countertop. If the base cabinet is selected instead, select the Tab key on your keyboard to cycle to the countertop, then click the Add Break
 edit button.
- Click on the front edge of the custom counter top where you estimate the left edge of your sink will sit to place a break point.
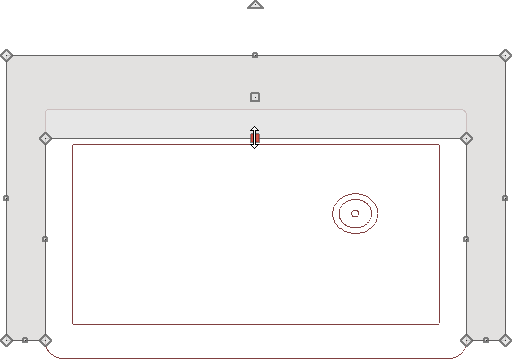
- Using the Add Break tool again, click on the front edge at the approximate location of the sink's right edge to place an additional break point.

- Select the front edge of the countertop between the breaks that you just made, and drag that edge back to create the space where the sink will sit.
- Perform the same procedure with each side of the countertop until its to your liking. This is also a good time to adjust the front edges of the countertop to produce an overhang, if desired.
For more information on editing countertops into custom shapes, please see the Related Articles section below.
- Browse to Chief Architect Core Catalogs> Architectural> Plumbing Fixtures> Faucets> Kitchen Fixtures, choose an appropriate faucet, then click in the location that you would like to place it.
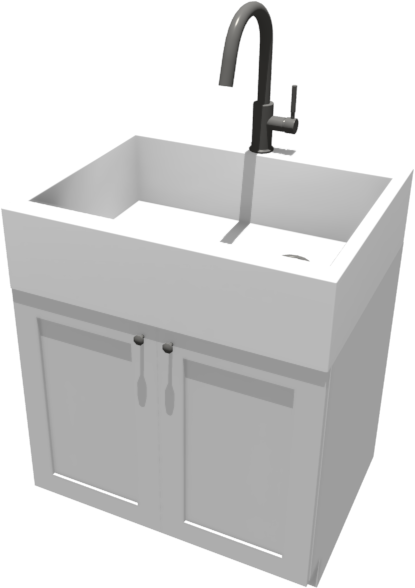
In this example, the Faucet (gooseneck spray) option is selected from the Single Control folder.
- Take a Camera view to see the results.