QUESTION
I would like to print a view of my foundation plan that includes the location of plumbing fixtures on the floor above. How can I do this?

ANSWER
You can use the Reference Display and a custom layer set created for the purpose of displaying only certain layers to easily display and print objects on a floor of your plan other than the current floor.
To create a custom Reference Layer Set
- Select Tools> Layer Settings> Layer Set Management
 from the menu to open the Layer Set Management dialog.
- In the Available Layer Sets list, scroll to the Reference Display Set, select it, and click the Copy button.

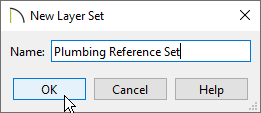
- Give the new layer set a short, descriptive name, such as Plumbing Reference Set, then click OK.
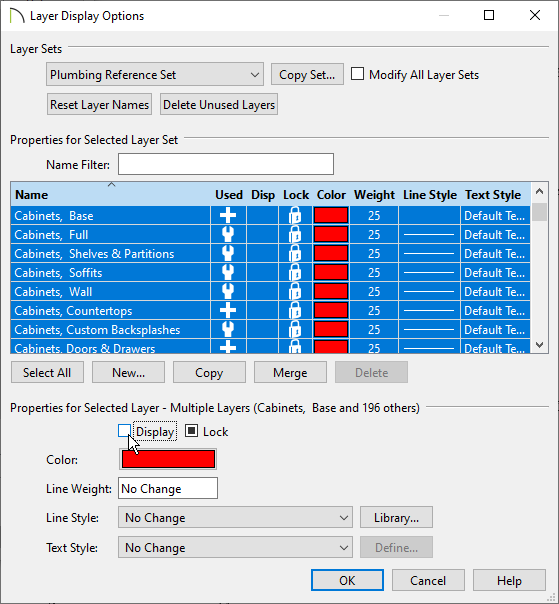
- The Layer Display Options dialog opens up, displaying the attributes of your new custom layer set.
- Click the Select All button towards the left side of the dialog, then clear the checkbox beside Display. Here, you can also change the line color, style, line weight, and the text style of your layers.
- Scroll down the list of layer names, select a layer that you wish to display in your plumbing reference such as "Fixtures, Interior", and click in the Disp column to turn on the display of this layer.
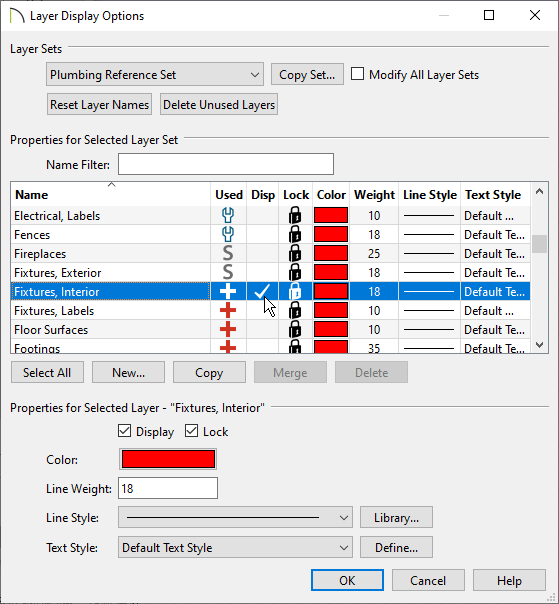
- Repeat this step to turn on the display of all the layers that you wish to include in this reference set.
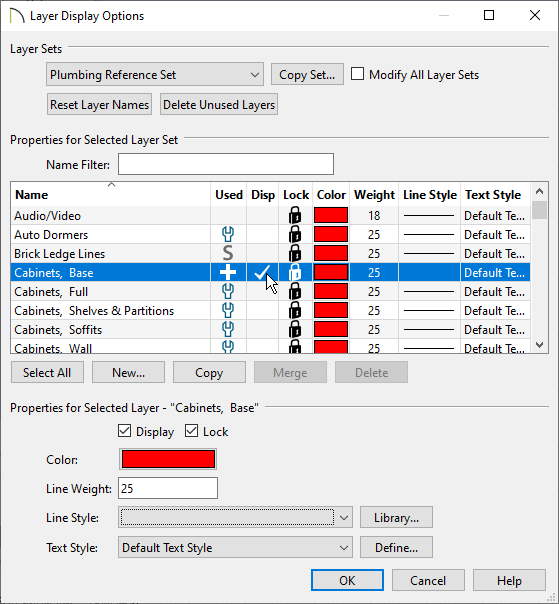
- Select the "Cabinets, Base" layer, click the Line Style drop-down arrow, and select a blank line style from the list. Then, click in the Disp column to turn on the display of this layer. This will allow you to display sink fixtures placed in cabinets without being able to see the cabinets themselves.
- When you are satisfied with the attributes of your new reference layer set, click OK to close the dialog and click OK again to close the Layer Set Management dialog.
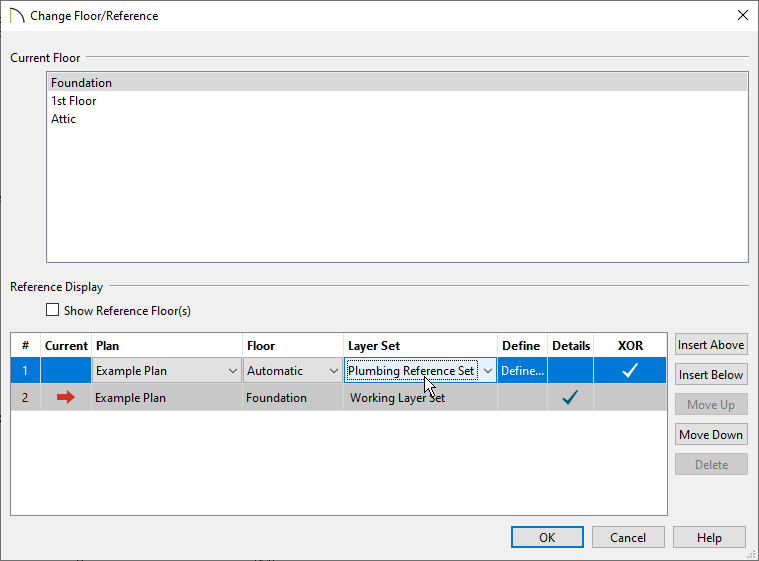
- Next, navigate to Tools> Floor/Reference Display> Change Floor/Reference.
- In the Change Floor/Reference dialog, select the drop-down for the Layer Set, select your newly created layer set, then click OK to close this dialog.
- Select Tools> Reference Floors> Up One Floor
 or Down One Floor
 to go to a different floor, then select Tools> Floor/Reference Display> Reference Floor Display
 or press F9 on your keyboard to see the referenced objects.
The reference display will now show objects on the layers that you turned on in your custom layer set. These objects can be sent to layout and/or printed.