QUESTION
I am creating a deck with different levels on a single floor of my plan and would like to position the deck railing of a lower tier directly below that of a higher tier. How can I do this?
ANSWER
You can align railings directly above/below one another by using the settings available in the Railing Specification dialog.
To create stacked deck railings
-
Open
 the plan in which you would like to vertically align a deck railing.
In this example, a simple plan with two deck rooms is used.
- If you have not done so already, create two Deck rooms with different floor heights.
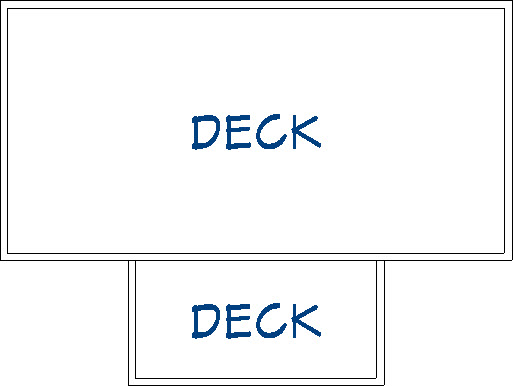
- Stacked railings typically look best if the difference between the two deck heights is at least 45", which will accommodate a 36" railing plus 9" for the deck platform and planking.
- Here, the large deck has a floor height of 72" and the smaller deck, a floor height of 18" .
- Use the Break
 tool on the intersections to segment the section of railing separating the 2 decks.
- Using the Select Objects
 tool, click on the railing separating the two Deck rooms to select it.
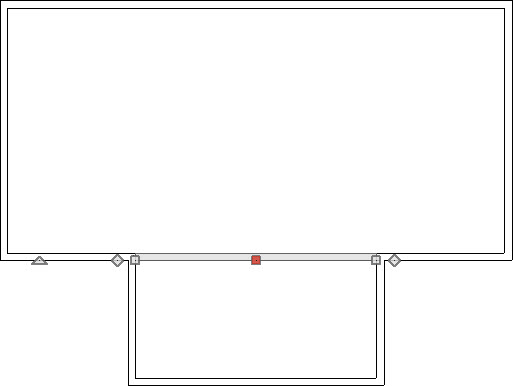
- This deck railing can divide the two rooms along its entire length, or only a portion can divide them.
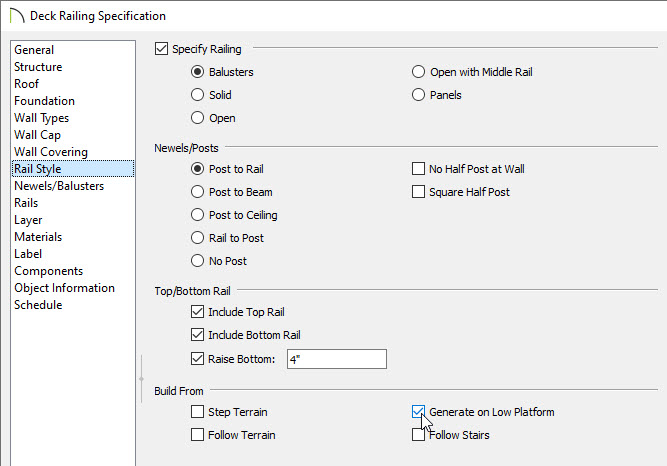
- Click the Open Object
 edit button, and on the Rail Style panel of the Deck Railing Specification dialog, check the box beside Generate on Low Platform andclick OK.
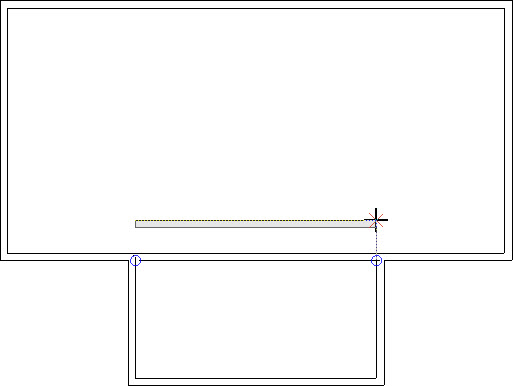
- Select Build> Railing and Deck> Straight Deck Railing
 from the menu, then click and drag a short section of deck railing parallel to the railing edited in step 4, above. This new railing section should not attach to any other walls at this time.
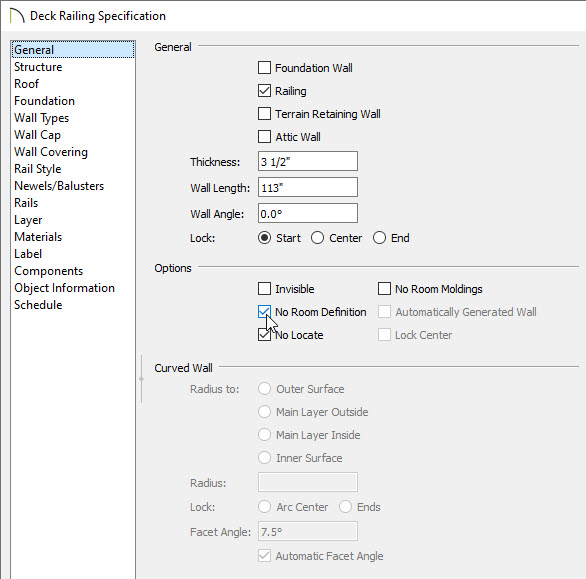
- Click on the new railing to select it, then click the Open Object edit button.
- On the General panel of the Deck Railing Specification dialog, check the box beside No Room Definition and click OK.
- Select Edit> Snap Settings
 from the menu and turn off Bumping/Pushing
  . When a setting such as Bumping/Pushing is enabled, a check-mark will display on its tool icon.
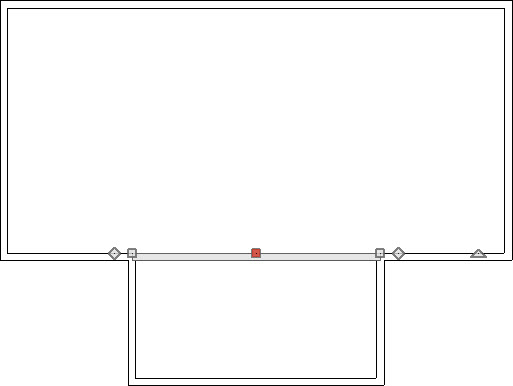
- Click on the railing that was defined as "No Room Definition" and use its edit handles to move it so that it is in the same location as the "Generate on Low Platform" railing.
- Align the two railing sections' edges as closely as possible.
- Then, lengthen the "No Room Definition" railing so that it is the same length as the railing below it.
- Finally, create a Perspective Full Overview
 or Cross Section/Elevation
  view to see the results.
