The information in this article applies to:

QUESTION
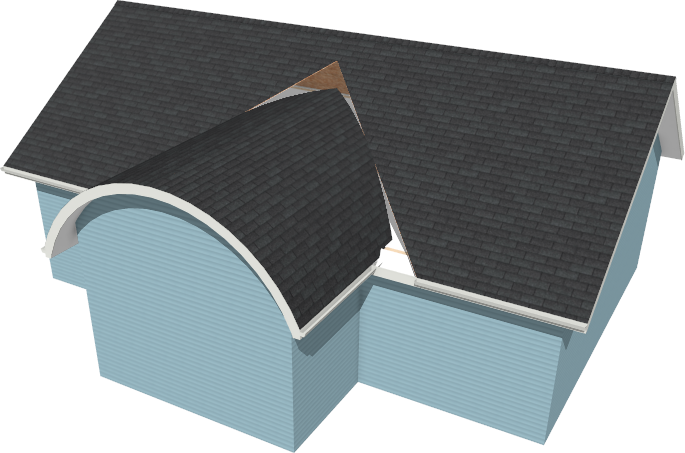
I would like to join a barrel roof to a flat gable roof. How is this accomplished?

ANSWER
An almost endless variety of roof combinations is possible using the manual and automatic roof tools in Chief Architect.
To create curved and flat roof planes
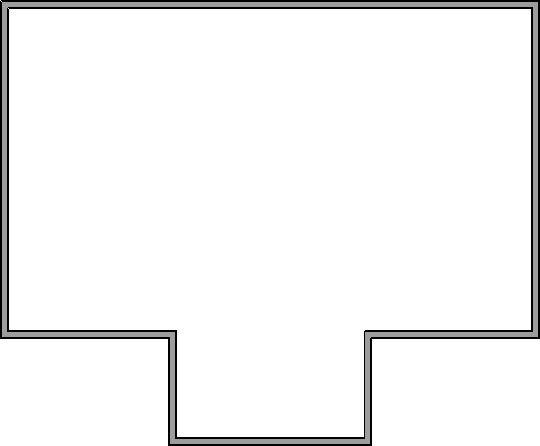
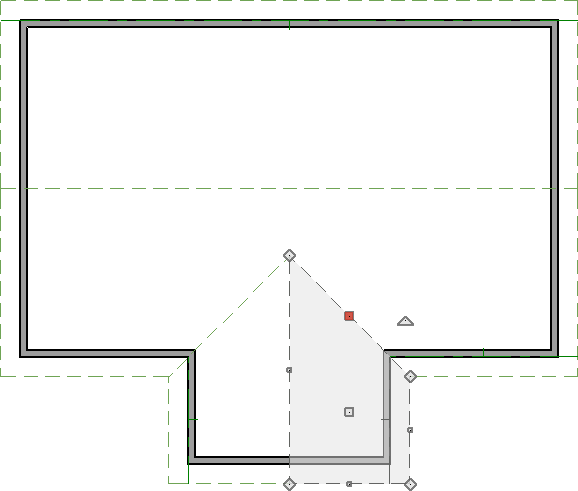
- Draw the walls of a structure with a bump-out in a clockwise fashion, as shown below.
- Select the walls that are marked in green within the image below, then click the Open Object
 edit button.
Walls can be group selected by first selecting one, holding down the Shift key, then selecting each additional wall.
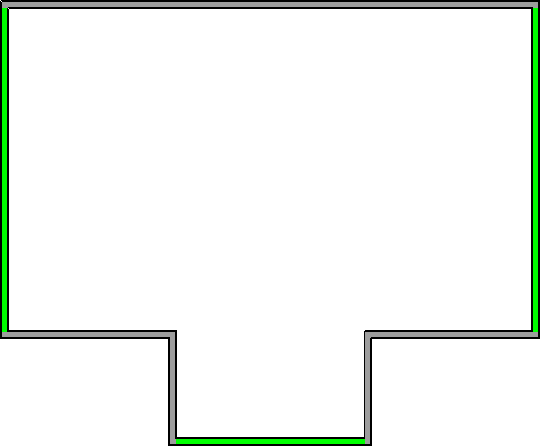
- On the Roof panel of the Wall Specification dialog that displays, select the Full Gable Wall option, then click OK.

- Select Build> Roof> Build Roof
 from the menu.
- On the Roof panel of the Build Roof dialog that displays, check the Build Roof Planes box, ensure that the Auto Rebuild Roofs box is unchecked, then click OK to generate an automatic double gable roof.
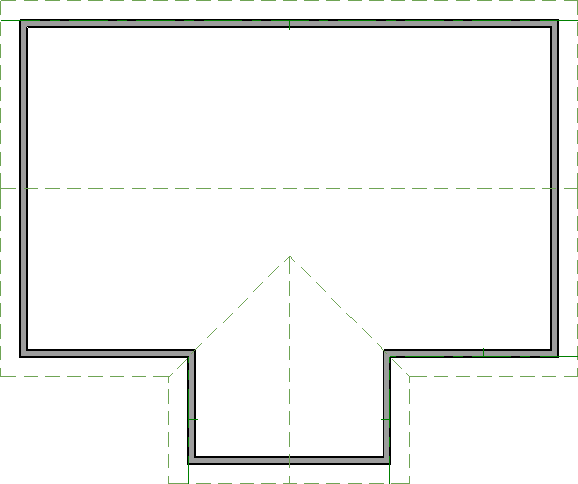
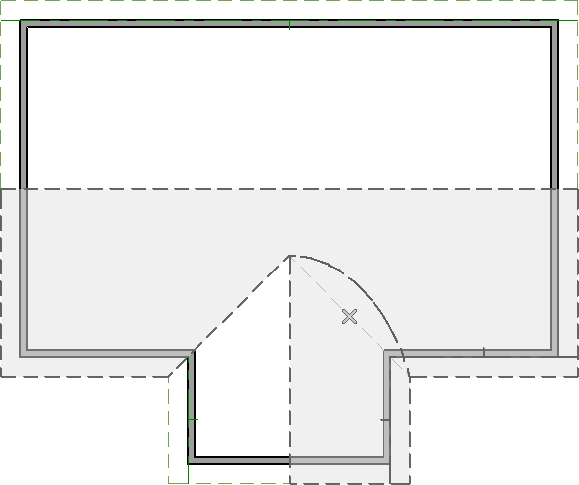
- Group select the two roof planes that are directly above the bump-out, then click the Open Object edit button.
- On the General panel of the Roof Plane Specification dialog that displays:
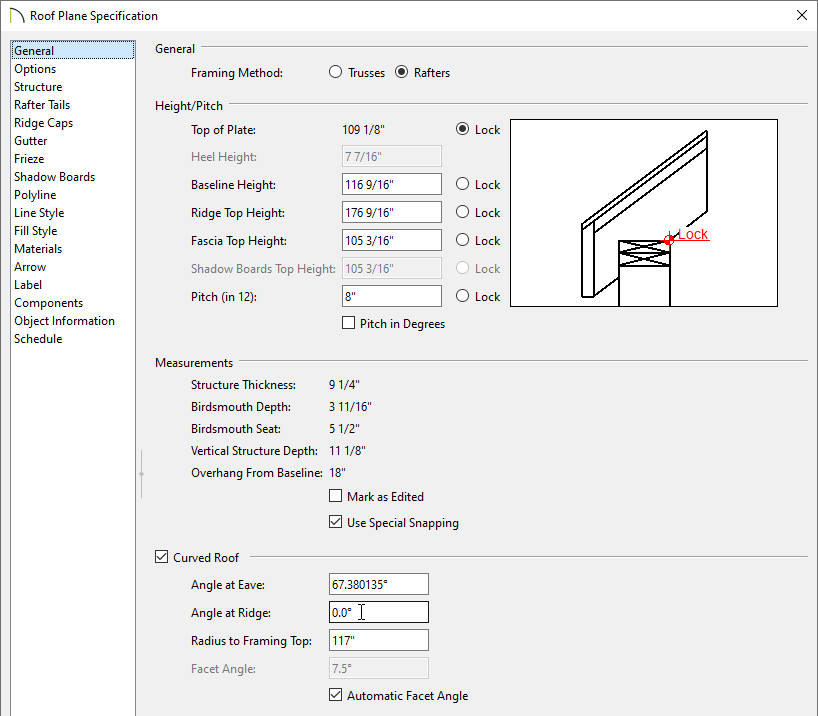
- Check the Curved Roof box, which will enable the options directly below it. A Warning message may display explaining that a change to the roof forced the plate height to change even though it was locked. Click OK.
- Specify the Angle at Ridge to be 0.
- Press the Tab key on your keyboard to apply this change without closing the dialog and notice that both the Angle at Eave and Radius values adjust to the change. Additionally, the same Warning message mentioned above may display. Click OK.
- Click OK to close the dialog.
- Select 3D> Create Perspective View> Perspective Full Overview
 to create a 3D view, and notice the gap between the flat and curved roof planes
To join the roof planes
- Return to floor plan view and click on one of the curved roof planes near the edge adjacent to the flat roof plane to select it and display its edit handles.
- With the curved roof plane selected, click the Join Roof Planes
 edit button, then click on the edge of the flat roof plane that you wish to join to. The roof edges will move, joining at the most appropriate location.
- Repeat this process with the other curved roof plane, then select 3D> Create Perspective View> Perspective Full Overview to confirm that your roof planes now join properly.
