The information in this article applies to:

QUESTION
I would like to adjust the size of a light fixture. How can I do this?

ANSWER
A light fixture has several properties that can be customized in Chief Architect, including the size, the light source, materials, as well as the properties relating to a materials list and schedule.
To customize a light fixture
-
Open
 the plan in which you would like to customize a light fixture.
- Using the Select Objects
 tool, click on the light fixture to select it, then click the Open Object
  edit tool.
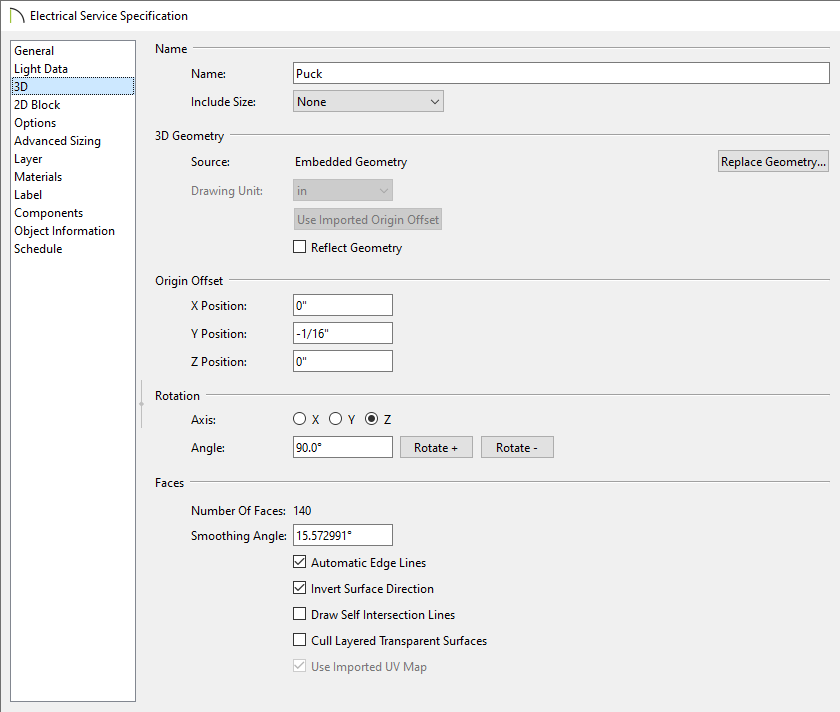
In this example, a Puck light is selected and opened.
- On the General panel of the Electrical Service Specification dialog that opens, adjust the Width, Depth, and Height to your liking.
If you're working with rope lighting, different options will be listed, including the Distance Between Lights and the Light Display Size.
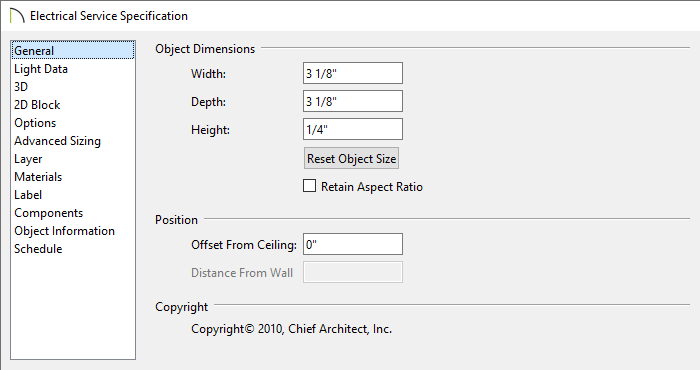
You can also modify the 2D CAD block that's assigned to the light fixture. To learn more, please see the "Editing 2D CAD Blocks Assigned to 3D Symbols" resource in the Related Articles section below.
- On the Light Data panel, modify the light source to serve your needs.
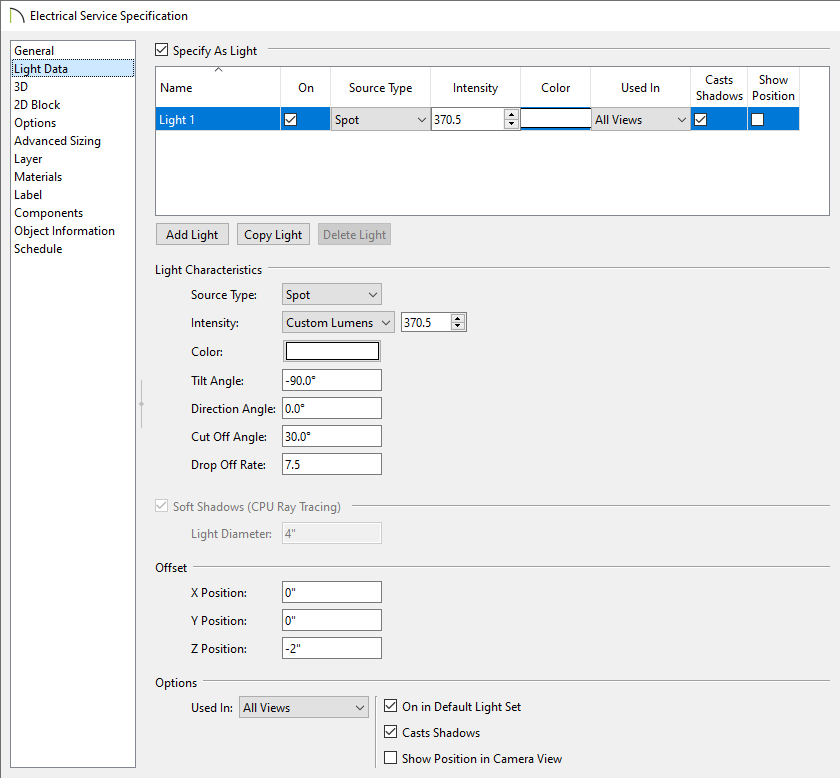
- The exact changes that you use will depend on the effect you wish to create, as well as the conditions in your plan and the location you wish to place the light.
- For more information on these settings, please see the "Working with Lighting" resource in the Related Articles section below.
-
3D, 2D Block, Options, and Advanced Sizing panels are available that allow you to edit additional characteristics associated with the fixture, including the 3D geometry, how it appears in 2D views, placement settings, and additional sizing controls.
In X14 and prior versions, these panels can be accessed by closing the dialog and selecting the Open Symbol  edit tool for the selected fixture.
-
Specify a material for the light, as well as the components associated with the fixture itself on the
Materials panel.
Lighting materials, including LED options, can be found by navigating to Chief Architect Core Catalogs> Materials> Lighting.

- Specify your desired label properties on the Label panel.
- On the Components panel, enter the Price of the fixture, as well as other information if you wish.
- On the Object Information panel:
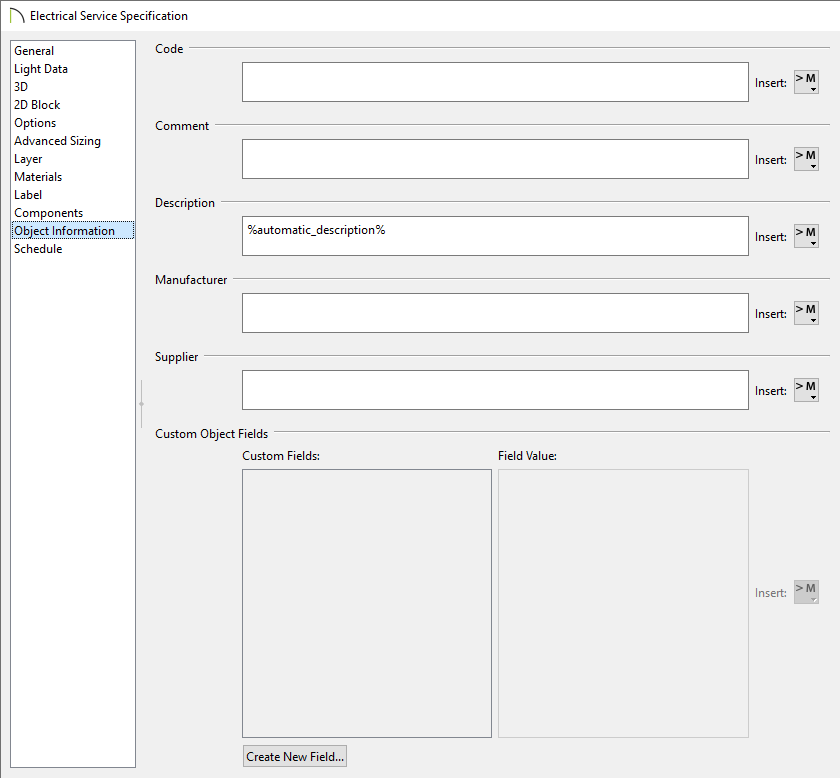
- Use the Code field to specify a SKU, if applicable.
- Use the Comment field to specify any additional comments.
- Use the Description field to specify a description for the fixture.
- Specify the fixture's Manufacturer.
- Specify the fixture's Supplier.
- Custom Object Fields can also be setup. This setting allows you to specify custom field values for use in schedules. For more information on Custom Object Fields, please refer to your program's Help documentation.
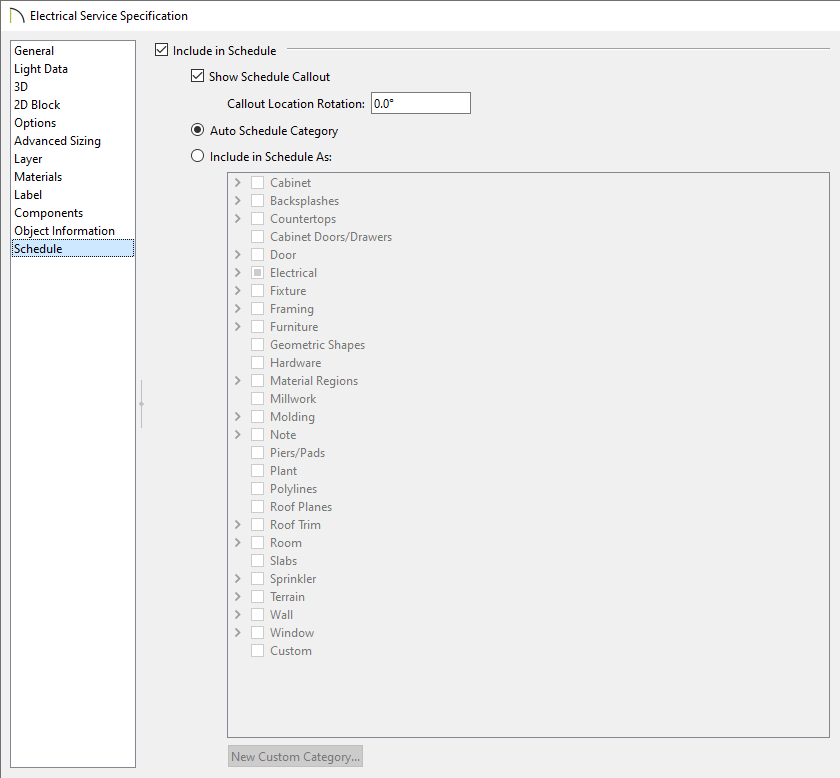
- Specify your desired schedule settings on the Schedule panel.
- Once all desired changes have been made, click OK.