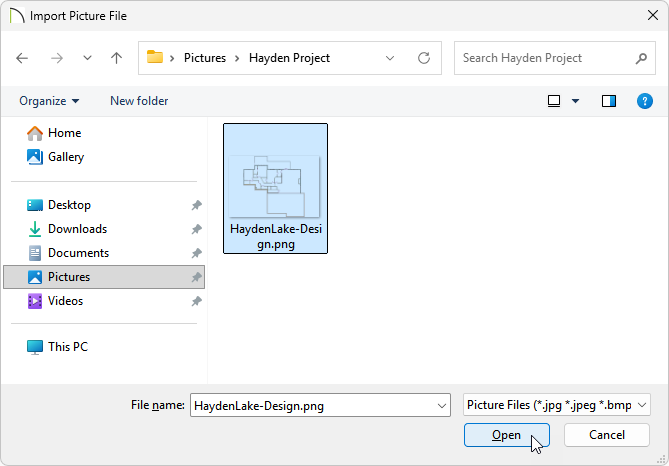
My picture has dimensions on it and I would like to import it into Chief Architect to use it to create a 1:1 scale drawing. How do I do this?
There isn't a way to convert a digital image into a 3D model in Chief Architect; however, you can use an image of a floor plan, or a PDF, as a template to trace over. In many cases, imported images and PDFs are not scaled, so in order to produce an accurate model, you will need to make some adjustments to your drawing.
 or File> Import> Import PDF
 Note: When using Traditional File Management, it is recommended to keep this file, as well as any other related files that are imported, in the same folder as your plan file. This is especially important when you use the Export Project or Backup Entire Plan/Layout tool to create a project backup for transfer to another system. Please see the Related Articles section to learn more.
Note: When an image or PDF is imported, it will be in the Back Drawing Group allowing you the ability to draw on top of it using the Chief Architect tools.
You can change the Drawing Group of an imported image or PDF by first selecting the imported file, and then selecting the View Drawing Order Edit Tools edit button on the Edit Toolbar.
If you're using Project Management, you will receive a message; click OK on this message to complete the import.
*Does not apply to legacy Home Designer Suite and Home Designer Architectural.
If you're using Traditional File Management, or if you're using X16/2025 and prior, when you import an image or PDF you are referencing a file on your computer and not actually saving it in your design. This means that if the image or PDF file were to be moved or deleted from your computer, you would no longer be able to see the image or PDF without relinking the file.
Instead of relying on the link to the image or PDF, you are able to instead save the image or PDF. However, do keep in mind that this may increase the overall file size of your projects.
If you're using Project Management in X17/2026 and newer, when you import an image or PDF it is saved as an Asset. The plan links to the new Asset rather than the selected file, meaning even if the file you imported is moved/deleted from your system it will remain in your plan. The imported Asset can then be accessed in the Asset Management dialog.
If you're using Project Management, you can skip the steps below and continue to the next section.

*Applies to Chief Architect Premier, Home Designer 2026 and newer, and legacy Home Designer Pro.

For best results, use dimensions to accurately size and position all of the walls after you are finished tracing over the file.
*Applies to legacy Home Designer Suite and Home Designer Architectural
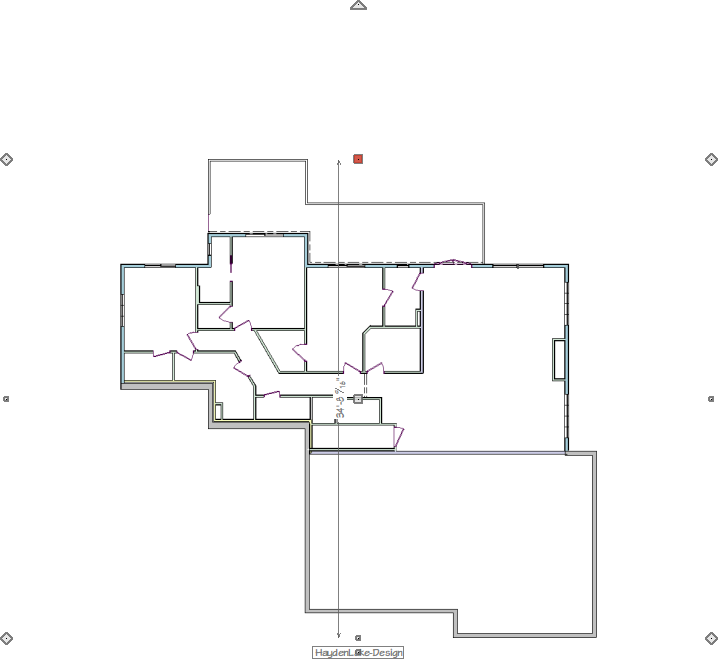
For best results, use dimensions to accurately size and position all of the walls after you are finished tracing over the file.
 it, or you can hide the layer that the image or PDF is on by continuing to the next step.
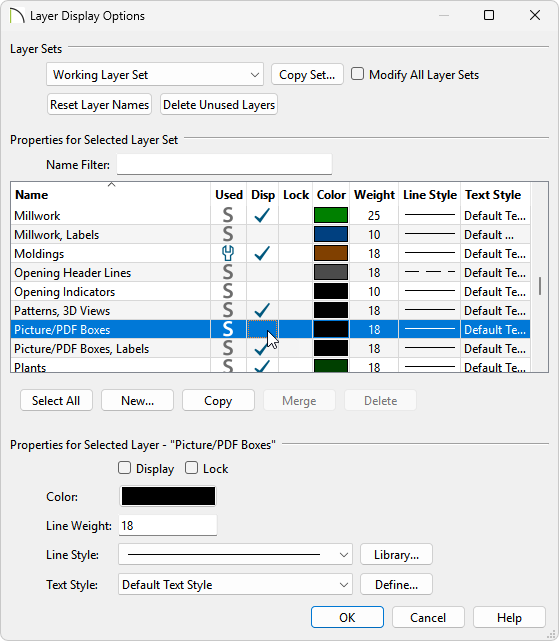
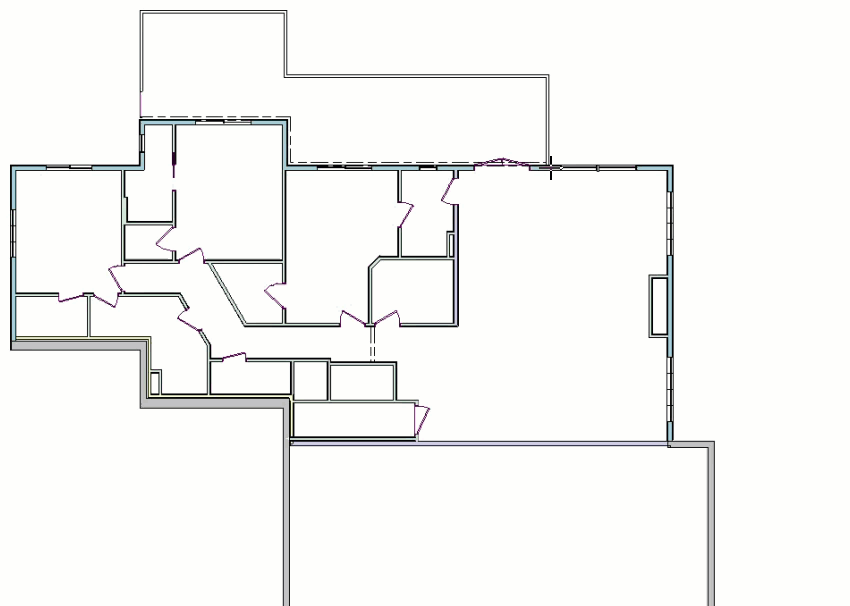
By adding fixtures, furniture and walls over the picture you will create a duplicate of the original floor plan image, and will be able to see your creation in a 3D camera view.
In this manner,your image or PDF can be used as a guide or template while creating a floor plan, and a drawing scaled at 1:1 can be produced using your Chief Architect software.