The information in this article applies to:

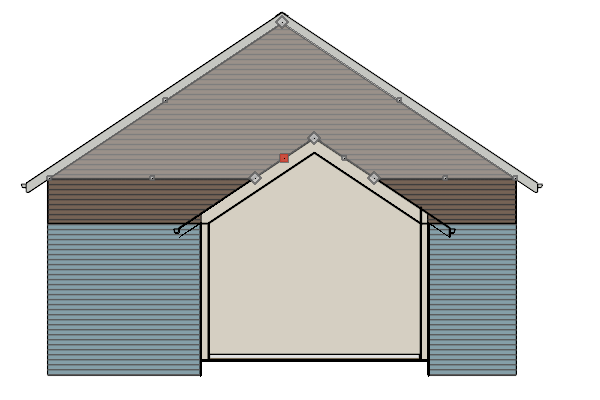
My latest project involves converting an attached garage into a living area with cathedral ceiling, and part of an existing exterior wall is showing siding in the interior of the addition area rather than sheetrock.
How can I create a single wall that has sheet rock where it is serves as an interior wall, and siding where it serves as an exterior wall?
In some situations, a single wall may need to serve as both an exterior wall with sheathing and siding materials and also an interior wall with sheetrock.
A classic example of this is where a bump-out or addition meets the gable wall of a taller structure. The roof over the addition will butt against the taller gable wall, and the gable wall will require siding above the roof and sheetrock below it.

This condition can be easily achieved using the Lower Wall Type if Split by Butting Roof option in the Wall Specification dialog.
 from the menu, then click in front of the wall that you need to edit and drag a short camera arrow beginning in the one-story area and ending on the other side of the wall, in the two-story area.
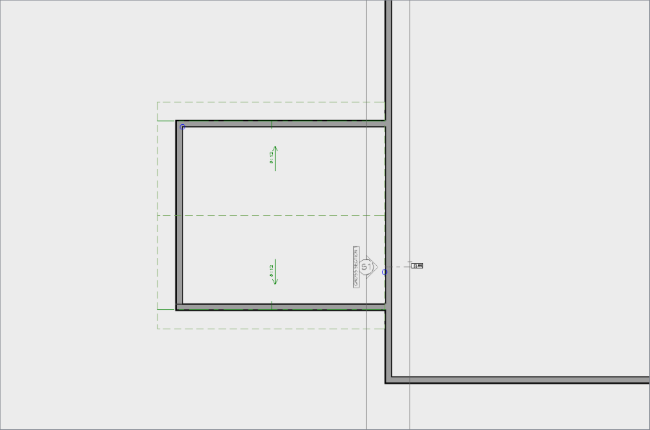
 tool, then click on the wall that has siding where it is not needed.
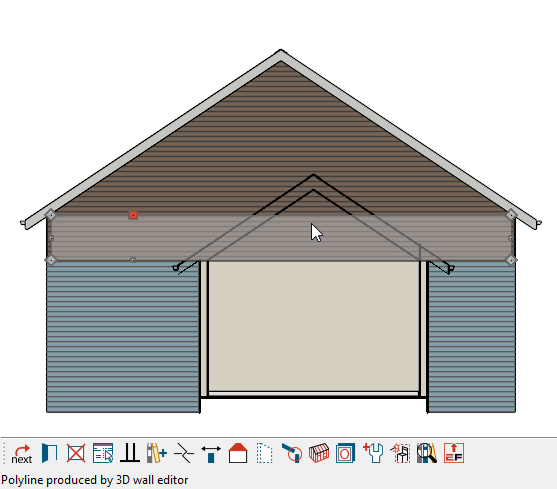
 edit button or press the Tab key on your keyboard.
 edit button. On the Roof panel of the Wall Specification dialog:
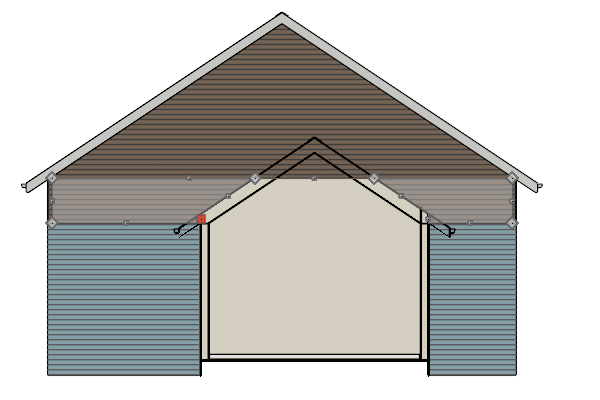 edit button and go to the Wall Types panel in the Wall Specification dialog, you will find that the wall has been automatically specified as a Pony Wall.