The information in this article applies to:

QUESTION
How do I create a beam?

ANSWER
Floor/Ceiling Beams and Roof Beams are not automatically generated: they can only be drawn manually.
There are three types of beams you can create in Chief Architect: floor, ceiling and roof beams.
To create a beam
- Open the plan in which you would like to add a floor or ceiling beam, select Edit> Default Settings
 , locate and select the Framing category, then click Edit.
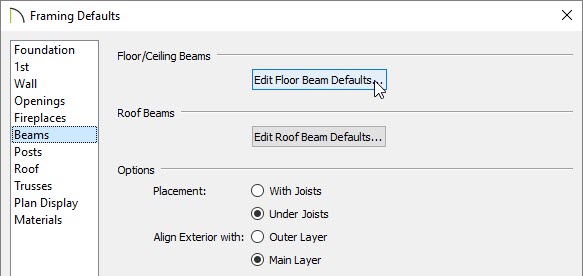
- On the Beams panel of the Framing Defaults dialog that opens, click on the Edit Floor Beam Defaults button.
-
In the Floor Beam Defaults dialog, set the default values to your liking.
Note that these are just the initial default values. You can always modify an individual beam to be different from the defaults once it is placed in your plan.
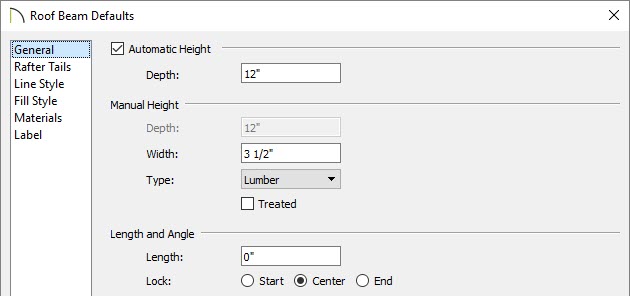
- Once you have finished making these changes, click OK to apply them, and repeat the process for roof beams.
-
Next, select Build> Framing> Floor/Ceiling Beam
 or Roof Beam
  , depending on the type of beam you want to create.
Remember the floor framing is drawn on the floor below the floor in question. If you want to draw a floor beam for Floor 1, draw this object on Floor 0.
- Click and drag to create the beam.
- You can then use the Transform/Replicate
 or Multiple Copy
  edit tools to replicate the beam across the room or structure.