The information in this article applies to:

QUESTION
How can I create a screened-in porch in Chief Architect?

ANSWER
Screened panels can be created by applying a custom material to the glass in a window and then using copies of this window to form a porch.
To place and position the windows
- Select Build> Window> Window
 and place a window into a wall that defines your porch.
- Select 3D> Create Orthographic View> Cross Section/Elevation
 and take a cross section of the screen porch wall containing the window.
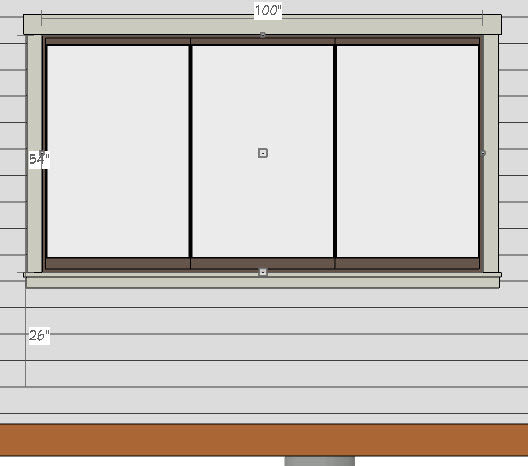
- In the Cross Section/Elevation view, select your window and using the edit handles:
- Adjust the top height of the window to match the top of your wall
- Adjust the bottom height of the window to the height where you want the bottom of your screen to start
To change the material from glass to a screen material
- Using the Select Objects
 tool, select the window and click the Open Object
  edit button.
- On the General panel of the Window Specification dialog that opens, change the Window Type to Fixed Glass.
- Select the Materials panel, select the Glass component, then click on the Select Material button.
- On the Library Materials panel of the Select Material dialog that opens, navigate to Chief Architect Core Catalogs> Materials> Fabric & Wall Coverings> Sheers & Shades> Screen> Screen, select it, then click OK.

- Click OK once more to close the dialog completely, applying the change.
- Repeat this process for any remaining porch windows in your plan.