When I create a Full Overview, the image that is generated is much smaller than it used to be, or the view appears blank. Why is this occurring?
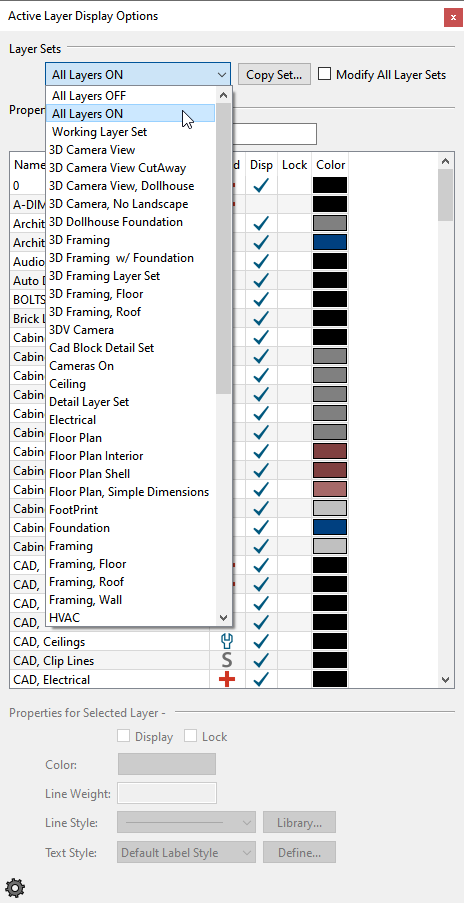
When generating a 3D Full Overview or Floor Overview camera view, the program will look at all of the objects that are set to display in that view. So if you have an object in the distance that may be significantly smaller in regards to the relationship to the actual structure in the plan, the program will generate the view to include that object, but it may be difficult to see.
If you delete the stray object, or move it closer to the structure, and then recreate the camera view, it will display normally.
A Terrain Perimeter is included when you create an Overview, so if your terrain is quite large, and your house is small in comparison, consider using a normal Camera instead of an Overview to create your views
 or press the F6 key to view everything on screen that is visible. If you are zoomed in so close that only a portion of the view displays on screen, selecting Fill Window zooms out so that the entire view fits on the screen, which will include the stray object(s), allowing you to more easily locate them.
 tool.
tool. tool to select the stray object(s).
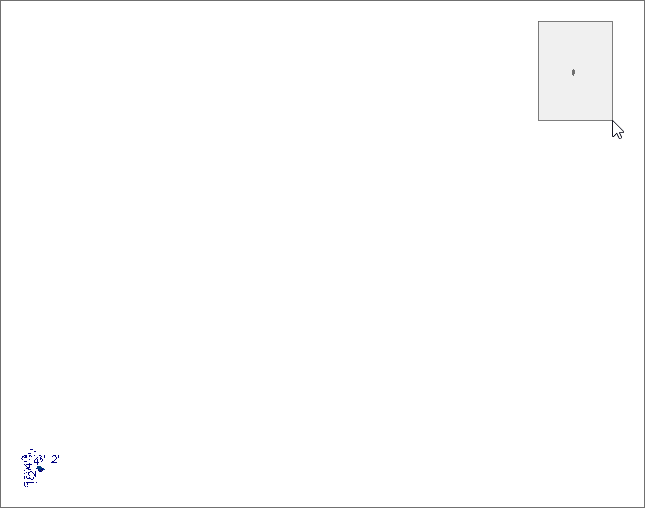
 edit button or the Delete key on your keyboard to remove the object(s). option again to ensure that the structure now appears as expected.
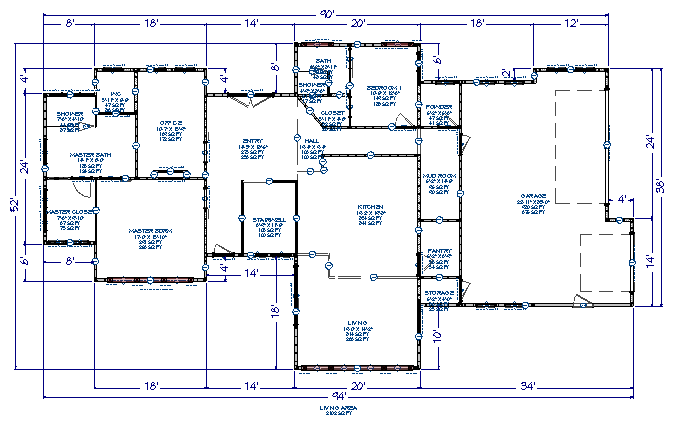
If you are unable to locate the stray object(s), please contact Technical Support using the Technical Support Center.