The information in this article applies to:

QUESTION
I would like to add GFCI outlets to my plans. How do I do this?
ANSWER
GFCI (ground fault circuit interrupter) outlets can be added to your plans using the dedicated GFCI Outlet tool in X13 and newer versions, or by locating and placing the GFCI library symbol in X12 and prior versions.
To add GFCI outlets in X13 and newer versions
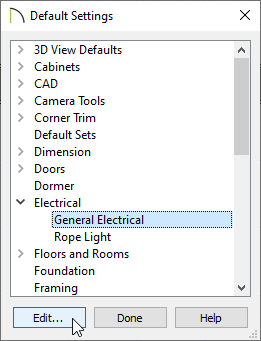
- Navigate to Edit> Default Settings
 from the menu, expand the Electrical category, select the General Electrical subcategory, then click Edit.
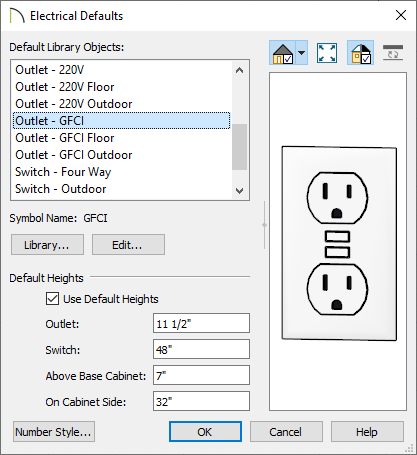
- In the Electrical Defaults dialog, select each of the Outlet - GFCI options that are located in the Default Library Objects list, verify that an appropriate symbol is chosen for each, then click OK and Done to close the dialog boxes.
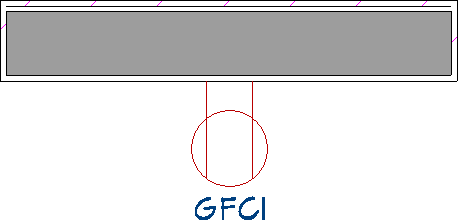
- Next, select Build> Electrical> GFCI Outlet
 , then click in your desired location to place an outlet.
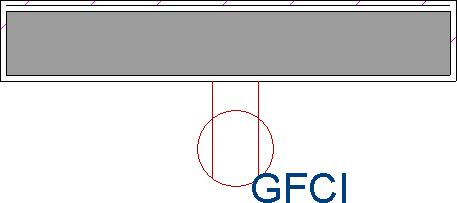
Much like the other Outlet tools, the GFCI Outlet tool can place receptacles on walls, the floor, and on the sides of cabinets and soffits.
Existing 110V outlets can also be converted to GFCI outlets using the Change to GFCI Outlet  edit button. The reverse of this can be accomplished using the Change to 110V Outlet
  edit button.
Additional outlet symbols can be located in the Library Browser by navigating to Chief Architect Core Catalogs> Mechanical, Electrical, Plumbing> Electrical> Outlets.
To add GFCI outlets in X12 and prior versions
- If the Library Browser is not already open, navigate to View> Library Browser
 , then browse to Chief Architect Core Catalogs> Mechanical, Electrical, Plumbing> Electrical> Outlets> Surface Mounted> 110V.
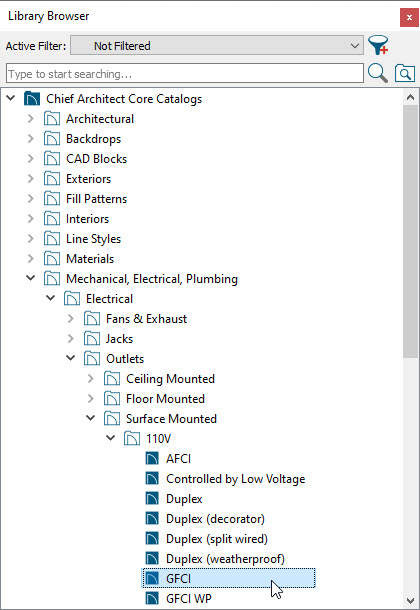
- Select the GFCI outlet symbol from the library, then click along a wall or cabinet to place it.