I want to create a Cape Cod style roof, sometimes called a story and a half or attic loft. How can I do this automatically?

There are a number of ways that a Cape Cod style house can be created automatically. We will discuss two of those options here in this article.
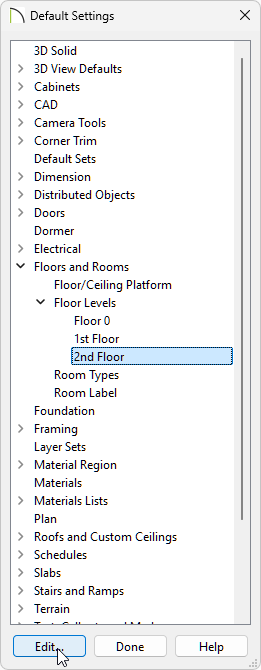
 and in the New Floor dialog that appears, click on Derive new 2nd floor plan from the 1st floor plan, then click OK.
 Note: In Chief Architect, living areas cannot be created on the Attic floor. To build a loft, you must do so on a numbered floor - in this example, Floor 2.
 to open the Build Roof dialog.
 .
.
and in the New Floor dialog that appears, click on Derive new 2nd floor plan from the 1st floor plan, then click OK. Note: In Chief Architect, living areas cannot be created on the Attic floor. To build a loft, you must do so on a numbered floor - in this example, Floor 2.
 to open the Build Roof dialog.
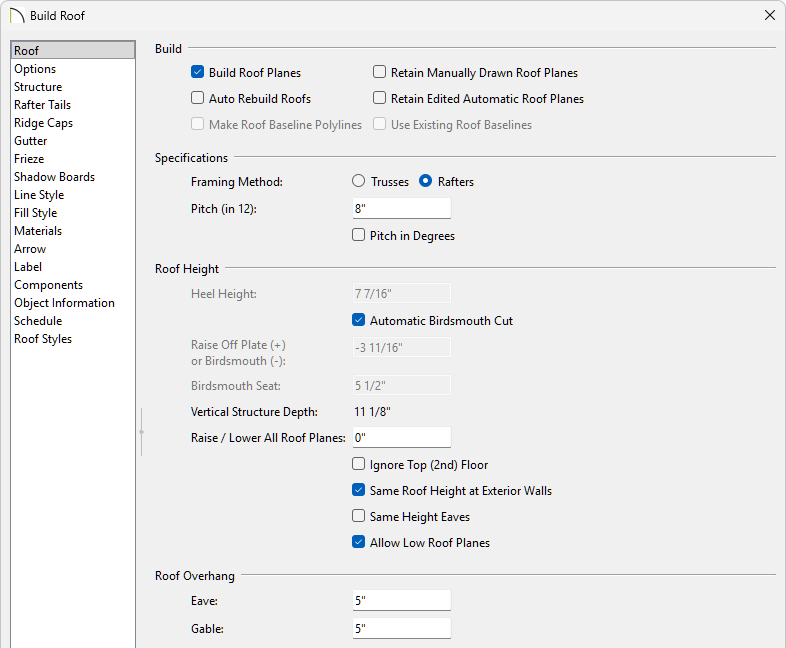
Do not use Auto Rebuild Roofs here as this will prevent step 5 below from working correctly.
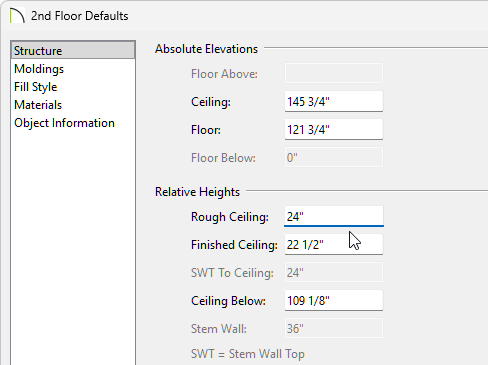
The roof is bearing on the 24" Floor 2 exterior walls, but the ceiling will now extend up to the ridge. If you decide to rebuild the roof, you will lose your Cape Cod Roof Style so be sure to set the higher ceiling default aside as one of your final tasks.