QUESTION
I would like to add wallpaper or wainscoting to my room or just to a single wall. How do I do this in Chief Architect?

ANSWER
Chief Architect provides several methods for adding materials to portions of your walls or an entire room using the Wall Covering feature.
In this article we will be covering:
Adding a wall covering to an entire room
- Using the Select Objects
 tool, select a room in your plan and click the Open Object
  edit button.
- On the Wall Covering panel of the Room Specification dialog that opens, click the Add New button.
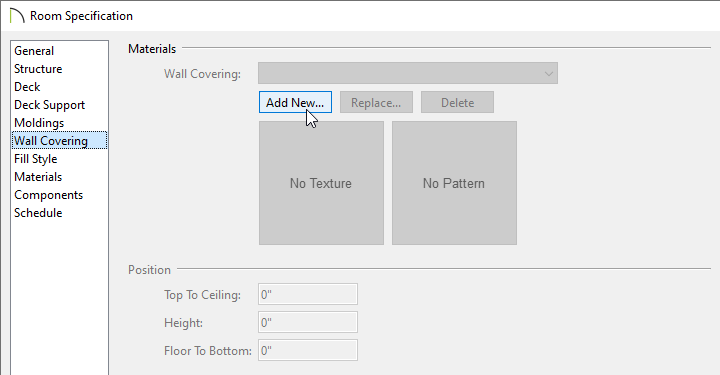
- The Select Material dialog will appear next. Select a material of your choice to use as the wall covering, then click OK.
- Use the Top To Ceiling, Height, and Floor To Bottom values to adjust the height of the wall covering and the distance off the floor.
- To add multiple wall coverings, click the Add New button again to add an additional wall covering.
- Click OK to confirm the changes.
Adding a wall covering to a single wall
- Using the Select Objects tool, select a wall in your plan and click the Open Object edit button.
- On the Wall Covering panel of the Wall Specification dialog that opens, click the Add New button.
- In the Select Material dialog that opens next, select the material to be used as the wall covering, then click OK.
- As with the room, use the Top To Ceiling, Height, and Floor To Bottom values to adjust the height of the wall covering and the distance off the floor
- Click the OK to confirm the changes.
Using the Add New, Replace, and Delete buttons, you can add multiple wall coverings to a wall or room, replace an existing covering, or delete a covering.
Controlling the span of a wall covering
You may encounter a situation where one wall spans multiple rooms. If you need the wall covering to span only one room, you may need to break the wall.
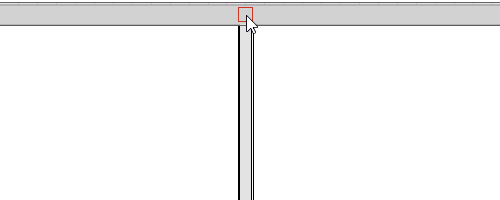
- Select the wall you want to add a break to, then click the Add Break
 edit button.
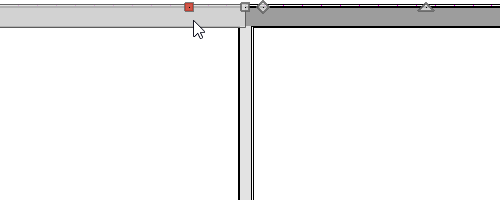
- Click on the wall at the point that you want to break it at.
- You can now select one of the wall segments to apply a wall covering to.
Replacing a wall covering
- Select the wall or room where the wall covering is applied and click the Open Object edit button.
- On the Wall Covering panel, select the wall covering you want to replace using the Wall Covering drop-down menu.
- Click the Replace button, then select a new material from the library.
- Repeat as necessary, then click OK.
Removing a wall covering
- Select the wall or room where the wall covering is applied and click the Open Object edit button.
- On the Wall Covering panel, select the wall covering you want to remove using the Wall Covering drop-down menu.
- Click the Delete button to remove the wall covering.
- Repeat as necessary, then click OK.