QUESTION
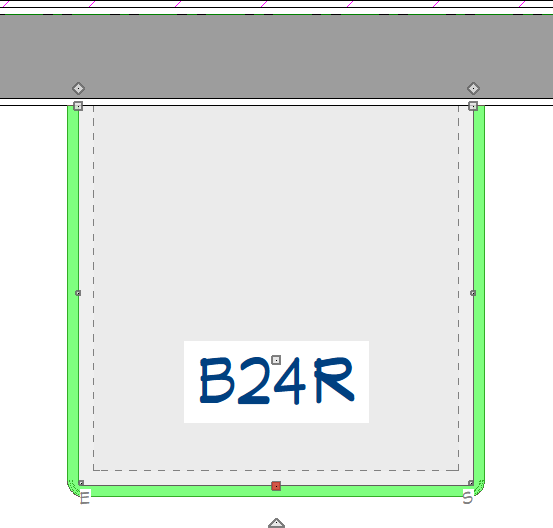
I would like to add moldings to my cabinet. How can I do this?

ANSWER
You can add one or more molding profiles to a cabinet or countertop by accessing the Moldings panel within the object's specification dialog.
If you need to make more advanced molding modifications, of which are not available in the object's specification dialog, you can then choose to separate the applied molding profile from the cabinet object using the Make Cabinet Molding Polyline edit tool.
To add molding to a cabinet using the specification dialog
- Select Build> Cabinet
 and choose the Cabinet tool of your choice.
- Click in floor plan view to add a cabinet object to your plan.
- Using the Select Objects
 tool, click on the cabinet object and select the Open Object
  edit tool.
- On the General panel, check or uncheck the Cut Room Moldings/Suppress Adjacent Room Moldings box. When checked, room moldings, when defined, will not generate on walls where the cabinet touches them. Uncheck this box if you would like moldings to generate through cabinets.
- On the Moldings panel of the object's Specification dialog that displays, click the Add New button to open the Select Library Object dialog, browse to a molding profile of your choice, then click OK.
In this example, the EM06 - Edge Molding profile is specified.
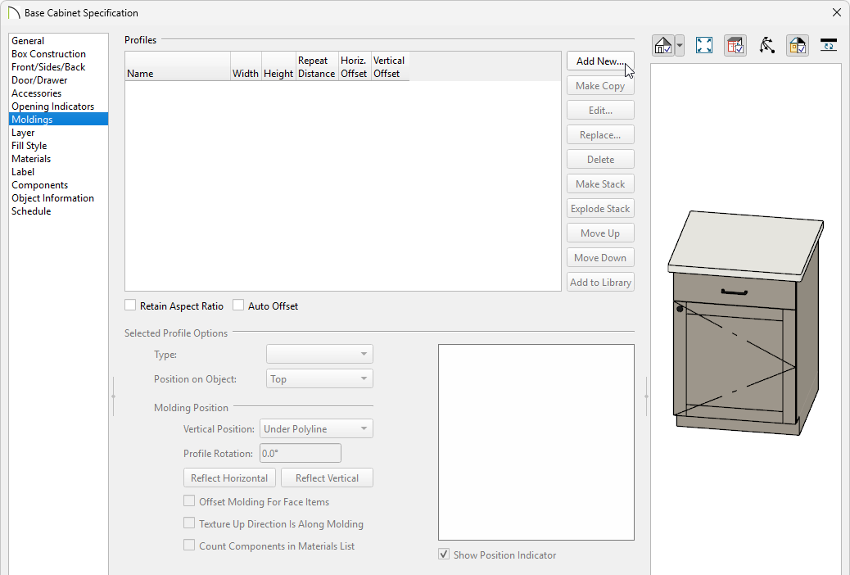
- Next, specify the moldings properties.
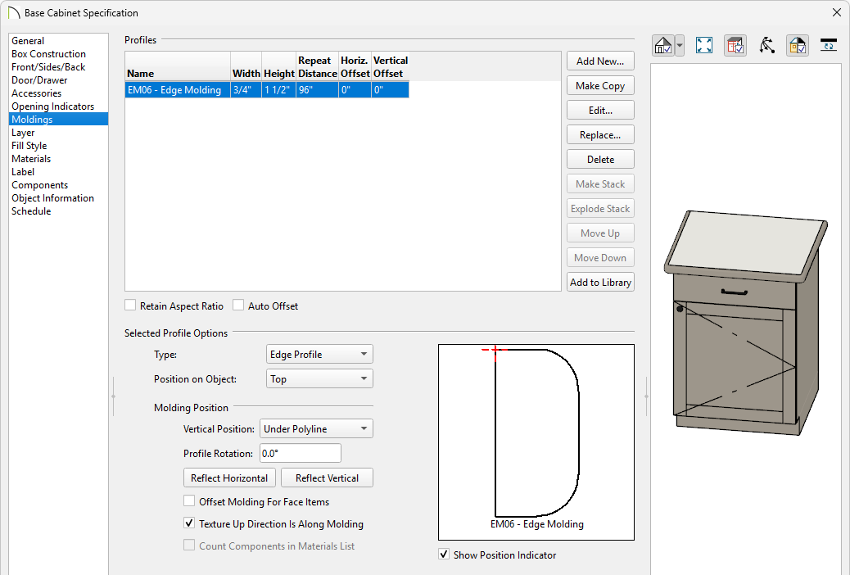
- Modify the Name, Width, and Height of the molding profile to your liking.
Check Retain Aspect Ratio if you would like the molding profile to retain its size when adjusting the width or height. When this box is not checked, both the width and height can be edited independently.
- Specify a desired Repeat Distance value, which determines the length of each stick of molding or the width of each symbol molding. This influences their count in the Materials List and affects the appearance of symbol moldings.
- A Horizontal and Vertical Offset can also be specified for the molding.
Check Auto Offset to have the program apply horizontal and vertical offset values to the selected moldings based on their widths and heights.
- Choose the Type of molding and the Position on Object* setting, if desired. The Type is reported in schedules and the Materials List, and when changed, its Position on Object setting may also change
- Specify the profile's Vertical Position*, which is the height at which the profile attaches to its owner object.
- The molding profile can be rotated and reflected using the Profile Rotation field and Reflect Horizontal/Vertical buttons.
- Check Offset Molding For Face Items to measure the selected profile's Horizontal Offset from the cabinet's front, side, and/or back face items. When unchecked, the molding is offset from the cabinet box.
- When Texture Up Direction is Along Molding* checked, the material assigned to the molding is oriented so its top-bottom axis runs in the same direction as the molding's path. Uncheck this to orient the material so its left-right axis runs in the same direction as the molding's path.
- When Count Components in Materials List is checked, the individual components of stacked profiles are counted separately in the Materials List. When unchecked, they are treated as a single profile.
Molding profiles can be copied, replaced, deleted, added to the library for use in future plans, as well as stacked with other profiles. Please access your program's Help for more information on each of these options.
*Applies to Chief Architect Premier X18 and newer versions.
- With this first molding in its correct location, you can now add additional moldings to the cabinet object by following Steps 3 - 6 above, or apply moldings to each of the Cabinet Defaults.
To make advanced modifications using the Make Cabinet Molding Polyline edit tool
This procedure separates the applied cabinet molding from the cabinet for independent editing, meaning future adjustments or repositioning of the cabinet will leave the molding polyline unaffected. It's recommended that cabinet dimensions and positioning be finalized prior to following these instructions.
- Once a molding profile has been applied to one or more cabinets using the instructions in the section above, use the Select Objects tool to select the cabinet(s) in question.
- With the cabinet(s) selected, click on the Make Cabinet Molding Polyline
 edit tool.
- In the Make Cabinet Molding Polyline dialog that displays, use the Convert Molding drop-down to select a molding profile that requires further customization, then click OK.
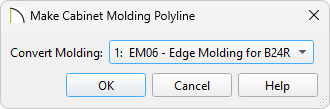
- The molding polyline will then become selected and allow you to edit its properties further.