I've drawn a structure in my plan file, but need to rotate it separately from the rest of the drawing. Alternatively, I completed a design but now need to rotate everything in a particular plan view.
What is the best way to rotate my structure, or an entire plan view?
Rotating a structure on a plan is vastly different than rotating a plan view, although each can be done using Chief Architect.
It is recommended that structures be drawn orthogonally, at 0°, 90°, etc., regardless of how it will be sitting on the plot; plot lines can be rotated to fit the structure, and the view of the plan can then be rotated prior to sending the view to layout for a final product.
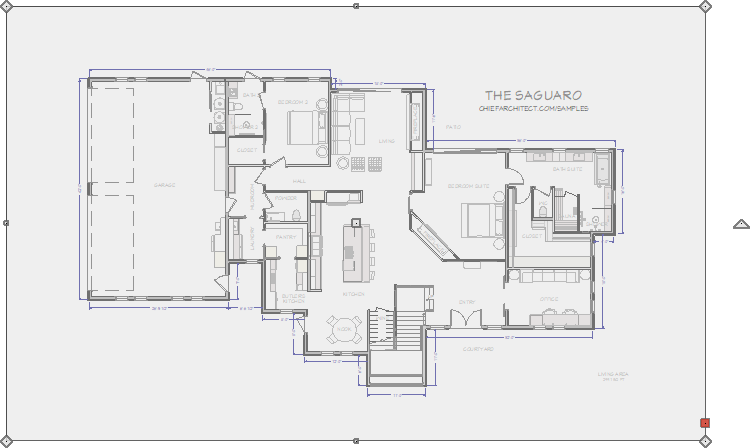
Note: It is not recommended to rotate a plan to fit an off-angle plot, or to demonstrate a structure built at an angle. Instead, keep the drawing squared for design purposes, rotate the plot and use Rotate Plan View to orient the view of the plan with the plot prior to sending the view to Layout.
If you'd like to rotate everything in a floor plan view, including all objects on all floors, the Snap and Reference Grids, the plan’s Cartesian coordinates, and the drawing sheet, use the Rotate Plan View tool.
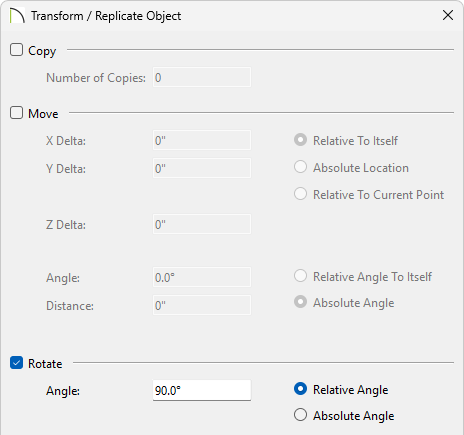
Select Tools> Rotate Plan View ![]() from the menu and enter the desired rotation amount in degrees.
from the menu and enter the desired rotation amount in degrees.
It is important to note that when rotating the Plan View, that all of the text on the plan may need to be reoriented. This can be done by modifying the text defaults for the plan.
By default, all Text, Label, and Rich Text objects are set to rotate with the plan view, meaning if you rotate the plan view 45°, all text and labels will be angled 45° to match the new plan view.
These different text objects pull defaults from a few different areas, so it's important to know what to modify depending on what text you want rotated with the plan, and what you want level on the page.
Start by selecting Edit> Default Settings ![]() , click the arrow to expand the Text, Callouts and Markers section.
, click the arrow to expand the Text, Callouts and Markers section.
For standard Text and Labels:
Note: In the Saved Text Styles dialog, there are a number of Text Styles that you may want to modify. With exception to Default Label Style and Room Label Style, the various text styles are used in different Default/Annotation Sets, so it is important to note what text styles are modified if you decide to change Default Sets later.
Primarily, 1/4" Text Style, Default Text Style, and Room Label Style will likely need to be modified.
Default Label Style controls other object labels, such as doors and windows, and should likely be left alone.
For Rich Text:
Note: Like Text Styles, Rich Text Defaults vary depending on the Default/Annotation Set used. For example, if modifications have been made only to 1/4" Scale Rich Text Defaults and the Default/Annotation set is changed to another Default/Annotation Set, these modifications will not be used.