QUESTION
I need to design a custom cabinet front to fit my specific needs. How can I create a custom cabinet front in Chief Architect?

ANSWER
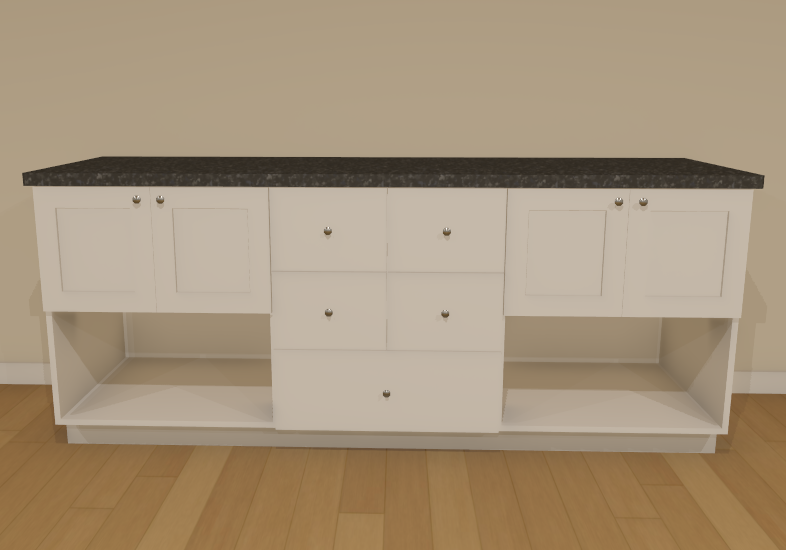
You can create custom cabinet fronts easily by using the settings located on the Front/Sides/Back panel of the Cabinet Specification dialog. In this article, we will describe how to create the double sink bathroom vanity shown in the image above.
Using the techniques mentioned here, you can create many different types of symmetric and asymmetrical cabinet combinations, such as for vanities, kitchen islands, china cabinets and hutches.
To create a cabinet with a custom front
- Select Build> Cabinet> Base Cabinet
 from the menu, then click in the plan to place a base cabinet.
- Using the Select Objects
 tool, select the cabinet,, then click on the Open Object
  edit button.
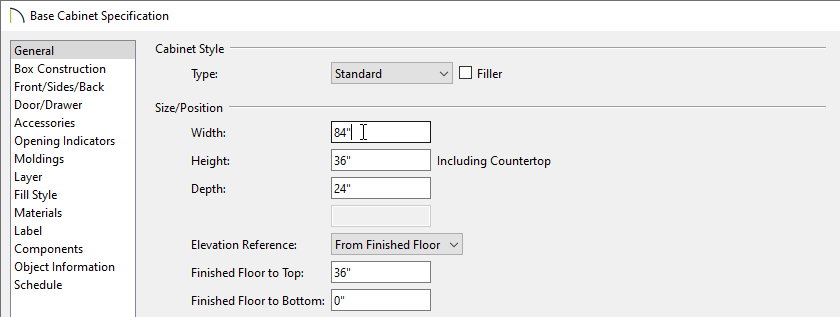
- On the General panel, set the Width of the cabinet to 84".
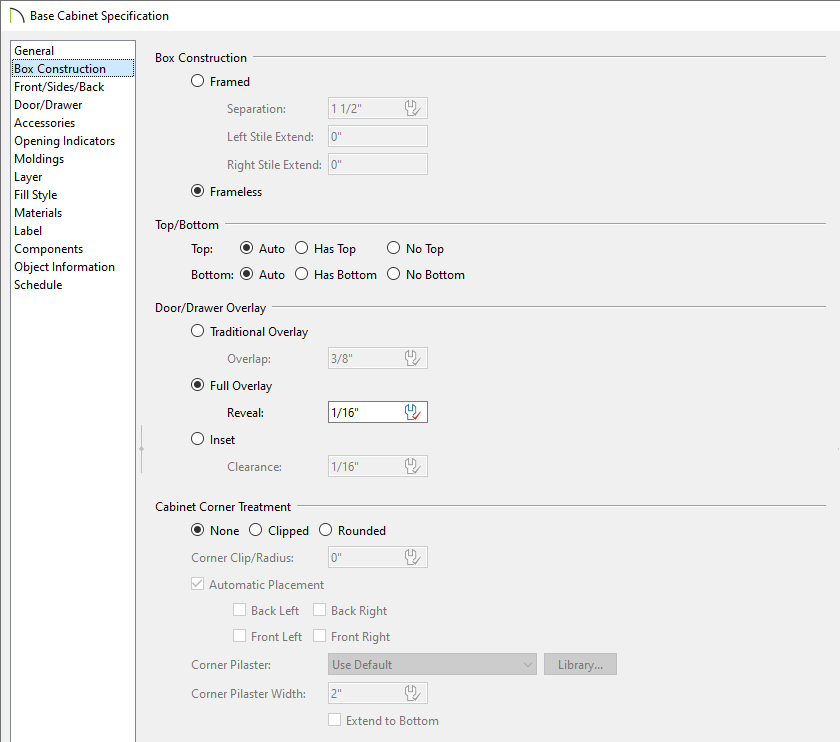
- On the Box Construction panel you can specify if it's a Framed or Frameless cabinet, determine if there is a Top and/or Bottom, set the Overlay, and choose the Cabinet Corner Treatment options.
- On the Front/Sides/Back panel, select Front for the Cabinet Side and Custom Face for the Side Type.
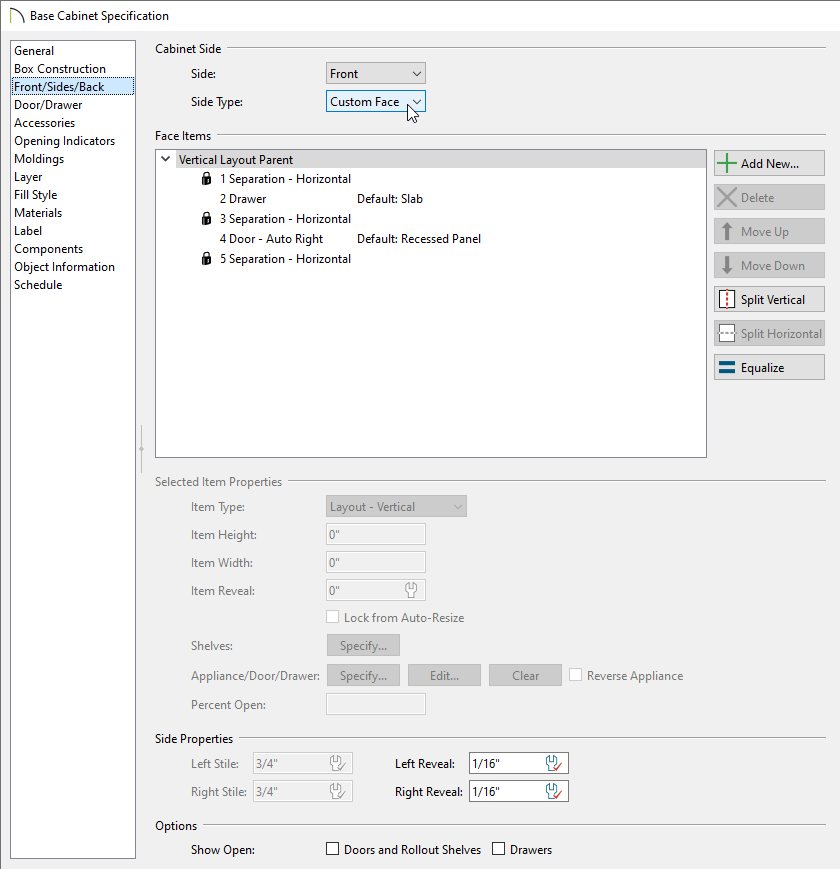
The left and right reveal can be adjusted for the cabinet using the fields under the Face Properties section.
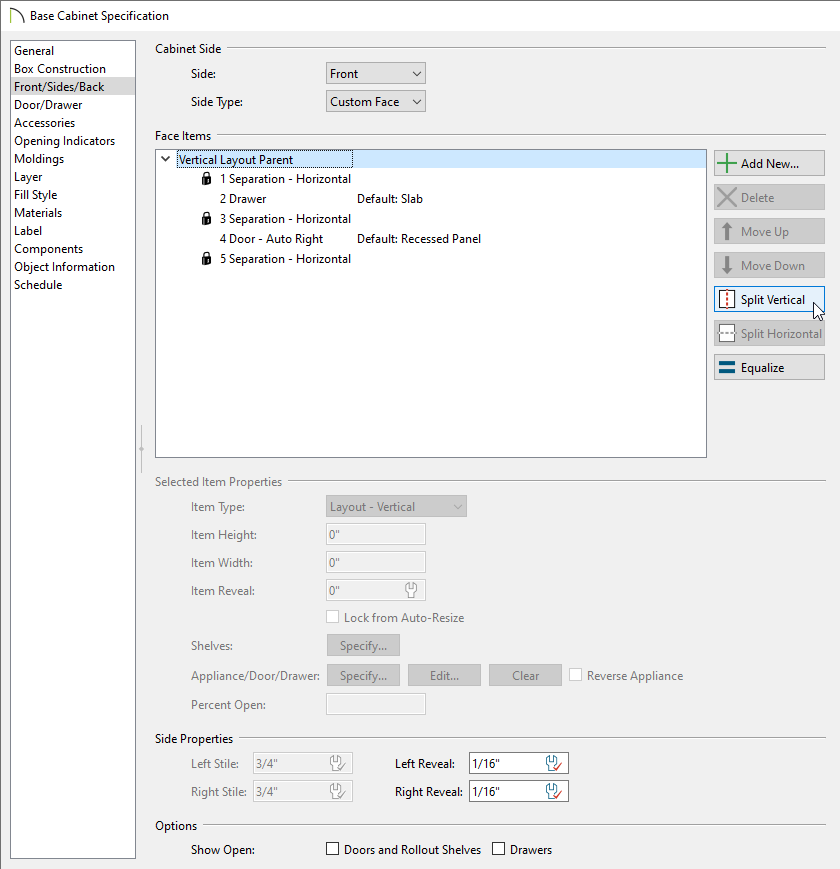
- Remaining on the Front/Sides/Back panel, select the "Vertical Layout Parent" option in the list of Face Items, then click the Split Vertical button.
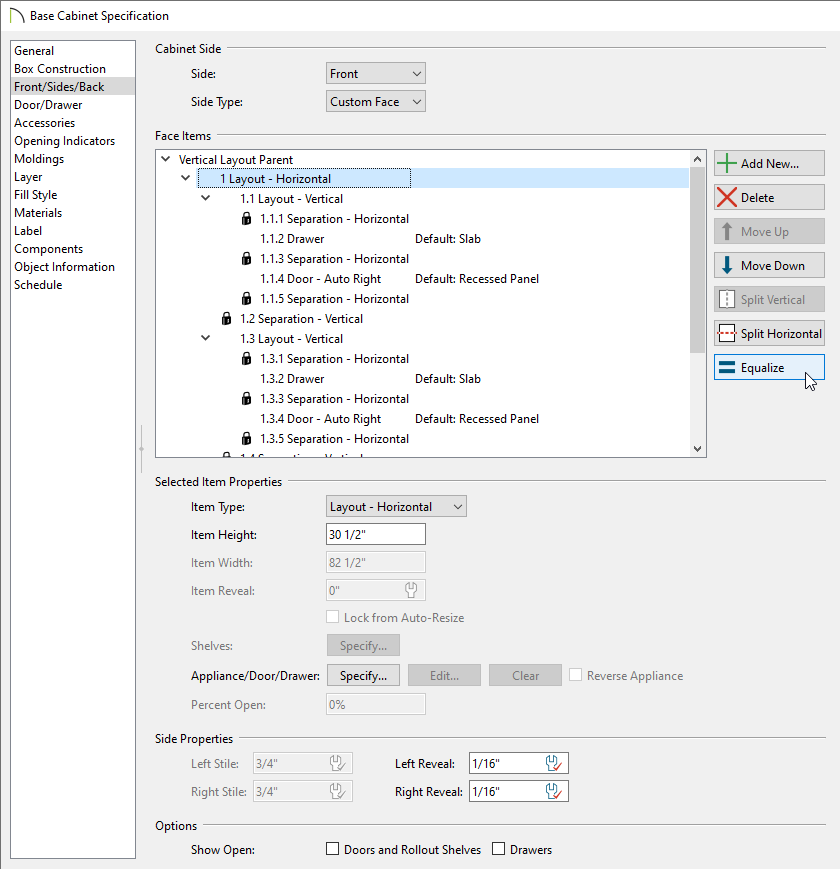
- Select "Layout - Vertical" on the left half of the cabinet and click the Split Vertical button again.
- Next, select the "Layout - Horizontal" and click the Equalize button.
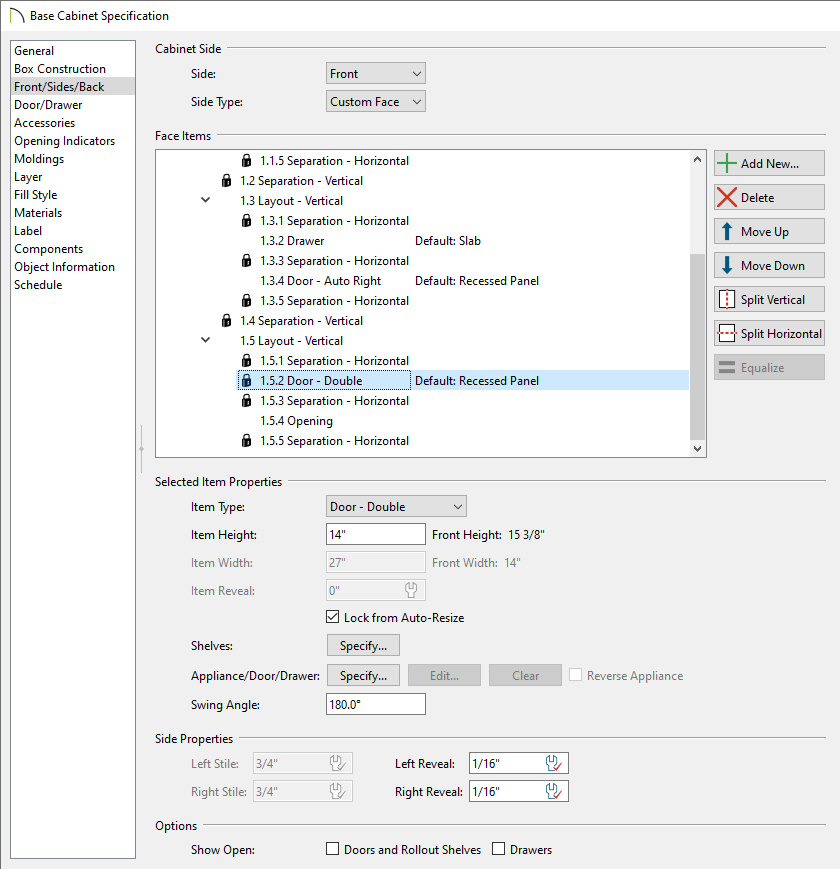
- In the preview, select the left lower doors and change them to an Opening using the Item Type drop-down. Select the left drawer and change the Item Type to Door - Double. Set the height of the Double Door to 14". Repeat these steps for the right side.
- Click on the center drawer in the 3D preview to select it.
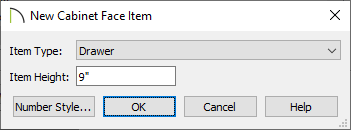
- With the drawer face item selected, click on the Add New button. In the New Cabinet Face Item dialog that displays, change the Item Type to a Drawer, change the Item Height to 9", then click OK.
- Select the top drawer and change the Item Height to 9" also, then select the Split Vertical button. Select the second drawer and again click Split Vertical.
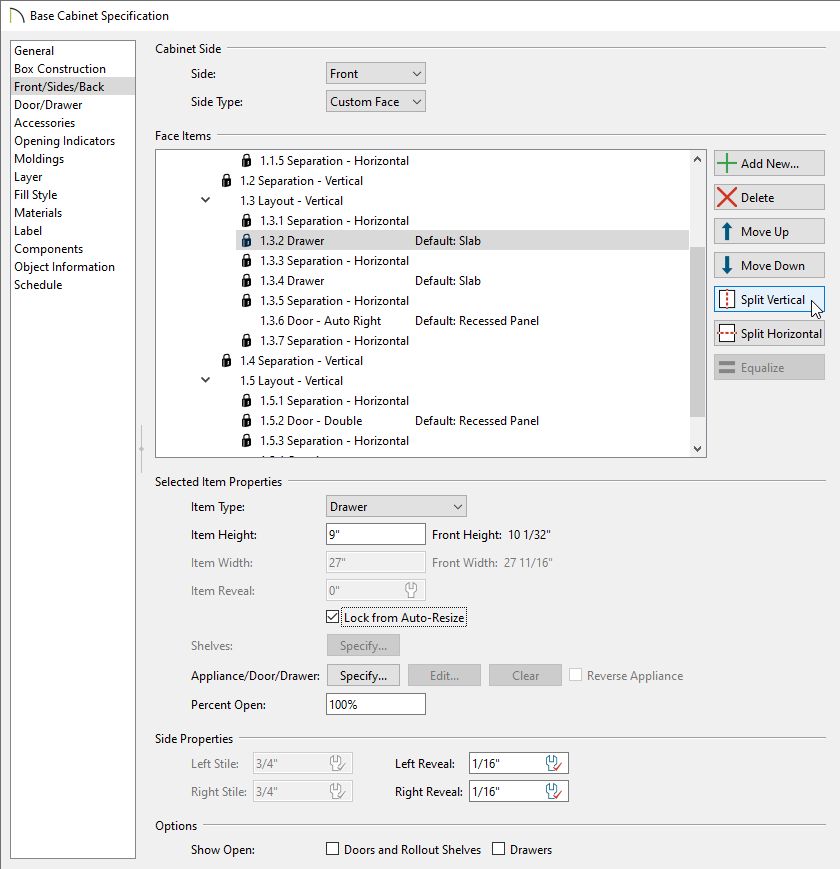
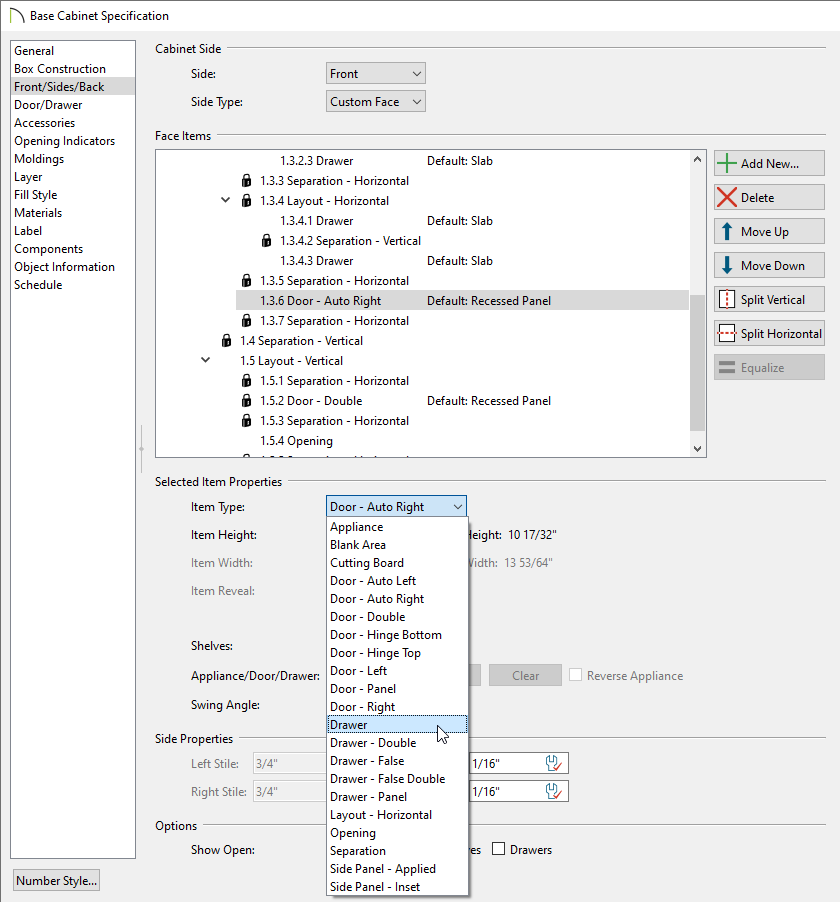
- Select the bottom double doors and change the Item Type to Drawer.
- Make any other desired changes to the cabinet, such as to the Materials, then click OK.
- Take a Camera
 view to see the results.
