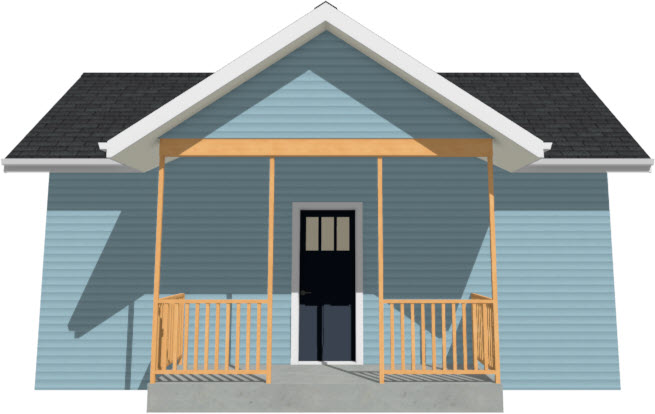
I have a gap between my deck/porch beam and the gable roof above it. How can I fill in the gap with a manual attic wall?

It's easy to manually create attic walls to fill in gaps, and can be beneficial in instances where the program can't determine where one is needed, or if the automatic attic wall generation setting has been turned off.
 the plan in which you need to manually draw in the gable wall.
 from the menu.
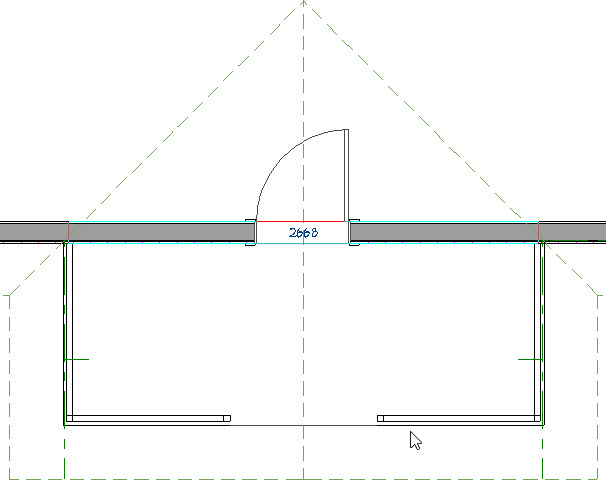
 , so that a red outline of the wall/railing below displays.
The Reference Display shows content that is placed on another floor level. For more information on using the Reference Display, please see the Related Articles section below.
 , then click and drag a wall the same length as the wall/railing below it, making sure to snap to the red reference line.
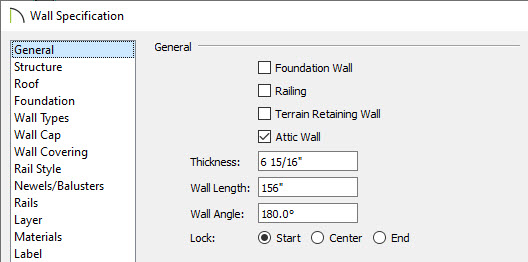
 tool to select the wall, then click on the Open Object
  edit button.