This article also applies to the following legacy products:
Pro | Architectural | Suite
QUESTION
When I open a file that another Chief Architect user has sent to me, or a file created in a previous version of Chief Architect, I receive the following message:
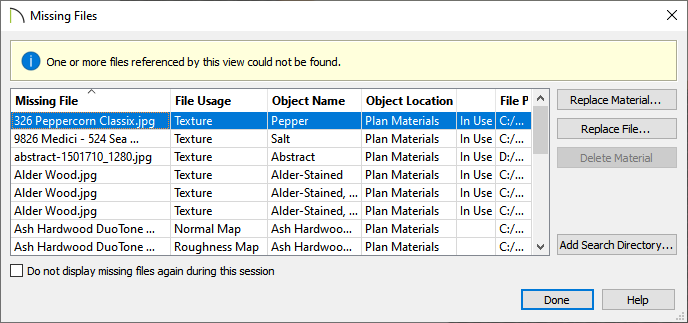
- "One or more files referenced by this view could not be found."
Why is this message appearing?
ANSWER
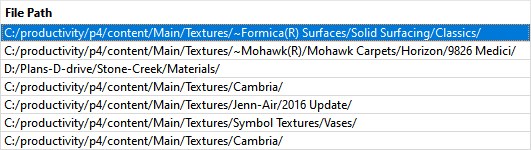
This Information message displays when the program cannot find a file associated with the plan or layout file you are opening. This message displays the file path, and when extended, it will show you the original location of the missing file.
- If the missing file is associated with an item or material in the Chief Architect Catalogs, you may be able to resolve the issue simply by downloading the needed library content:
- If it's a Core library item or material, navigate to Library> Update Library Catalogs
 .
.
- If it's an item or material in a Bonus or Manufacturer Catalog, access and download the appropriate catalog from the 3D Library or your Library Browser.
- If another Chief Architect user sent you this file, then that user likely has a graphic file you do not have. Have the other user send you the plan file by following the steps in "Using the Backup Entire Plan/Layout Tool to Send Files to Another User" resource linked in the Related Articles section below.
- If the missing file is a custom backdrop, image, picture or texture, you have several choices to resolve the problem:
- Click the Replace Material button to open the Select Material dialog and select a new material in the program to replace the missing one.
- Click the Replace File button to open the Browse for Missing File dialog and select a file saved on your system to replace the missing one.
- Click the Delete Material button to delete a material referencing the missing file from the plan. This is not available for material textures that are in use.
- Click the Add Search Directory button to direct the program to a particular folder to search for missing files in.
To replace the missing material or file
If you know that the missing file or a replacement file is saved on the computer that you are currently using, then you can follow the instructions below.
- In the Missing Files dialog, click on a file that cannot be found, then click on the Replace Material or Replace File button.
- In the dialog that appears, browse the materials located in the program or browse your system for the file you would like to use.
Before directing the program to the file's location, you may want to consider copying the file to a location where it is unlikely to be lost in the future.
To learn more about organizing your graphics files, read To organize your custom files, below.
- With the material or file selected, click OK or Open to replace the missing file.
- If you know that multiple missing files can be found in the same location on your hard drive, click the Add Search Directory button and browse to that folder. The next time the program needs to find a missing file, it will check this location.
If the graphic file is saved on a different computer, and not on the one you are currently using, then you will need to copy it to the machine where it is missing.
Once the file is saved on the computer where it was missing, place it in an appropriate location where you will be able to easily direct the program, and where it will not be deleted or moved in the future.
To remove the missing file reference from the plan or layout
A third option is to click the Delete Material/Object button to remove the file from the plan. This option will be grayed out for material textures that are in use.
If the missing file is a backdrop image or imported picture, click the Replace File button and replace the missing file with a generic picture that will stand out. This will allow you to see the file, allowing you to delete it from the plan or layout.
To organize your custom files
To make sure that files are always located by the program, there are some simple file management strategies that you can follow:
-
Save the Files in the Data Folder
You can save custom files in the Backdrops, Images, and Textures subfolders located in program's Data folder. Open the program's Preferences  and on the Folders panel, the file path of the Data Folder is displayed at the top. For example, the default path for Chief Architect Premier X16 would be:
C:\Users\ [ YOUR USERNAME ] \Documents\Chief Architect Premier X16 Data
OR
Users/ [ YOUR USERNAME ] /Documents/Chief Architect Premier X16 Data
-
Save the Files in the Project Folder
If you have files that are only applicable to one project, you can copy them into the folder where the plan and layout files for that project are saved.To learn more, visit the "Organizing your Plan and Layout Files" resource linked in the Related Articles section below.