QUESTION
I would like to adjust what my dimensions locate, such as walls, cabinets, fixtures, openings, etc. Where do I need to go to make these adjustments?
ANSWER
You can change how your dimension tools locate objects by modifying the dimension defaults:
To change what the dimension tools locate
- Select Edit> Default Settings
 .
.
- In the Default Settings dialog, expand the Dimension category, select Dimensions, then click Edit.

- In the Saved Dimension Defaults dialog that displays, choose the appropriate Dimension Default from the list, then click Edit once again.

- In the Dimension Defaults dialog that displays next, select the Locate Manual panel. The settings located here specify how and whether or not dimensions drawn using the Manual Dimension
 tool locate specific types of objects. Go through each additional Locate... panel and make your desired modifications for each of the Dimension tools in the program.

- Once you have finished making your desired changes, click OK.
Perform the same steps for any additional Dimension Defaults, or Dimension options, as necessary.
To change what temporary dimensions locate
- Select Edit> Default Settings .
- In the Default Settings dialog, expand the Dimension category, select Dimensions, then click Edit.
In X16 and prior, select Temporary Dimensions, then click Edit. This will open the Temporary Dimension Defaults dialog where you can make changes to your temporary defaults; click Done when you're finished with your changes.
- In the Saved Dimension Defaults dialog that displays, choose the appropriate Dimension Default from the list, then click Edit once again.
- In the Dimension Defaults dialog that displays next, select the Setup Temporary panel.

- Once you have finished making your desired changes, click OK.
Perform the same steps for any additional Dimension Defaults.
To change what auto story pole dimensions locate
- Select Edit> Default Settings .
- In the Default Settings dialog, expand the Dimension category, select Auto Story Pole Dimensions, then click Edit.
- In the Saved Auto Story Pole Dimension Defaults dialog that displays, choose the appropriate Dimension Default from the list, then click Edit once again.
In X17 and prior versions, skip to Step 4.
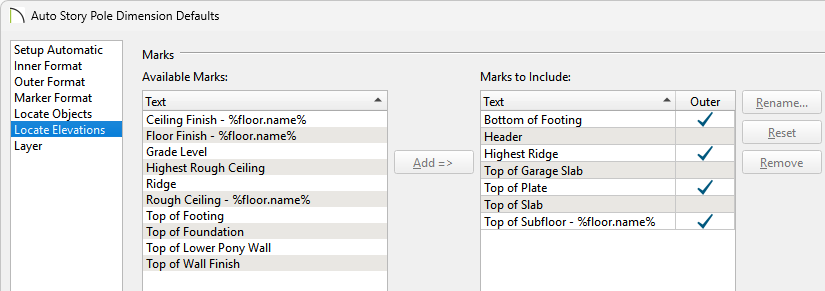
- In the Auto Story Pole Dimension Defaults dialog that displays next, use the Locate Objects and Locate Elevations panels to control how the Auto Story Pole Dimension tool works.
In your General Plan Defaults, which can be accessed through the Default Settings, you can set your Auto Story Pole Dimensions to use a Grade Level Marker as your Elevation Reference, instead of your 1st Floor Subfloor.
In X17 and prior this can be found on the Locate Elevations panel of the Auto Story Pole Dimension Defaults
- Once you have finished making your desired changes, click OK.
Perform the same steps for any additional Dimension Defaults as necessary.