QUESTION
I would like to be able to use etched glass in my doors, windows, or cabinets but I cannot find an etched glass material in the library. Is there a way to make my own?

ANSWER
Creating an etched glass material is easy with Chief Architect's material tools. In this article, we will show you how to customize an existing material located in the Chief Architect Core Catalogs.
If you have a custom image that you would like to use to create a new, custom material, then see the "Creating a New Material" resource located in the Related Articles section below.
To create an etched glass material
- If the Library Browser is not already open, navigate to View> Library Browser
 .
.
- Navigate to an appropriate material that you want to be etched glass.
In this example, we browsed to Chief Architect Core Catalogs> Materials> Fabric & Wall Coverings> Patterns & Prints> Climbing Floral> Blue> Floral Navy Print.
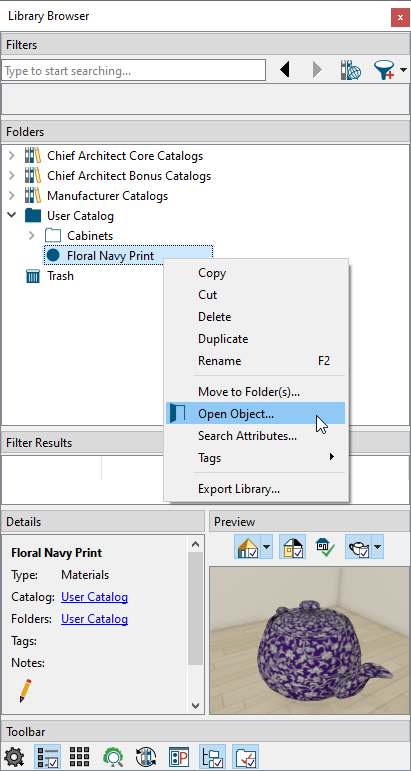
- Right-click on the material and choose Copy to User Catalog.
- Right-click on the copied material located in the User Catalog and choose Open Object
 .
.
- On the Texture panel of the Define Material dialog that displays:
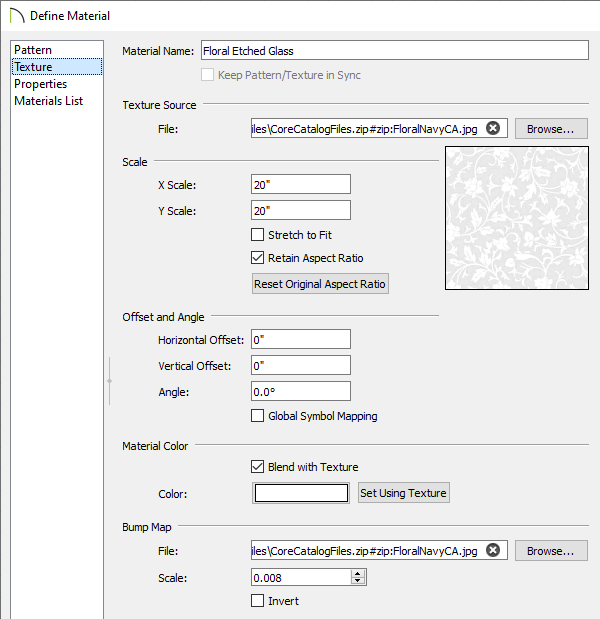
- Provide a Material Name.
- Check the Blend with Texture box, then use the Color box to select the color you want your glass to be.
In this example, we specified a white color.
- If the Bump Map File field is empty, highlight the file path in the Texture Source File field, copy it, then paste it in the Bump Map File field.
- On the Properties panel:
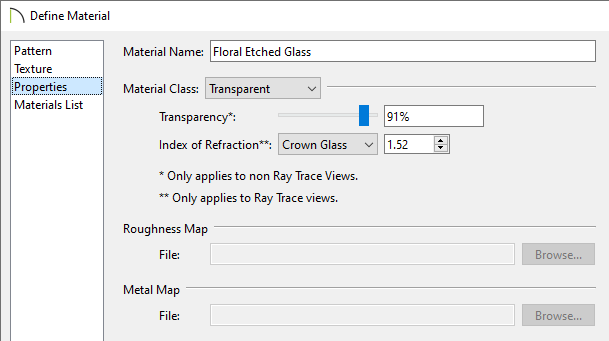
- Set the Material Class to Transparent.
- Set the Index of Refraction to Crown Glass.
- Click OK to accept the changes and close the dialog.
You are now ready to apply the custom material to any glass surface you want.