How can I create a pivot door in Chief Architect?
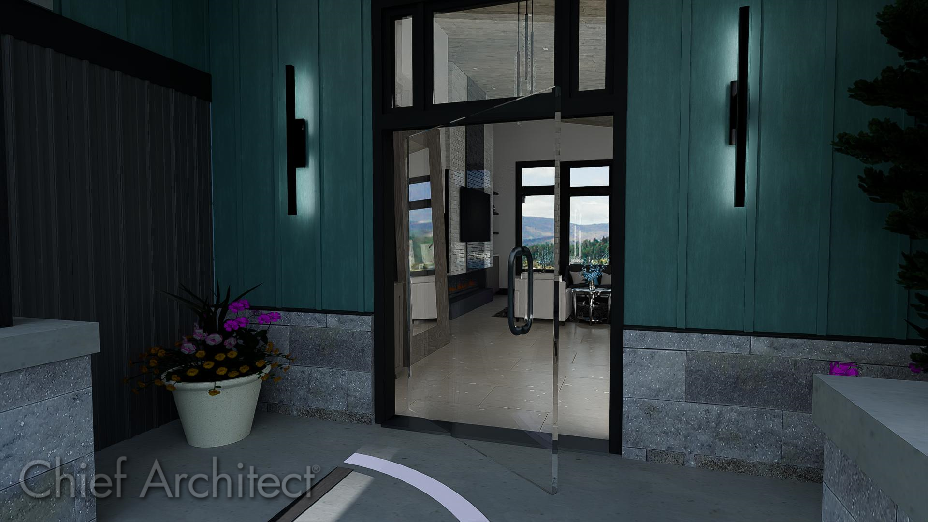
Pivot doors can be created by using manual design techniques, including the usage of doorways, converting doors to fixture symbols, and working with advanced edit behaviors.
 and clicking in the location you want the pivot door to be.
  , locate and select your desired door object, then place it in a wall right beside the doorway.
  the newly placed door, then click on the Convert Selected to Symbol
  edit tool.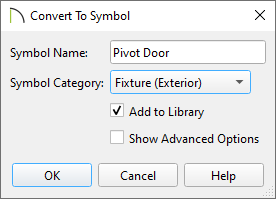
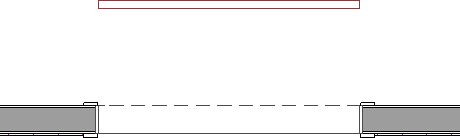 the door object, then use the square Move
  edit handle to move the object. You will need to temporarily disable snap settings to allow the door object to be placed within the doorway in this instance, which can be done by holding down the Ctrl/Command key on your keyboard while moving the object.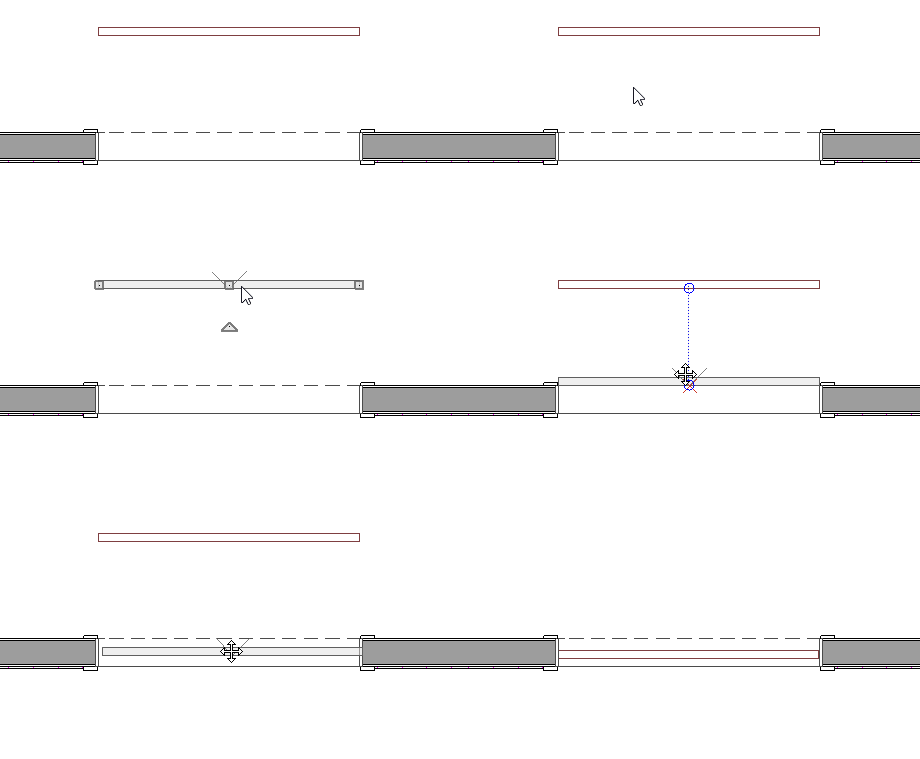
 and click in the location where you want the door object to rotate around.
 , then enable the Rotate/Resize About Current Point
  behavior. the door object located within your doorway, then use the Rotate
  edit handle to rotate the door object to your liking.
  edit tool to cycle between objects that are in the same location until the door object is selected.
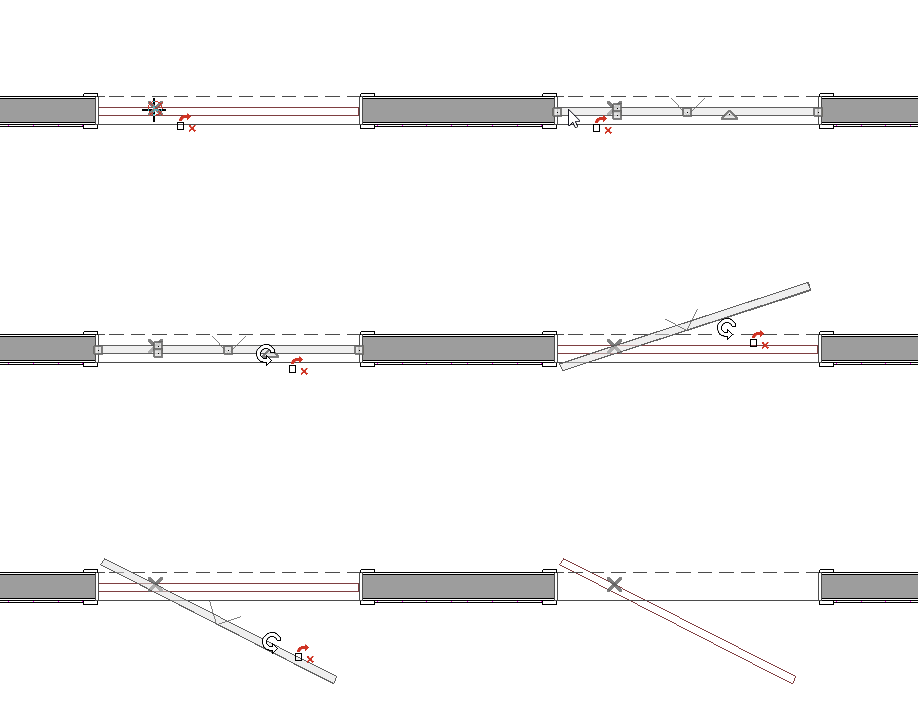 .
.  .
.Note: Keep in mind that the pivot door and doorway are independent objects. If you move or edit one, you must update the other as well.
