To add additional rooms to a project, tap the Rooms  button.
To place a Square  , L shaped
  , or T shaped
  room, tap and drag into the drawing.
A room can also be created by sketching the individual walls that enclose it:
 tool, then drag to draw a wall. Continue drawing walls until an enclosed area is created, then tap the Apply
  button. tool, then drag to draw one or more walls across an existing room. When an area within the room is completely enclosed by sketched walls, tap the Apply button.
Note: A sketched wall must connect to another wall at each end: it cannot be free-standing or have one end free.
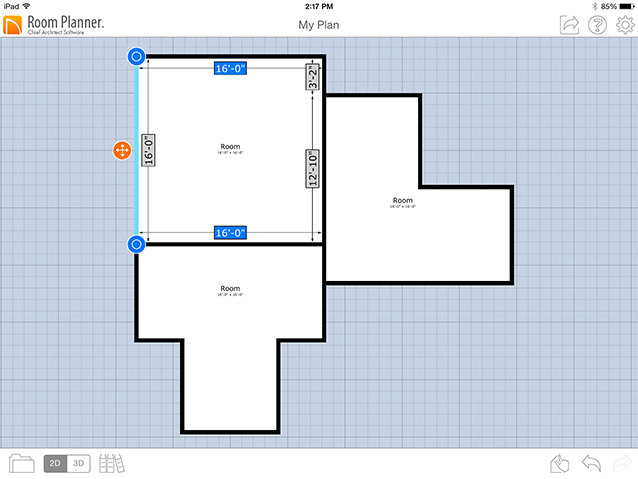
EDITING ROOMS
Once a room has been placed or sketched, it can be moved, rotated, or reshaped.
 handle in 7.5° or 15° increments.
MERGING AND OVERLAPPING ROOMS
 button. Then select a second, adjacent room and tap the Apply button to completely remove the walls between them and combine the two rooms into one. Rooms must share at least one common wall in order to merge.
 button. A third room is created where the first two intersect.
ROOM LABELS AND DIMENSIONS
 button. You can choose whether to display the room's area along with its name there, as well.
 button. button. If you prefer, you can turn these dimensions off in Settings, as well.