QUESTION
I need to create 3D signage for a structure that I am creating. What is the easiest way to go about creating this?

ANSWER
There are a variety of ways to create 3D signage for your plans, including using objects such as 3D/polyline solids, 3D molding polylines, and symbols from the Library Browser.
In this example, we will use a combination of these features along with the 3D Lettering geometric shape symbols available in the Library Browser.
To create a sign backboard using a 3D/polyline solid
- Launch Chief Architect and Open
 the plan in which you would like to create the sign, or start a New Plan
  .
.
- Select 3D> Create Orthographic View> Cross Section/Elevation
 from the menu, then click and drag a camera in the direction of your structure.
- Select Build> Primitive> 3D Solid
 , then click and drag to draw a rectangular shape. This shape will become the backboard of your sign.
In X13 and prior program versions, navigate to Build> Primitive> Polyline Solid  instead.
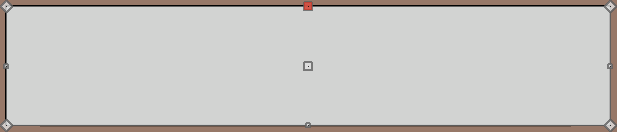
- If a rectangle is not desired, use the various CAD tools to change the shape of the polyline solid:
- Use the Add Break
 edit tool to place additional break points along the solid, giving you additional edges that can be adjusted.
- Use the Change Line/Arc
 edit tool to convert straight edges to curved, or vice versa.
- Use the Chamfer
 and/or Fillet
  edit tools to create a chamfer or fillet effect on each corner.
- With the 3D/polyline solid shaped to your liking, use the Select Objects
 tool to select it, and click the Open Object
  edit button.
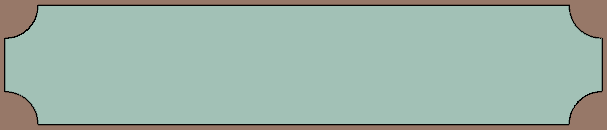
- On the Materials panel of the 3D/Polyline Solid Specification dialog that displays, select the 3D/Polyline solid component, click on the Select Material button, and choose a material from the library to apply to the back of your sign.
- Once all desired changes have been made, click OK to close the dialog.
To create a frame using a 3D molding polyline
- Using the Select Objects tool, select the 3D/polyline solid.
- Click on the Copy/Paste
 edit tool, followed by the Paste Hold Position
  secondary edit tool.
- A newly created copy of the 3D/polyline solid is created and will be selected. While it is still selected, click the Convert to Plain Polyline
 edit tool.
- The copy will be converted into a plain polyline and will still be selected. With it still selected, click the Convert Polyline
 edit tool.
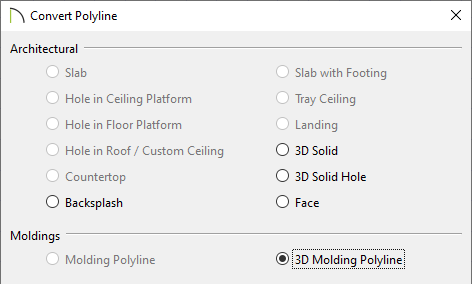
- In the Convert Polyline dialog that displays, select the radio button next to 3D Molding Polyline, then click OK.
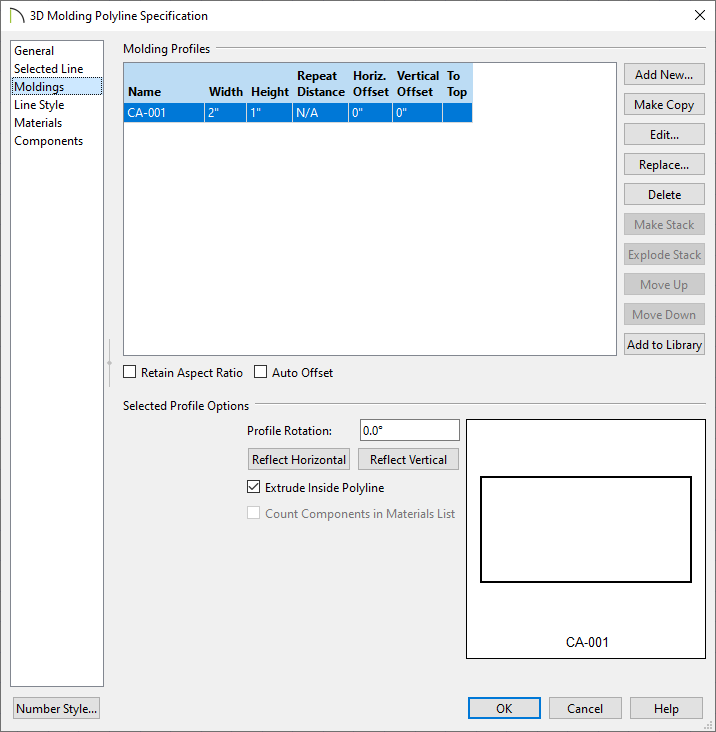
- On the Moldings panel of the 3D Molding Polyline Specification dialog that opens next, specify your desired properties.
To choose a different profile, click the Replace button to select a more suitable molding profile from the library.
In this example, the default molding profile CA-001 is chosen, the Width has been set to 2", and the Height has been set to 1".
- Next, go to the Materials panel to choose an appropriate material for the frame of your sign, then click OK to close the dialog and apply your changes.
To place 3D letters onto the sign
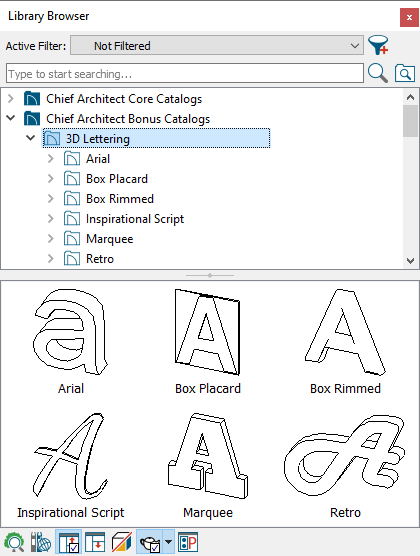
- Remaining in the Cross Section camera view, select View> Library Browser
 to open the library browser if it's not already open.
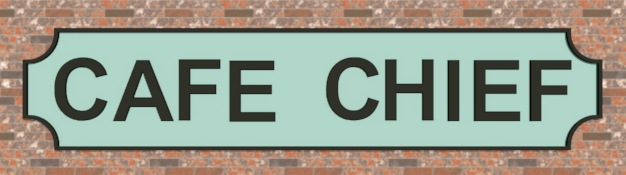
- Browse to the 3D Lettering Bonus Catalog and choose the desired style lettering you're after.
- One-by-one, select the letters that you would like for your sign from within the library, then click to place them.
If you have trouble placing the 3D letters, you may first have to place them onto a wall surface, then move them into position on the solid.
- Once placed, these letters, which are 3D symbols, can be modified further to your liking within their specification dialog.
- Lastly, take a Camera
 view to see the results.