QUESTION
How do I create a chamfer or bevel at the top of a concrete column?

ANSWER
You can utilize 3D solids to create a wide variety of custom shapes and symbols, such as a concrete column.
In this example, we will convert a CAD circle to a 3D solid and use the chamfer edit tool to create a concrete pillar with a 2" chamfered edge.
To create the cylinder
- Select CAD>Circles>Circle
 , then click and drag to create a circle.
- Using the Select Objects
 tool, select the newly created CAD circle, then click on the Open Object
  edit tool.
- In the Circle Specification dialog set the Diameter to 24" and click OK.
- With the CAD circle still selected click the Convert Polyline
 edit tool.
- In the Convert Polyline dialog select the 3D Solid option and click OK.
In X13 and prior, select the Polyline Solid option and click OK.
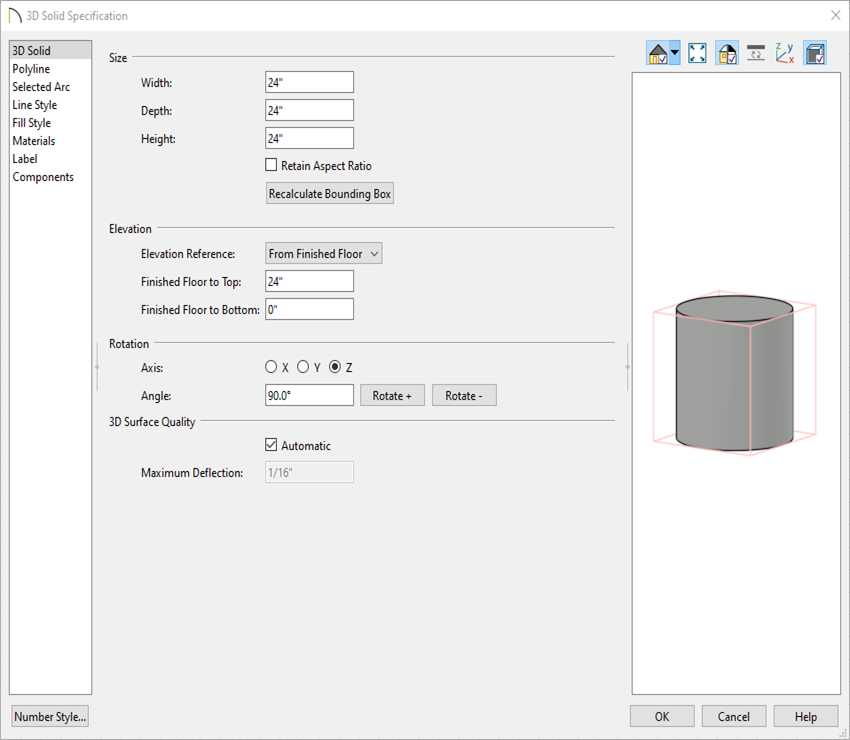
- In the 3D Solid Specification, on the 3D Solid panel, give the column your desired height and click OK. In this example we will be using a 3D solid with a height of 24”.
In X13 and prior, the Polyline Solid Specification will open instead. On the general panel change the Thickness to 24".
To chamfer the top edge of the concrete pillar
- Open a 3D view by going to 3D> Create Perspective View> Perspective Full Overview
 .
.
- Bring your cylinder into focus by using the Select Objects tool, selecting the cylinder, and using the Focus on Selected
 edit tool.
Be sure to select the body of the cylinder and not the top or bottom face.
- With the cylinder selected, select the Chamfer Lines
 edit tool.
Notice on the bottom toolbar that you have four different chamfer options:
-
Set Chamfer Distance

-
Chamfer All Corners

-
Chamfer Edges

-
Chamfer All Edges

For this example we are going to use the Chamfer Edges tool with a Chamfer Distance of 2".
- Set the chamfer distance to 2" by selecting the Set Chamfer Distance edit tool, setting the value to 2", and clicking OK.
- Select the Chamfer Edges edit tool and click the edge you would like to chamfer.
In X13 and prior, instead of using the Chamfer Edges tool you will just need to click on the edge you would like to chamfer.