Using Molding Polylines


Reference Number: KB-02882
Last Modified: September 23, 2026

QUESTION

What are molding polylines and how can they be used?


ANSWER

A molding polyline is a path that either a 2D molding profile is extruded along or a series of symbol moldings is repeated along. Molding polylines can be used to add decorative detail anywhere in your 3D model.

In this article, an oblong mirror will be created, and a custom frame will be generated using a molding polyline.


To create the mirror

  1. Navigate to 3D> Create Orthographic View> Cross Section/Elevation  from the menu, then click and drag towards the wall that will have the mirror.


  2. Select Build> 3D Solid> 3D Solid , then click and drag to create a rectangular 3D solid.

    In this example the 3D solid is 2' x 4' in size.

    If you receive a Question stating "The layer "3D Solids" is not displayed. Do you want to turn on the display of this layer in the current view?", select Yes to enable the display of your 3D solid.

    For more information regarding layers please see the Related Articles.


    2' by 4' polyline solid created in a section view


  3. Using the Select Objects  tool, click on the 3D Solid to select it, then click the Open Object  edit tool.


  4. In the 3D Solid Specification dialog that displays next:

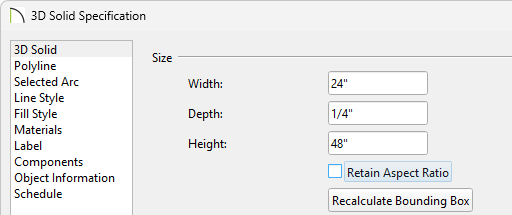
    Set the Depth or Thickness on the 3D or General panel

    • On the 3D or General panel, set the Depth.

      In this example, a value of 1/4" is specified.

    • On the Materials panel, select the 3D Solid component and click the Select Material button. Browse to or search for your desired material, then click OK. 

      In this example a "Mirror" material is used.

    • Click OK again to close the dialog and confirm the changes. 


  5. With the 3D solid still selected, click on the upper edge to make this the active edge.

    The edge of a polyline-based object that has the largest edit handle and is typically a different color is the active side. All other sides will have smaller edit handles with a different color.


  6. Select the Change Line/Arc edit tool to convert the upper edge to an arc.


  7. Click the Make Arc Tangent edit tool. In the Radius of Tangent Arc dialog that appears, click OK.
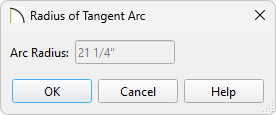
    Radius of Tangent Arc dialog


  8. Repeat Steps 6 - 7 for the lower edge.

    Mirror with arcs that are tangent to the sides


To create the frame using a molding polyline

  1. Using the Select Objects  tool, select the 3D solid, then navigate to Edit> Copy and Paste in Place .


  2. With the new, copied 3D solid selected, click the Convert Polyline edit tool. 


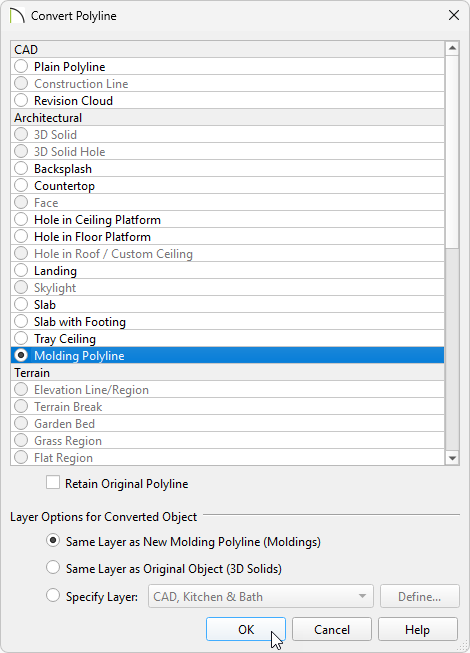
  3. In the Convert Polyline dialog that displays, choose the Molding Polyline option and click OK.

    Select the Molding Polyline option in the Convert Polyline dialog


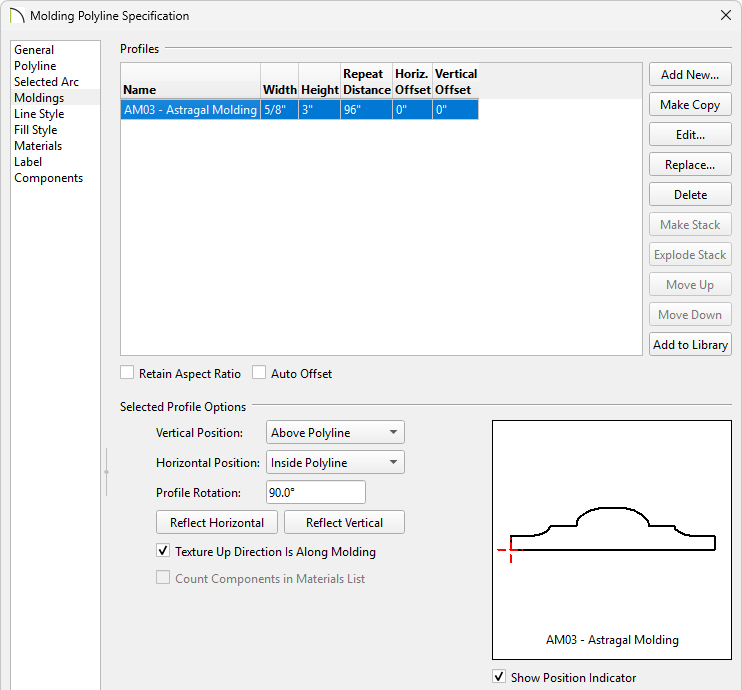
  4. In the Molding Polyline Specification dialog that opens next, click on the Moldings panel.

    Adjust the molding profile on the Moldings panel of the 3D Molding Polyline Specification dialog

    • Notice that a square molding profile is already chosen. Click Replace and browse to a more appropriate molding.

      In this example, the AM03 - Astragal Molding profile is used.

    • Set the Width and Height of the molding to be the thickness and depth of the frame desired for the mirror.

      In this example, the Width is set to 5/8" and the Height is set to 3".

    • Specify any other properties such as the Profile Rotation.

      In this example we set the Profile Rotation to 90°.

      Note: For more information about the options on this panel, click the Help button at the bottom to open the program's Help documentation.


  5. Select the Materials panel to choose an appropriate material for the molding profile, then click OK to close the dialog.


  6. Take a Camera view to see the results.

    Perspective Full Camera view looking at the mirror


Consider blocking the 3D solid and the molding polyline together so the mirror is treated as a single entity. To learn more, please see the "Creating an Architectural Block" resource in the Related Articles section below.