Creating Lattice Under a Deck


Reference Number: KB-02976
Last Modified: January 16, 2024

The information in this article applies to:

Chief Architect Premier or Chief Architect Interiors


QUESTION

How can I model lattice underneath a deck?

Deck and stairs with lattice underneath


ANSWER

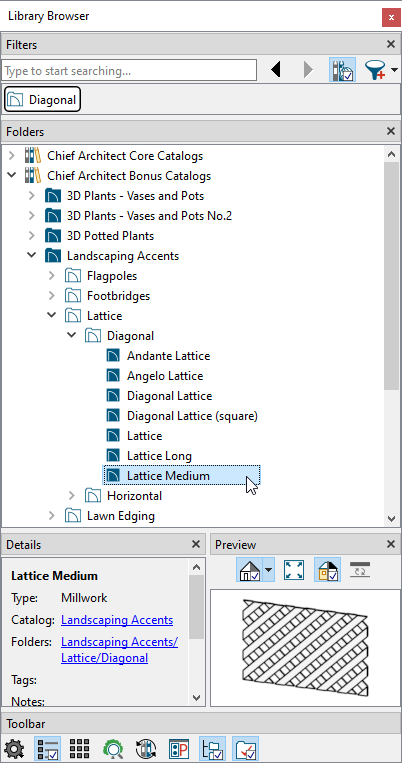
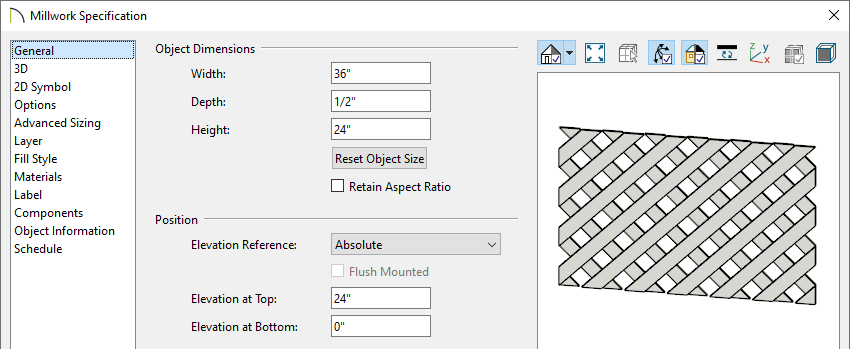
Creating lattice under a deck or porch is easy to accomplish in Chief Architect using lattice millwork objects located in the Landscaping Accents bonus catalog.

The Materials Wire and Lattice bonus catalog also contains lattice and wire materials that can be applied to an assortment of objects, such as 3D solids or soffits. For example, in the image above, the triangular pieces located directly underneath the stairs are 3D solids with the "Lattice - Diagonal" material applied.

For more information on obtaining additional catalogs and importing them into your program, please see the "Obtaining Library Content" resource in the Related Articles section below.


To create lattice under a deck

  1. Once the Landscaping Accents bonus catalog has been downloaded and imported into your Library Browser , navigate to Chief Architect Bonus Catalogs>  Landscaping Accents> Lattice and select an appropriate lattice object.

    In this example, we have chosen the "Lattice Medium" object located in the Diagonal folder.

    If the Library Browser side window isn't displayed on your screen, navigate to View> Library Browser from the menu to turn its display on.


    Library Browser with the Lattice Medium object selected from the Landscaping Accents catalog


  2. With the object selected, click to place it in your plan at the desired location.


  3. After it has been placed, use the Select Objects tool to select the lattice object, then click the Open Object  edit tool.


  4. In the Millwork Specification dialog that displays:

    General panel of the Millwork Specification dialog

    • On the General panel, set the Width, Depth, and Height to your desired values, but keep in mind that this will also adjust the overall size of each strip that is part of the original object.

      It's recommended to check the Retain Aspect Ratio box prior to changing one of these values if you'd like to maintain the original ratio between.

    • Set the Elevation Reference to Absolute, then set an appropriate Elevation at Top/Bottom value.

    • On the Materials panel, set the material that you would like to use for the lattice.

    • Make any other desired changes by accessing the other available panels, then click OK.


  5. Use the Copy/Paste edit tool to create as many copies of the lattice object as needed, then create a Camera  view to see the results.