The video shows how to create custom tile materials by importing an image, using the Capture Tool to grab a clean sample, and adjusting scale and texture settings in the Material Builder for realistic 3D results.
Default Settings Summary
Setting Preferences
Modifying Cabinets
Library Browser Overview
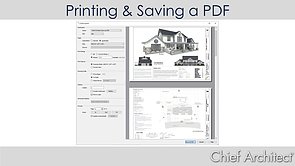
Printing & Saving a PDF
Creating Custom Tile Materials
Featured Videos
5553 - What's New in X18 - Overview
5549 - What's New in X17 Overview
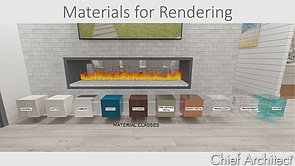
1971 - Materials for Rendering
1977 - Interior Ray Tracing
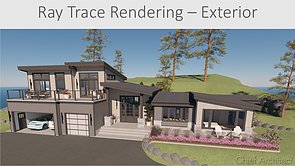
1978 - Exterior Ray Tracing
10145 - Creating Custom Tile Materials
283 - Animating Water
1554 - Applying Backdrops
280 - Adding Text to 3d Views
2439 - Appliances and Fixtures
281 - Creating Sun Study Animations
19 - Virtual Walkthroughs
2423 - Utilizing the Project Browser
57 - Setting Preferences
282 - Creating a Terrain Elevation Reference Point
279 - How Chief Architect Stores Files
Materials: Patterns & Textures
259 - Creating and Editing Custom Patterns
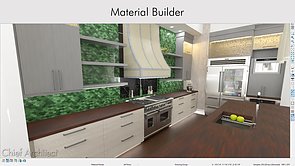
285 - Using the Material Builder
36 - Applying Materials, Colors, and Textures
63 - Changing Materials on Multiple Components at One Time
5308 - Plan Materials
37 - Color Chooser
5234 - Material Region Tools
10119 - Using the Adjust Material Definition Tool
40 - Wall Coverings
10210 - Material Properties: How to Import, Set the Pattern & Visualize in 3D
83 - Advanced Materials