I have generated wall framing in my plan and would like to make some changes to it. How is this accomplished?

You can select and edit most wall framing in any 2D or 3D view.
There are a number of steps in order to manually edit wall framing which includes the following steps:
If you automatically rebuild wall framing after making manual modifications, your changes will be lost. To protect manual changes made to a wall’s framing, check the "Retain Wall Framing" box located in each wall's Specification dialog.
 .
.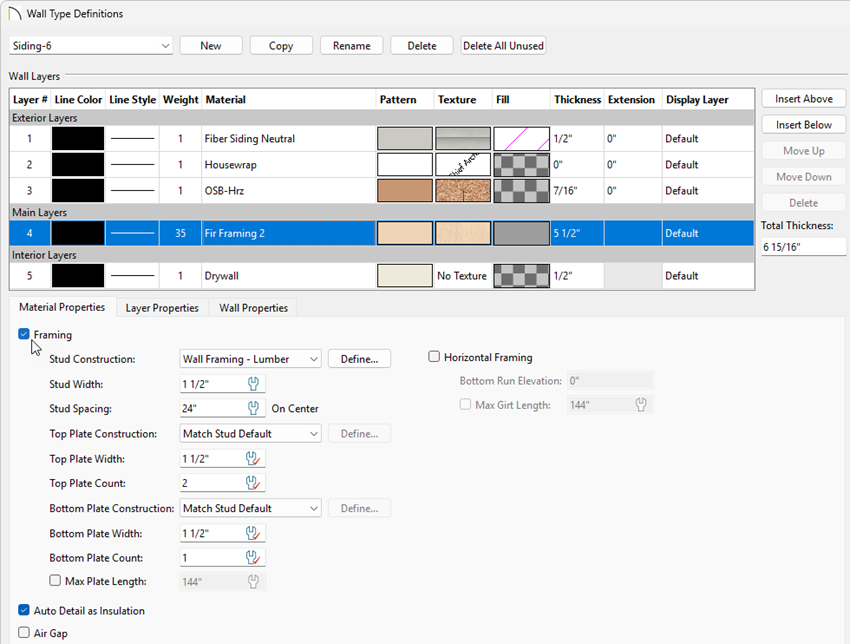
 , expand the Framing category, select Automatic Framing, then click Edit., expand the Framing category, select General Framing, then click Edit.
Note: To adjust framing properties for openings, such as windows and doors, please see the Related Articles section below.
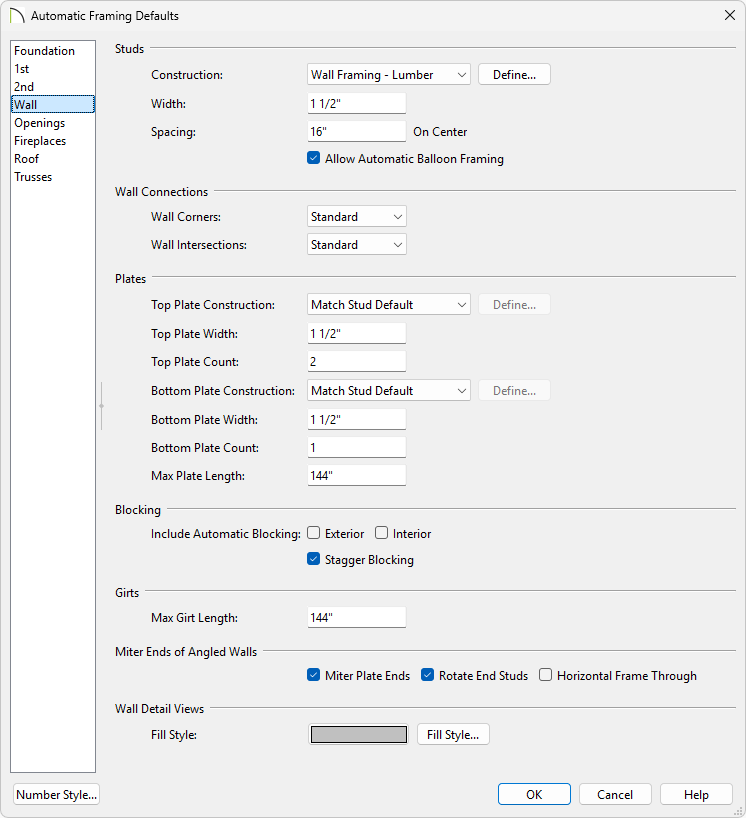
 .
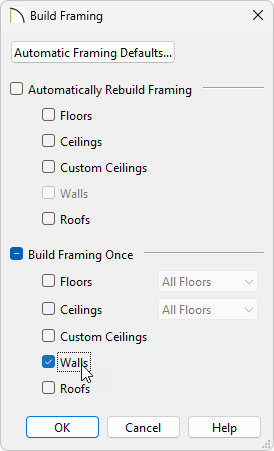
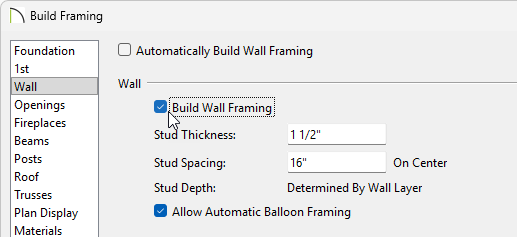
.
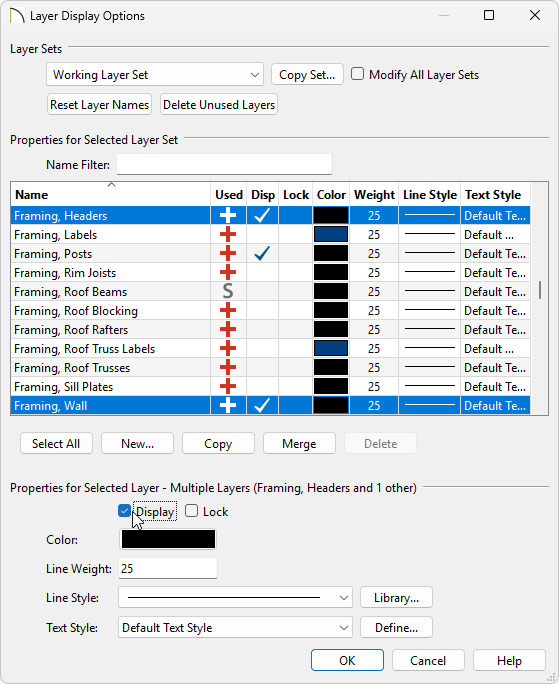
 or access the Active Layer Display Options
  side window
Note: If you have specified a different layer to generate wall framing onto, enable the display of that layer instead. Please refer to the "Adjusting the Display of Wall Layers" resource in the Related Articles section to learn more.
 tool, click on a framing member to select it.
If the wall or opening is selected first when attempting to select a framing member, click the Select Next Object edit button or press the Tab key on your keyboard as many times as needed until the framing member is selected.

Note: Certain framing members, such as wall plates, may not be visible in plan views. Instead, you can edit these framing members in wall detail views, which are discussed below.
tool, then click on Open Object  .
.Changing the role of a framing member can assist you when creating framing or custom schedules.
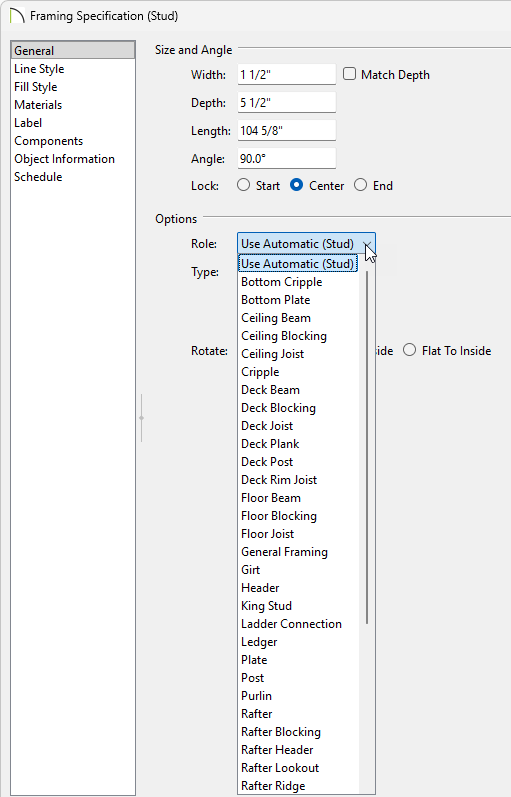
 .
.
Your walls will not reference the Framing Reference Marker unless it is enabled in the Wall Specification. In the Wall Specification, on the Structure panel, check the box for Use Framing Reference. Additionally you can enable this setting in your wall defaults so it will be enabled on newly drawn walls.
tool, select all the framing that needs to be moved to the Framing Reference Marker, then click on the Move to Framing Ref.  edit tool.
tool. edit button to open an elevation view displaying the wall framing for the individual wall.
The Open Wall Detail edit tool will not be available unless you have previously generated wall framing using the Build Framing dialog.
Wall Details can also be accessed from the Project Browser.

 , Multiple Copy
  , and Transform/Replicate Object
  .
.