This article also applies to the following legacy products:
Pro
QUESTION
How can I create a stepped foundation?

ANSWER
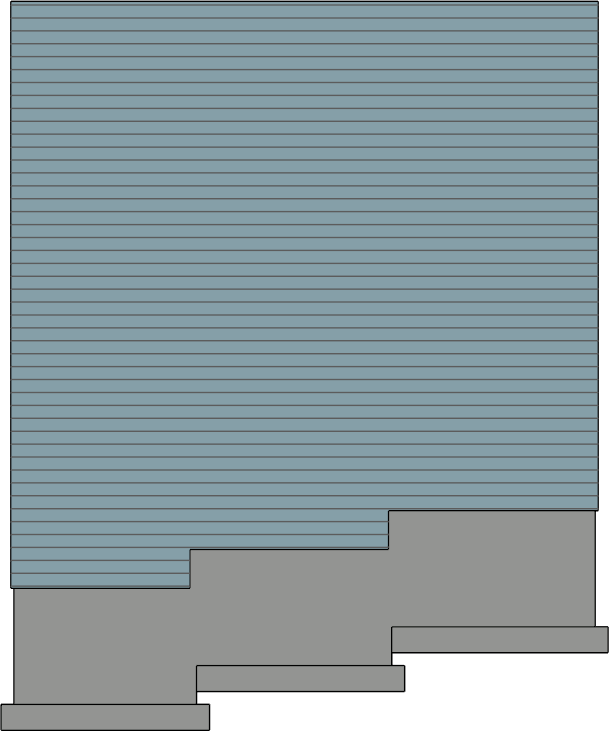
A stepped foundation can be created in Chief Architect using pony walls that have been modified in a section view. The lower part of the pony wall would consist of the concrete wall with a footing, while the upper part of the pony wall is a framed wall built to the first floor platform.
To create a stepped foundation
- Using the Select Objects
 tool, hold down the Shift key on your keyboard and click on each foundation wall that you would like to step.
This technique is called Group Select. It allows you to change all the walls at once instead of changing them one at a time. For more information on group selecting objects, please see the Related Articles section below.
- Click on the Open Object
 edit tool to display the Wall Specification dialog.
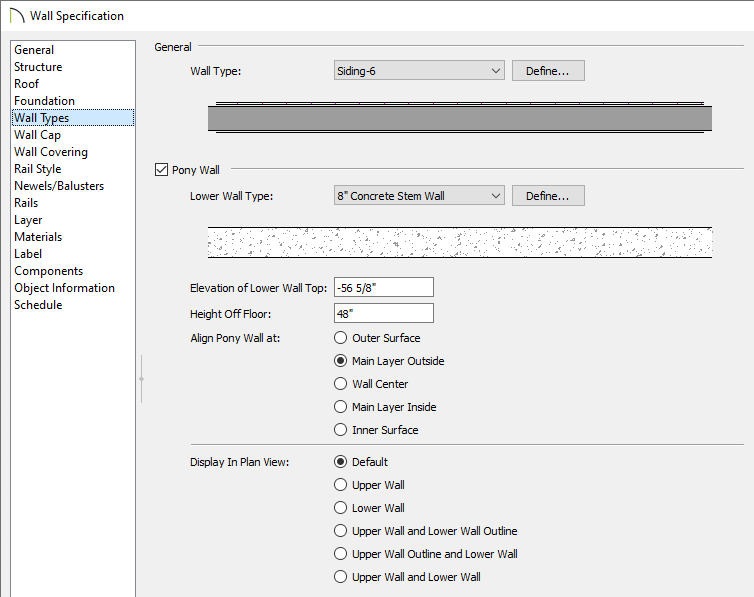
- On the Wall Types panel, check the Pony Wall box, set the Upper and Lower Wall Types to your liking, then click OK.
Stepping walls that are not marked as Pony Walls can produce undesired results, such as gaps appearing between floor levels.
If you need to reset the top or bottom heights of a modified wall, open the wall in question up to specification, click on the Structure panel, check the Default Wall Top/Bottom Height box, then click OK.
- Select 3D> Create Orthographic View> Back Clipped Cross Section
 , then create a cross section view looking towards one of the walls that will be stepped.
- With the section view open, use the Select Objects tool to select the lower portion of the pony wall, which is the concrete stem wall.
If you glance in the bottom left corner, the status bar should say "Polyline produced by 3D wall editor" indicating that the wall is indeed selected. If a "Room" or another object is listed here, press the Tab key on your keyboard or click the Select Next Object  edit tool to single out the wall instead.
- With the wall selected, use the Add Break
 edit tool to add a break point along the bottom edge of the concrete stem wall.
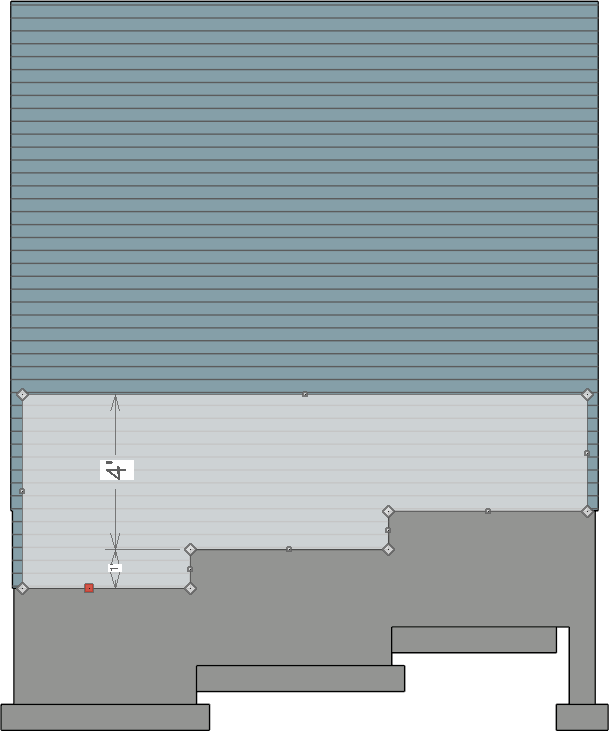
- New edit handles will display near the newly placed break point. Use one of the square edit handles to drag that edge of the wall up or down to create a step.
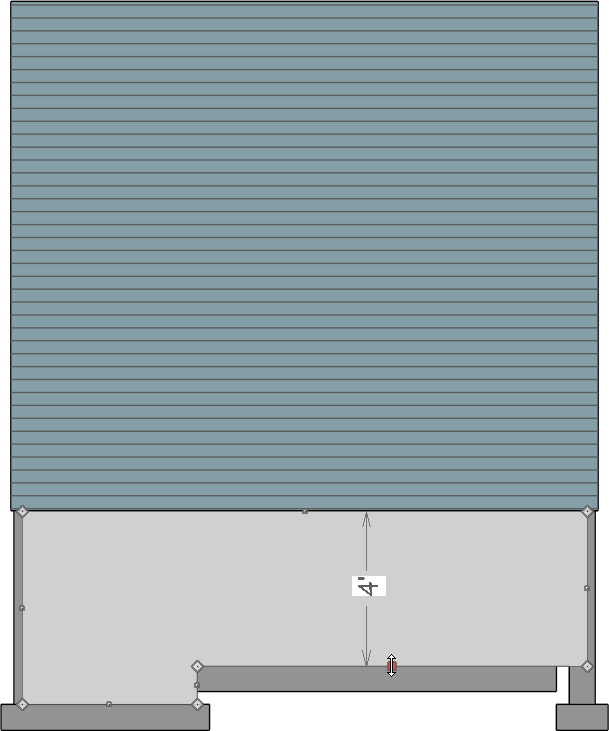
- If you have temporary dimensions turned on, you can use them to precisely create the steps. To toggle temporary dimensions on and off, navigate to View> Temporary Dimensions
 .
.
- Dimension lines can also locate individual wall steps once modified. To locate wall steps, access your Dimension Defaults, access the appropriate Locate... panel, then check the Wall Steps box.
- Continue to make breaks and dragging out steps until you have the look you desire.
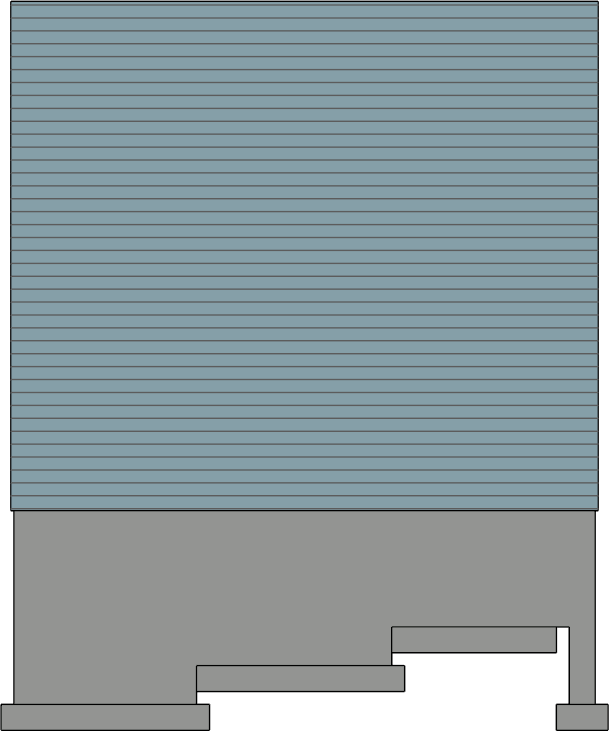
- Repeat the process on the upper portion of the pony wall to create stepped siding. After selecting the Add Break edit tool, you can click on the Sticky Mode
 secondary edit tool so that the Add Break tool stays active after placing each new break point.
You can use sticky mode in this way to quickly place all of your breaks, and then afterward, drag out each step as desired.
- Continue around the rest of the structure until all of the foundation walls are stepped to your liking.