I need to create a custom object, what tool should I use?
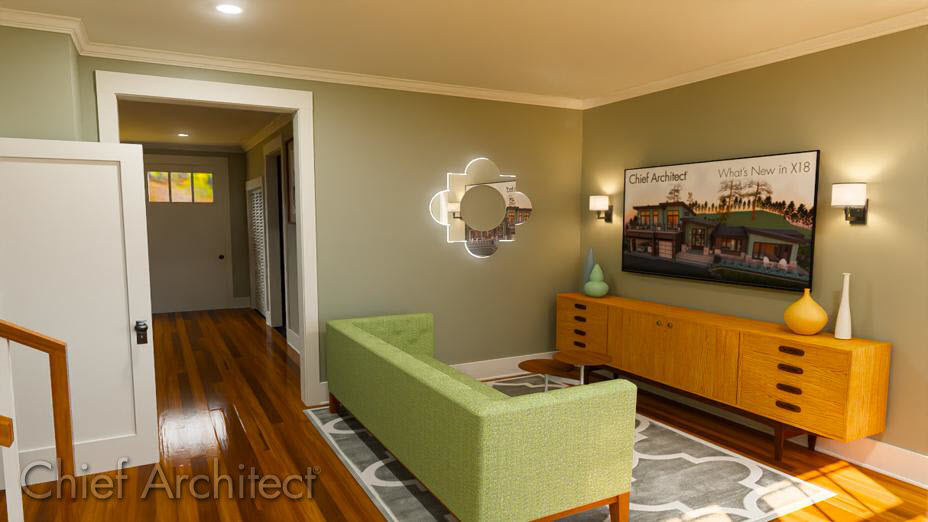
A 3D Solid is a generic, 3D shape that has a specified thickness. They can be oriented either horizontally or vertically and is useful for creating custom details anywhere in your 3D model.
A horizontal 3D Solid can be created in floor plan view, or any 3D view, by selecting the 3D Solid tool and then clicking and dragging to draw a rectangle. A vertical 3D Solid can be created in a cross section/elevation view in the same manner as in floor plan view. The 3D Solid is placed in front of any objects visible in the view. If no objects are behind, the 3D Solid is placed one foot in front of the camera.
3D Solids can be edited the same way as other closed polyline-based objects.
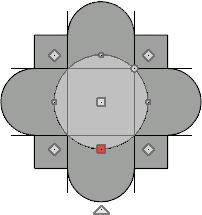
In this article, we will be creating the custom shaped mirror that can be seen in the above image.
Note: For more information on 3DSolids, as well as primitives, please see the Related Articles section below or the Moldings, Primitives & 3D CAD video playlist.
In addition to 3D solids you can also use the molding line tool to create a decorative edge or ambient lighting to your 3D solid. For more information on using molding lines, see the Related Articles.
 and create an elevation view.
 , then click and drag to create a 3D Solid.
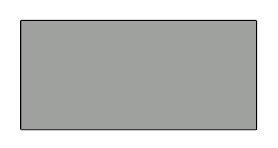
 .
The active edit handle will a different color than the rest. By default, the handle will be red, but it can be changed on the Colors panel that's located in the Preferences dialog.
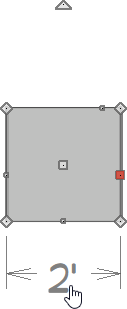
 , then click and drag to draw four lines across the square 6" from the sides as shown:
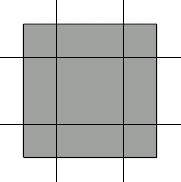
 tool active, select the 3D Solid, use the Add Break
 edit tool and use the Intersections
 snap indicator to help place breaks points precisely where the lines intersect the 3D Solid.
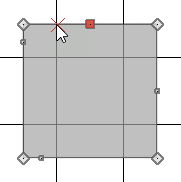
 secondary edit tool if you'd like to place multiple break points without having to re-select the Add Break tool each time.
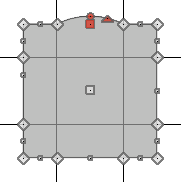
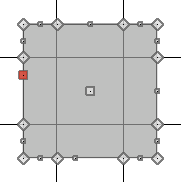 tool, select the top edge of the 3D/Polyline Solid and use the Change Line/Arc
 edit tool, then use the small triangular edit handle on the edge of the arc to increase the arc's height until it is 6" tall.
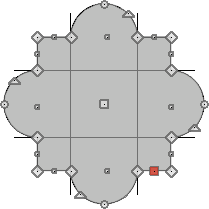
 from the menu, and using the CAD line intersections within the 3D Solid, click and drag to draw a circle.
 edit tool.
A hole can also be created by two different methods. First, by selecting the 3D Solid, selecting the 3D Solid Feature edit tool, then clicking and dragging inside the solid. Second, you can create another 3D solid and use the Subtraction tool to create a hole. For more information on using the Subtraction feature please see the Subtracting Polylines that Overlap training video.
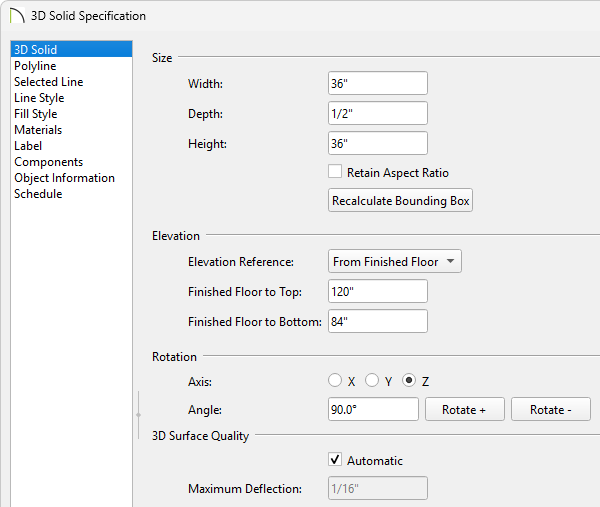
tool, select the main 3D Solid, then use the Open Object  edit tool.
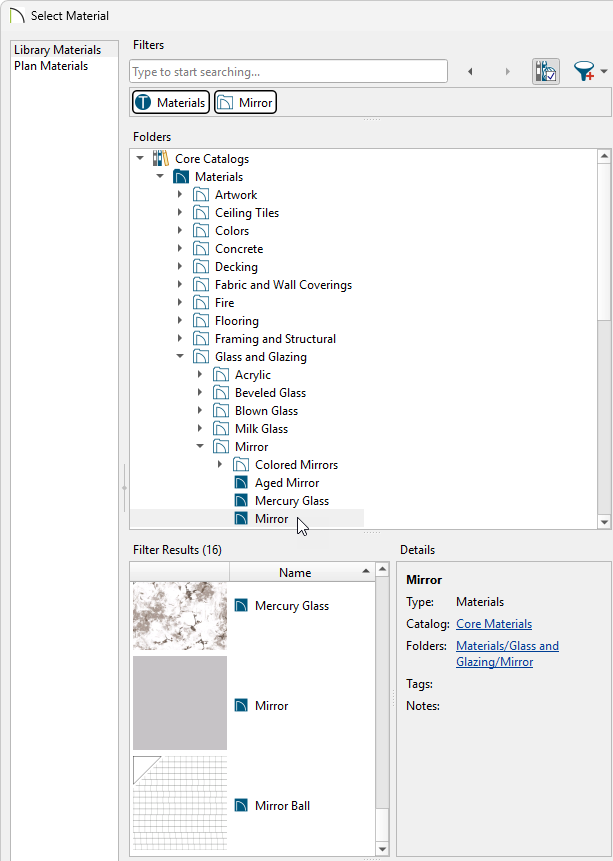
 by going to View> Library Browser . tool, select your 3D Solid and use the Add to Library
 edit tool to add the object to the User Catalog.


