 by
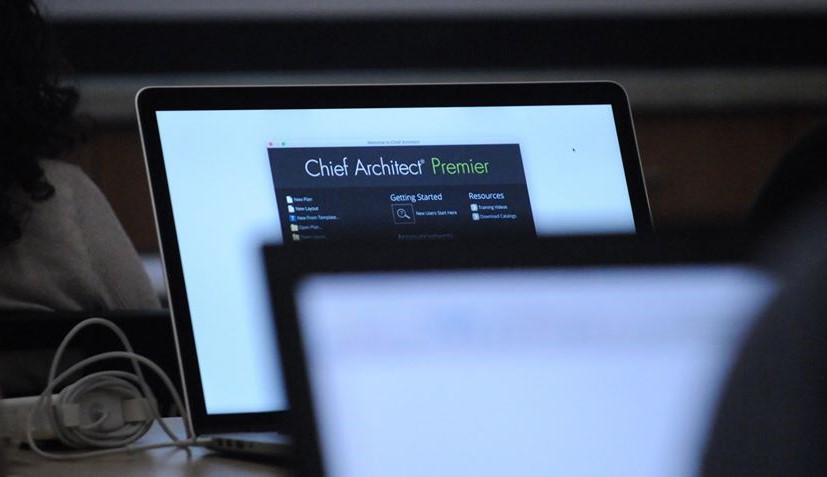
by Teaching the next generation of building industry professionals starts with providing them with the best tools. Chief Architect is a leading 2D and 3D design software, and our academic licenses provide students with access to the same program used by industry professionals, enabling them to build essential skills with confidence.
“Whether they are taking the class to be a future Interior Designer, Architect, Plumber, Electrician, Landscaper, etc. Chief Architect software sparks interest in all areas, and that is what I want for my students.”
-Bonnie Bents, Worthington High School
If you’re an IT administrator or educator, here’s everything you need to know to get Chief Architect up and running on your lab computers so students can start creating and learning with one of the industry’s best design tools.
- Determine the System Requirements
- Download the Free Trial Version
- Choose your Licensing Model
- Complete your Order
- Install the Software
- Test the Installation
- Provide Training and Support
- Connect
1. Determine the System Requirements
Before you dive into the installation process, make sure your lab computers meet the minimum system requirements for Chief Architect. Ensuring that your computers are up to the task will help the software run smoothly.
2. Download the Free Trial
This step is optional, but downloading the free trial version is a great way to test-drive the software and see how it will run on your system(s).
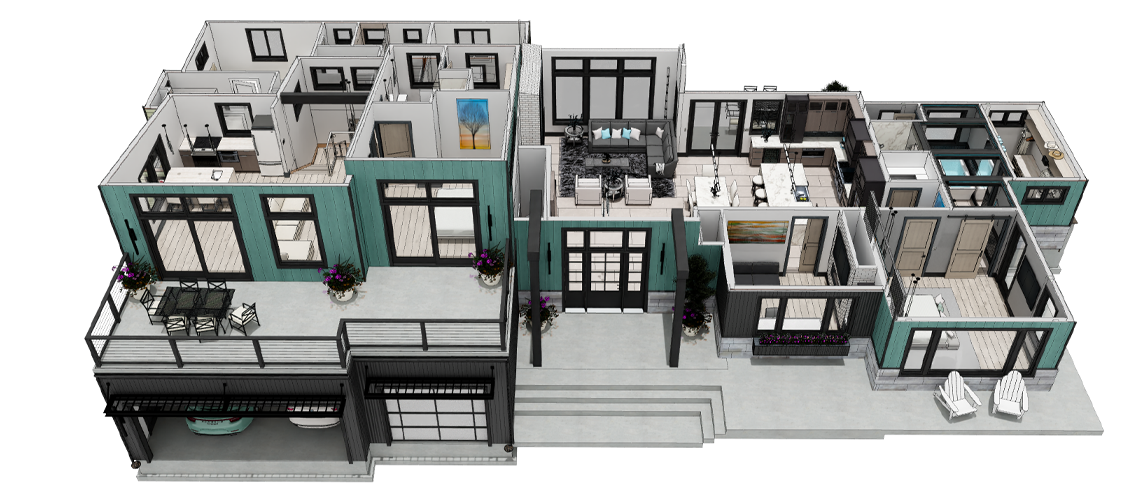
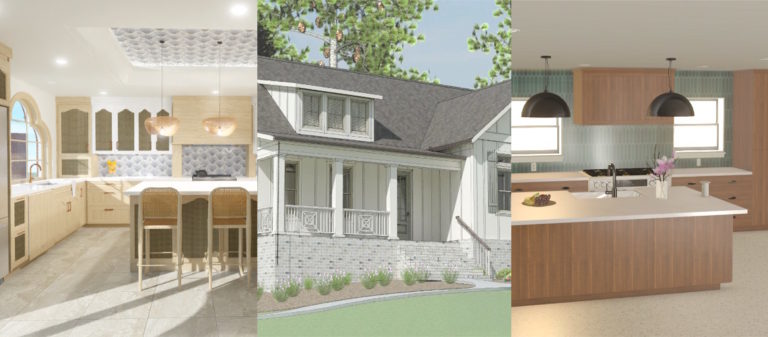
Once it’s installed, take a 3D and Elevation view to verify that your computer’s video card functions properly. In addition to installing the most up-to-date version of Chief Architect, you will also want to install the core library catalogs. Contact us with any questions!


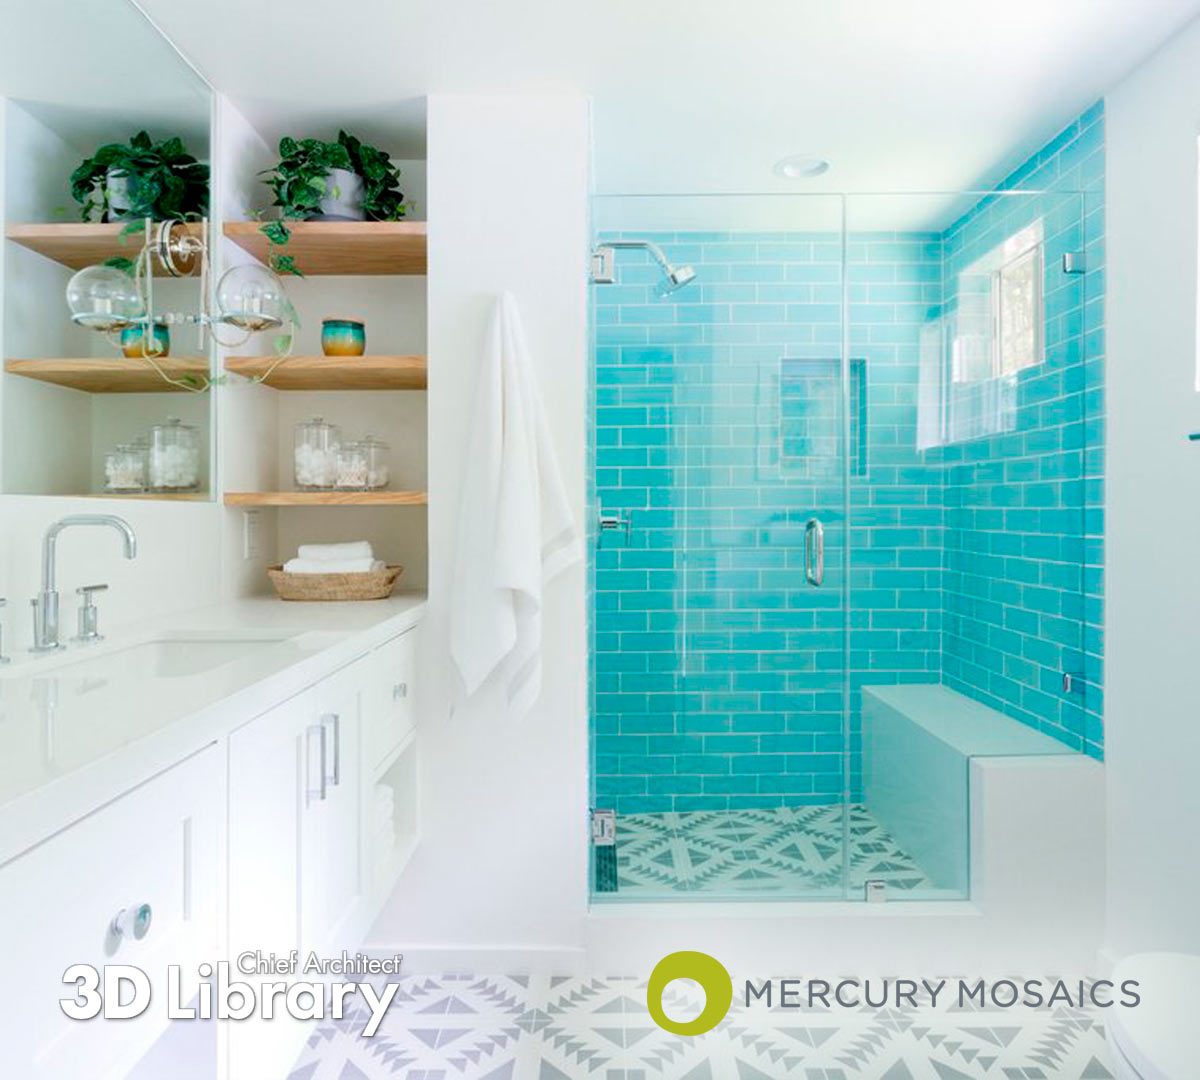
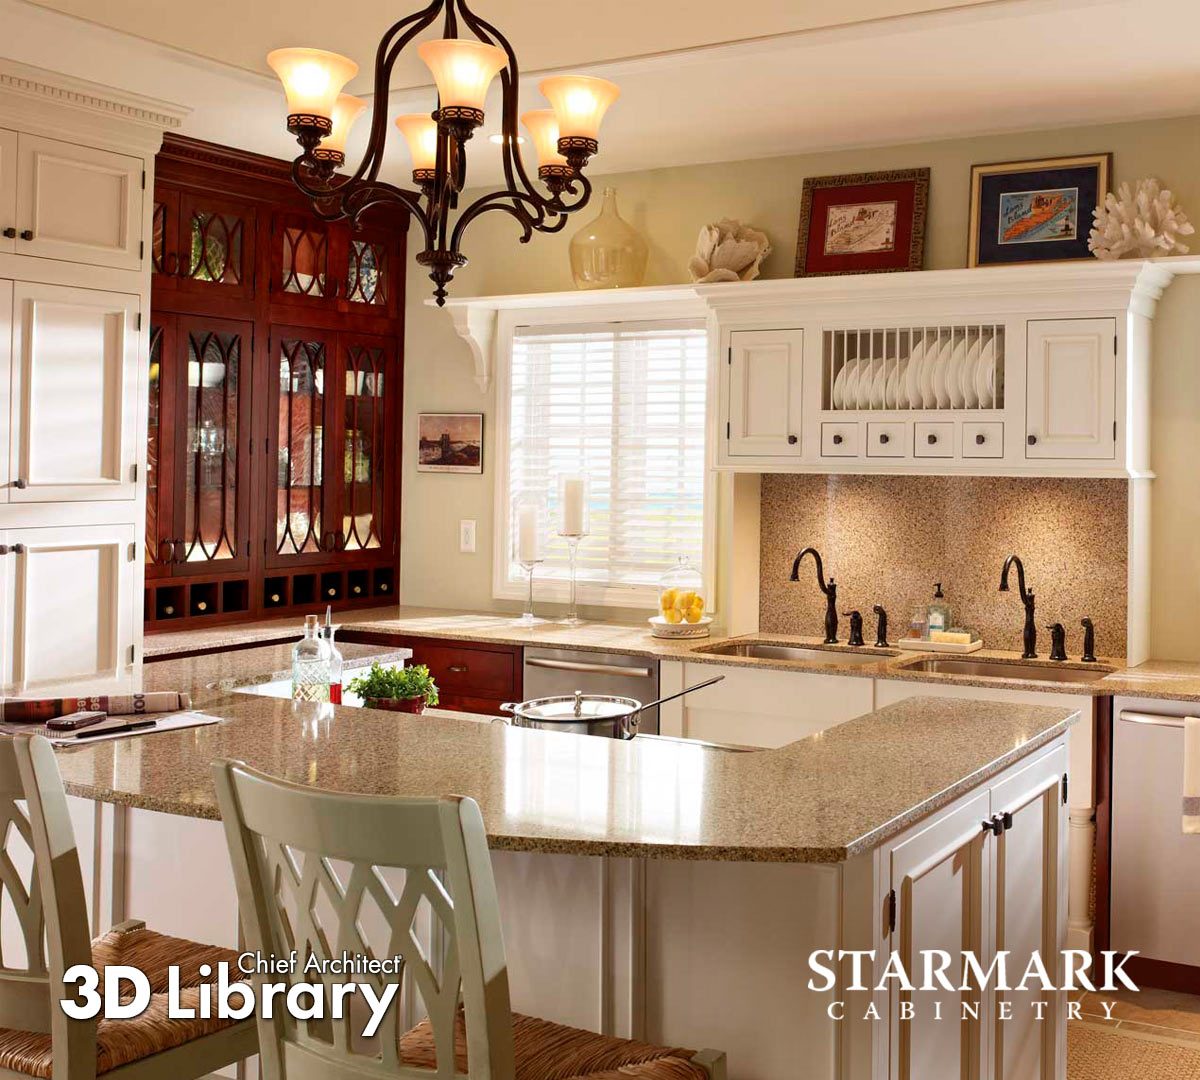

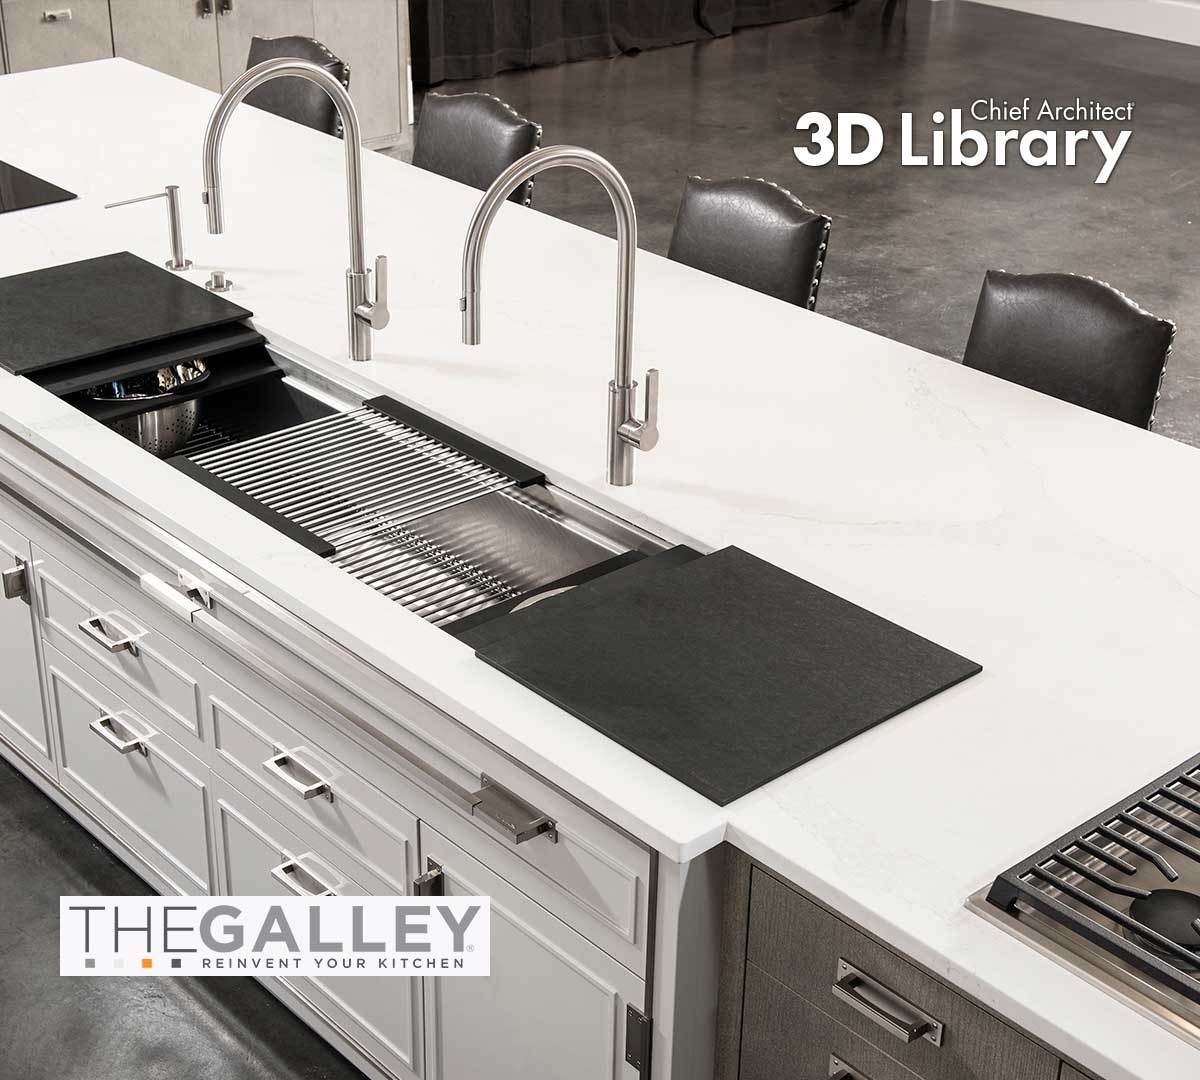
Examples of Chief Architect’s Catalog Partner 3D Libraries
3. Choose Your Licensing Model
Chief Architect offers two different licensing models for students and educational institutions. Depending on your specific needs and funding availability, you’ll generally choose between multi-user network licenses, aka “Academic Lab Packs” or single-user licenses, aka “Student Licenses”.
Multi-User Academic Lab Packs
Install Chief Architect on multiple computers but manage licensing centrally, which is perfect for larger computer labs with several workstations.
Single-User Student Licenses
Best for individual workstations, where each student will have their own dedicated license that they manage on their own.
All Chief Architect software subscriptions include software upgrades, premium catalog downloads, and priority technical support.
4. Complete your Order
Multi-User Academic Lab Packs
For schools purchasing an Academic Lab Pack, you can complete the order form here. If you need a custom quote, please reach out to us at sales@chiefarchitect.com.
- Cost: $45/ seat, per year.
- Payment Options: Purchase Order (PO), school check, or school-affiliated credit card.
Single-User Student Licenses
Free student licenses are offered on a semester basis and can be extended as needed while students are in school. The current renewal dates run through February and August.
- Cost: Free
- Application Process:
- Option A: Teachers can set up their entire class with free student licenses. Fill out this template file and email it to sales@chiefarchitect.com for processing.
- Option B: Students can apply individually by completing the Student Application here.
5. Install the Software
Once you’ve decided on the licensing model and completed your order, it’s time to install Chief Architect. For a school computer lab, we recommend using cloud deployment tools to push the installation across multiple computers at once. In Windows, silent installations can be accomplished using MST/GPO. In macOS, silent installations can be accomplished using a shell script. For step-by-step instructions, please see our Academic Deployment Guide.
6. Test the Installation
Before your students get started, take some time to test the software on a few workstations. Make sure it opens correctly, check the licensing functionality, and ensure there are no issues with file saving or printing.
7. Provide Training and Support
Once Chief Architect is installed and working, it’s time to support your students in getting the most out of the software. Chief Architect offers plenty of resources for educators and students, including how-to training videos, knowledge base articles, webinars, a tutorial guide, and more. Additionally, paid one-on-one training sessions for teachers can help ensure that you’re equipped to assist students. See below for links to our most popular resources.
- Getting Started Resources
- Chief Architect Tutorial Guide with illustrated how-to tutorials and learning objectives
- 12-Part Residential Introductory Training Video Series with Class Handout
- Download Layout Templates – Arch D (24 x 36) and ANSI B (11 x 17)
- Samples Gallery with plans and videos
- Green Building/Renewable Energy
- Glossary of Terms
- Personal Training for Instructors
8. Connect
Start making connections now! Find other teachers using Chief Architect on our professional forum, ChiefTalk, and be sure to follow us on our social media channels, Instagram and Facebook. Tag us @chiefarchitect to share your student success stories.


